Tuesday, 24 September 2013

Vigésimo tercero de Septiembre

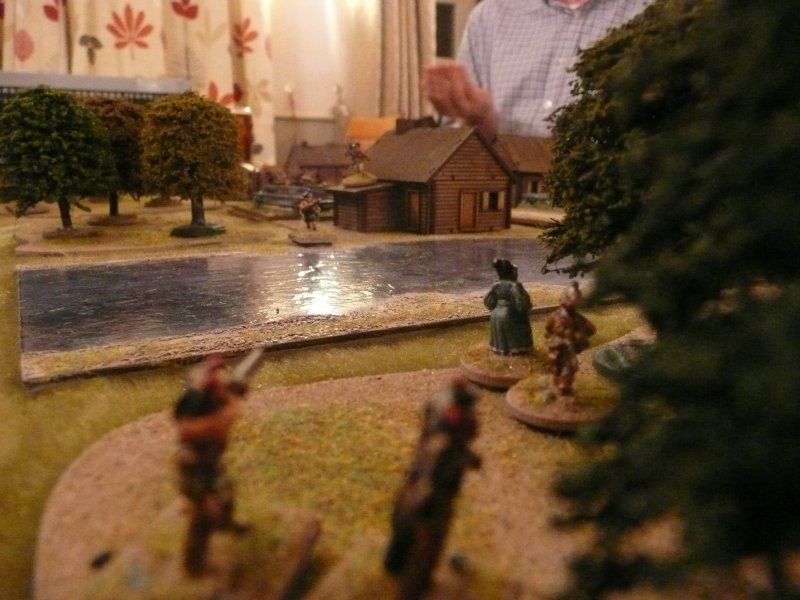
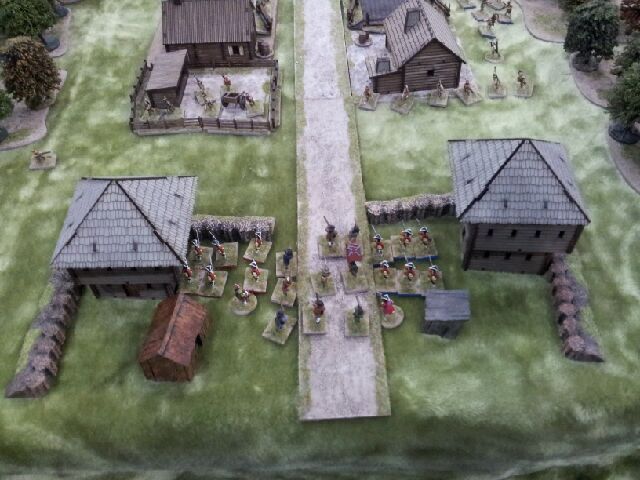
Cinco de Mayo is well known as a victory of the Mexican Republic over the French invaders but here is another date to add to the calendar, Vigésimo tercero de Septiembre (23rd September).

Version 2 of  Battles for Empire was recently released by Chris Leach. This is the club's preferred set of Colonial rules covering the period 1870 to 1914. The rules use a similar movement and morale mechanism to Fire & Fury but with a D6 instead of D10 although the similarity ended there.

We have used the rules for the Sudan, the Zulu Wars and the North West Frontier

Therefore I thought it was worth trying it out with my 15mm Freikorps Maximilian Adventure forces.

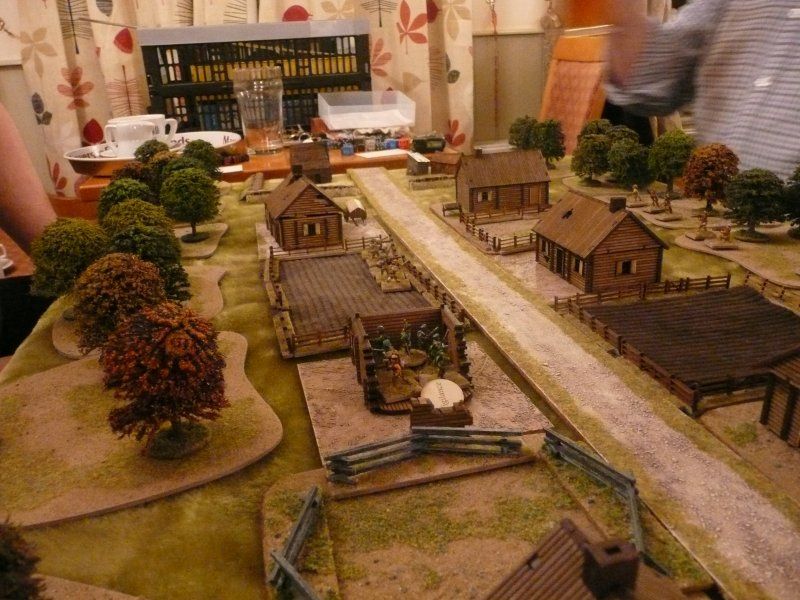
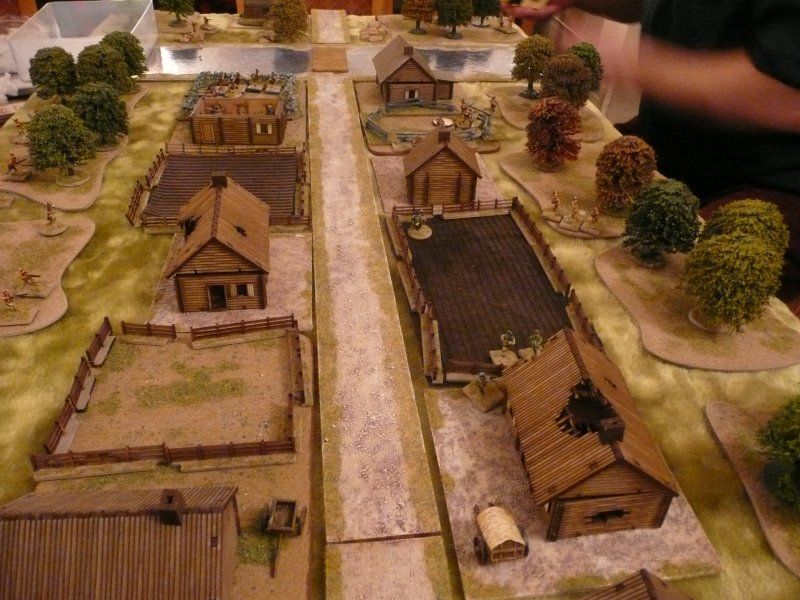
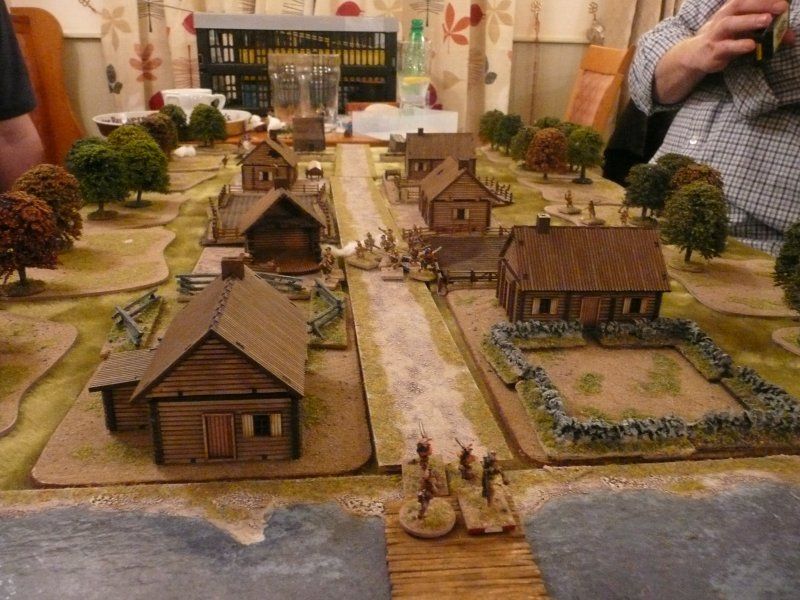
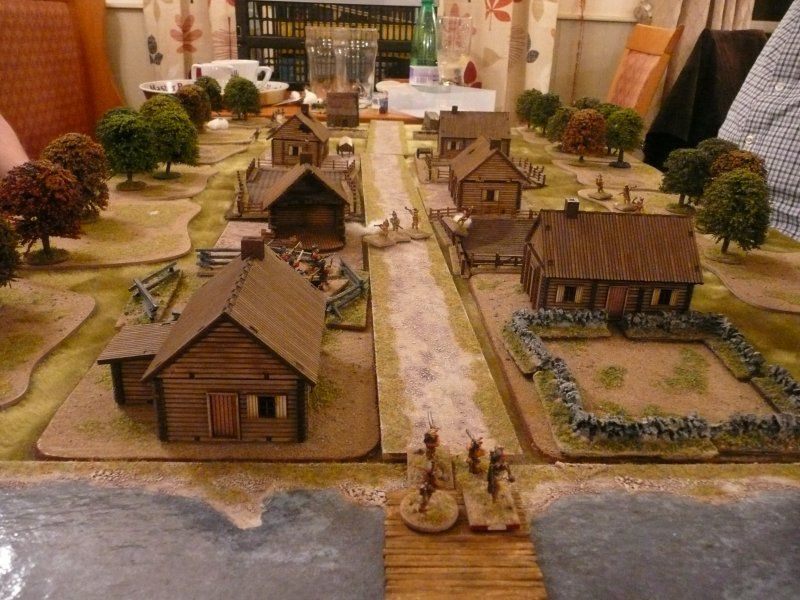
The scenario had a French wagon train attempting to cross the table, 6x4,  from short edge to short edge with the Republicans having to stop them

The French

Kiwi Dave, Chris, Alan

Unit Number Abilities
Foreign Legion6 CompaniesElite, 1st Rate MLR, Regulars
Zouaves1 CompanyElite, 1st Rate MLR, Regulars
Imperial Line Infantry3 CompaniesBrittle, 2nd Rate MLR, Colonial Recruits
Chasseurs D'afrique1 Squadron2nd Rate MLR, Regulars, can dismount
Contras1 Squadron2nd Rate MLR, Colonial Recruits, can dismount
Artillery2 guns1st rate SB
Wagons2move 9"
The VivandièreSpecialmedic
moves 9"
can heal 1D6 of hits per turn
The Lost PatrolSpecialmarksman
moves 9"
1D6 to shoot at enemy unit or roll on Critical hit vs enemy officer


The Republicans

Shaun, Graham, Paul

Unit Number Abilities
Line Infantry 4 Companies 1st Rate MLR, Regulars
State Militia 6 Companies 2nd Rate MLR, Colonial Recruits
Villagers 3 CompaniesBrittle, 2nd Rate SBM, Armed Berbers
Bandits4 SquadronsPoorly Armed Berbers, can NOT dismount
Padre TedSpecialmedic
moves 9"
can heal 1D6 of hits per turn
Sister SarahSpecialmoves 9"
if adjacent to enemy officer cancels their leadership rating for the turn

There are no specific types in the rules for Villagers and Bandits. As I was using the French in North Africa manouevre sheet I decided to class them as Berbers. Poorly armed Berbers indicates that they have close-combat weapons only.


There were a couple of changes to the rules

  • No rapid fire allowed - they all have muskets
  • Bandits do not destroy infantry if they recoil from melee

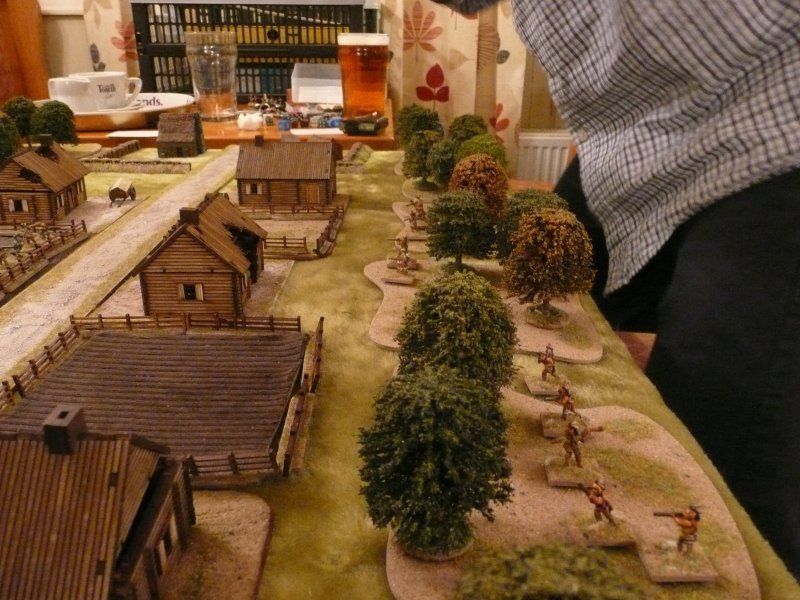
The Republicans deployed across the short edge upto 4 feet in
The French deployed from the opposite short edge from the single road

The Game

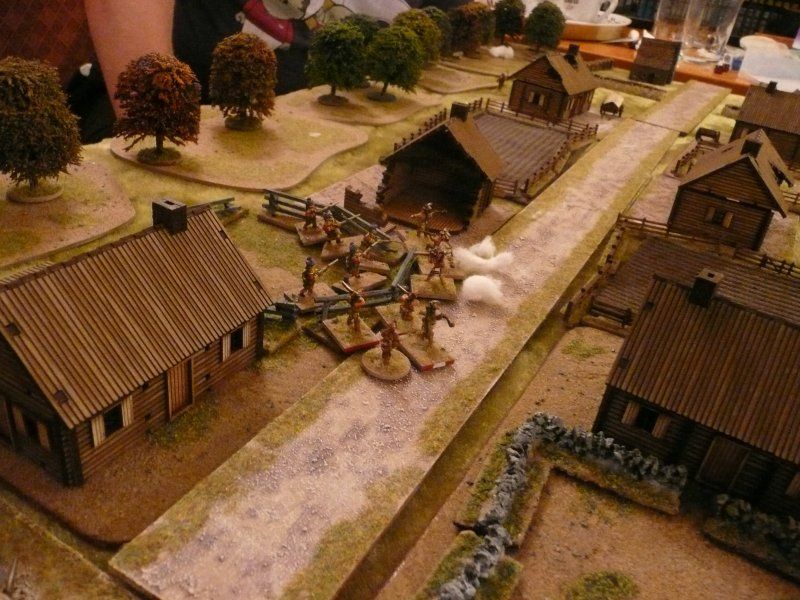
On the right flank Paul's Bandit cavalry were immediately on top of Dave's Legionaries and dismounted Contras and a game long melee ensued,mainly due to the "Bandits do not destroy infantry if they recoil from melee" rule

Dave's remaining Legionaries skillfully put themselves between my artillery and any suitable targets for a move. They then moved into a fire fight with Paul and Shaun's infantry causing both sides to lose a unit

An interesting point - a Legionary company was attacked in column and became shaken after losing the melee - on their manoeuvre roll they rolled enough to change formation and deployed into line in the melee rather than remain in column

On the left flank Chris' Legionaries got into a fire fight with Graham and Shaun's Militia whilst Graham's Bandits took on the Chasseurs and, after destroying a squadron of bandits came off the worst against a fanatic unit of villagers.

I'm still trying to work out how the Brittle villagers managed to go fanatic even though they rolled a 6 - leader +1 but Brittle -1 = 6 which isn't fanatic but hey

My Imperial troops boldly advanced up the road only to get the front unit shaken and then remain shaken - thereby blocking the wagons on the road. My artillery performed badly causing only minor damage which was healed by Padre Ted. The only decent shot they had was in fact invalid as they had moved and unlimbered on the previous turn

The Mexicans definitely won the day killing at least 3 units of Legionaries, the Contras and the Chasseurs

The French barely got 2 foot on to the table and killed all 4 bandit units plus 1 Militia unit

The only French unit covering itself in glory was the Lost Patrol which did sterling work wounding Mexican officers

So extra tacos for the Republicans and a long stint on Devil's Island penal colony for the French

The Special units - The Lost Patrol, The Vivandière, Sister Sarah & Padre Ted

Points from the game
- the special units worked well
- make sure I know the rules
- give the French more room to deploy
- maybe use BFE V1 Casualty chart for European style armies

Thursday, 25 July 2013

FWC - Capture the Brain Bug

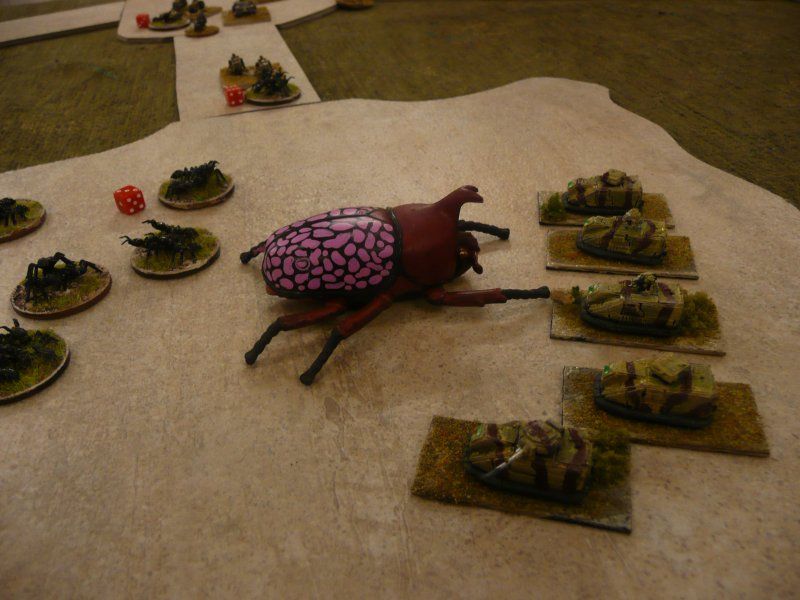
Following on from the Starship Troopers: Whiskey Outpost scenario I thought I would see how Future War Commander would play out for the Invasion of Planet P and more specifically the hunt for the Brain Bug in the tunnels beneath Planet P.


The tunnels
In several towns in the UK a wonderful non-wargaming shop can be found called Wilkinson's. It sells several useful items for gamer, one of which is stone-effect floor tiles. I used these to make several tunnels and chambers by sticking them to greyboard for extra strength and then cutting them out with a sharp knife. They look passable. Given more time I would add walls and apply an ink wash. Alternatively get Shaun at Dreamholme to cast me some up in resin

There is a central main chamber, 4 smaller chambers and the entrances are at the end of the long tunnels.

The tunnels were cut to a standard width of 60mm because .....
I can fit 2 bug stands, 2p pieces, side by side in a 60mm tunnel. 2 bug bases can assault each enemy base therefore by implication the tunnel is only wide enough for one non-bug unit regardless of the bases size.

The Bugs
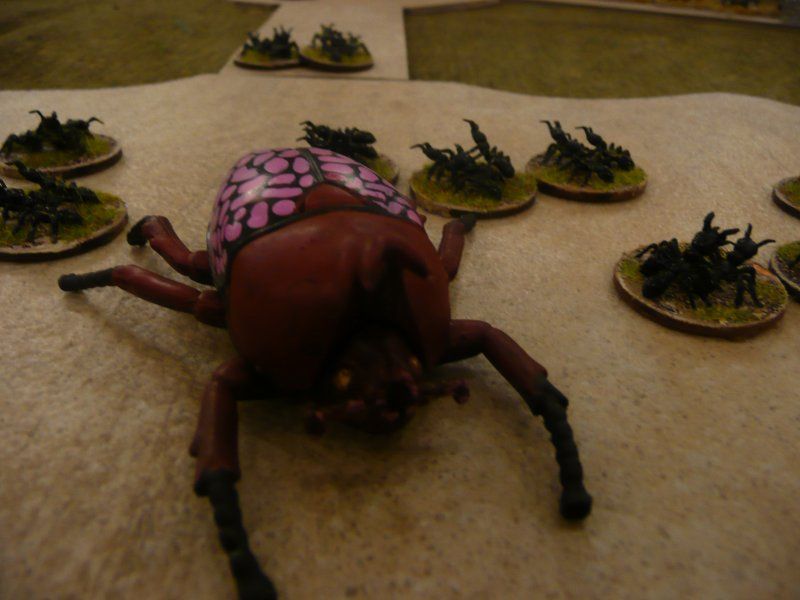
My bug army comprises several hundred plastic ants based on 2p pieces - roughly a 150 bases and about 3000 points

FWC Stats are
Troops Arm Move Attacks Assault Hits Save Notes
Warriors Infantry
30 F
0
4
4
6
Must assault in initiative phase
2 bases can assault each enemy base

The Brain Bug, as per the film, is total useless and unable to defend itself so it has no stats

For this scenario the Bugs did not have a commander which meant that they could only use initiative. This made the game quicker.

Bugs were randomly generated when new sections or chambers were revealed - 1D6 per tunnel section, 3D6 per small chamber and 5D6 for the main chamber. New sections etc are revealed when the current section has been declared bug-free

The Attackers
There are 4 tunnel entrances so this allows for 4 attackers but for this game we only had 3

They were told that they were on a Bug hunt and to bring 1250 point armies and that massive units, aircraft and off-board artillery were useless. They weren't told that they were going undergound.

Shaun brought the Khazari clan - biker and buggy types, Graham had French Euro-Feds and Alan P borrowed my Nartzi Hunter-Scavengers - a cross between Space Orks and Mad Max.

The Game
As this was the first try-out there was no turn limit on the game. Some common tactics soon developed

All 3 players used Recce units to scout ahead
The Nartzi found several bugs and brought up their heavy tank - good at shooting but bad at close assault
The Khazari plasma blasted any they found - the rule about plasma splash being very useful
The French took up defensive positions at every junction

The players were limited to 1 unit wide columns in tunnels but not in chambers. Therefore in order to bring as much fire power to bear each column was led by a low-profile unit ie infantry or bikes and followed by an average profile ie IFV or Tanks. In FWC this enables both units to fire.
The French column about to enter a chamber - infantry backed up by a hover IFV
Nartzi infantry hold off 4 bugs supported by a Death truck
Due to poor operational intelligence the Khazari did not use this tactic and suffered - 2 bike units, both low profile so only one can shoot, about to get swept away by a cave full of bugs.

Slowly the columns made headway through the maze of twisting and turning tunnels and chambers
Slowly but surely the location of the Brain Bug was becoming apparent
The Nartzi turn a chamber into a fortress in case the bugs decide to ..er.. bug out
The Khazari column trundles down the tunnels towards the main chamber
But it's the French using their IFVs correctly, according to FWC anyway, that find what they are came for...
..The Brain Bug and it's horde of defenders
The French make short work of the bugs leaving the Brain Bug defenseless
And ready to be towed to the surface

Conclusions
Not bad as an initial try-out. Tunnel fighting, especially in one unit wide column, is always going to be a bit of a grind and I wouldn't play it every week. However I was pleased with  the way it went. Allowing the bugs to only use initiative worked well

At game end the players had developed successful tactics and were thinking of what other units and tactics could be employed.

For the next game I will halve the length of the long (30cm) tunnels, add more caves and dead-ends and possibly allow bugs to ambush

It might be worth trying it as a solo game

More photographs can be found here


Wednesday, 3 July 2013

FWC - Whiskey Outpost

Whiskey Outpost is a fort in the first Starship Troopers film, see Youtube clip

The FWC site has a list for Starship trooper bugs which is probably the most evil, and incorrect, list available with 5 independent flame-throwing gunships per 1000 points. You get 10 of those babies on the table and it's game over for the opposition
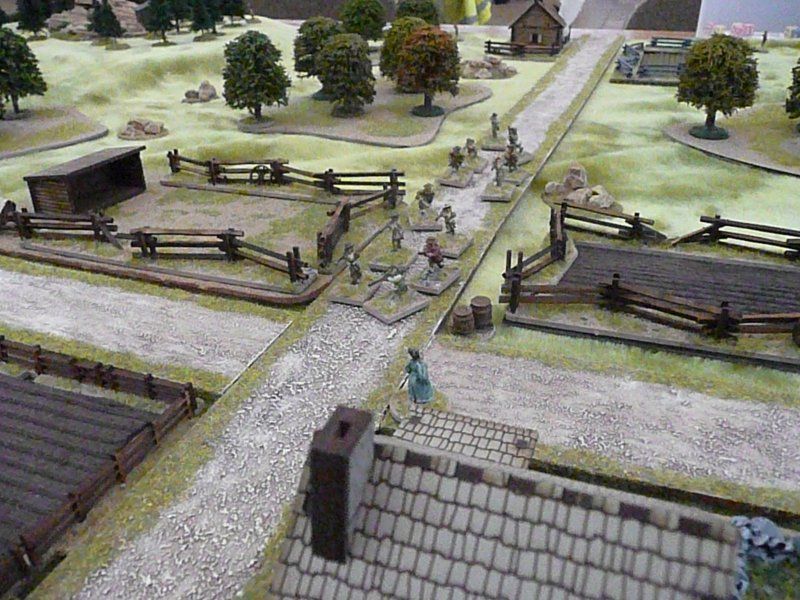

I reworked the list to change the gunships to grav infantry and created an expendable worker bug that creates a tunnel and then dies
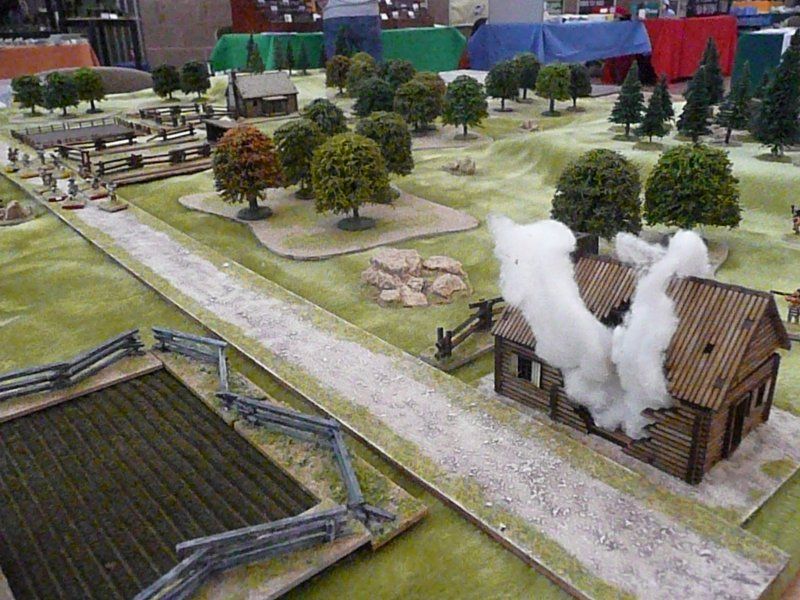
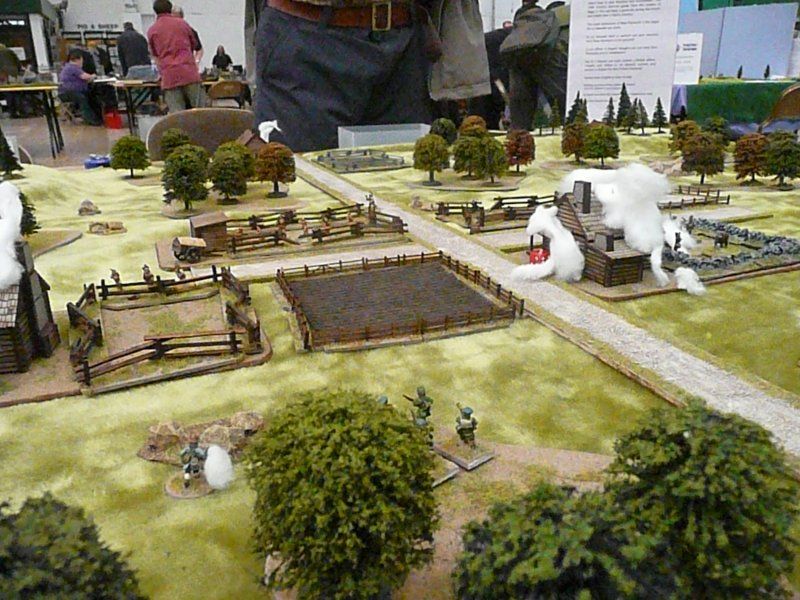
For the scenario we had 1250 points of defenders and 2500 points of bugs

This is Steve's take on the scenario....

We elected to recreate the scene of the attack by the bugs on Rico & co in the outpost ….spoiler alert….The team Rico is in are sent to investigate a distress signal from an outpost but it turns out to be a trap and hordes of bugs attack them…surprise!

We played on a 3' by 3' board with the outpost accessible on all sides. The film seems to indicate 1 side was backed to a cliff face but aesthetically it looked good and we played on.


So first turn I used Guild Legio, mainly infantry and some support weapons. I'd made some assumptions about Alan's army that were in correct as it turns out but hey ho. I manned the ramparts and catered for massive tunnellers busting into the compound.


Alan deployed his first wave, opening a tunnel within move range of the walls, due to the tunnelling rules I have no opportunity fire and no defensive fire. Cue shed loads of bugs assaulting me. I got the benefit of the blast wall but attrition hurts eventually. I held off the first wave, took a casualty but felt I'd done OK.


Alan's second order on 11s... Alan took advantage, picked on the now weak point on the walls with another load of bugs, I took more casualties. And the gap was bigger.


Alan's 3rd order on 10s. Alan picks on another wall assaults it in the same manner, no opportunity or defensive fire. On top of that a load of dragonflies appear, grav infantry.My support troops are no longer supporting since they are suppressed due to being a loser in prior combats. I lose that wall too.


Alan on 9s for his 4th order. Alan's said same troop on the newly attacked wall no longer have opponents so pile into the compound and over run both my CO and HQ. Technically they have nowhere to go so despite the rules being vague the logical answer is they are eliminated. Ground bugs and flying ones plough on into the rear of my remaining troops.


At this stage Alan's going for his 5th order on 8s but I've no commanders other than an FAO and about 2 short of break point with bugs attacking the rear of my remaining troops so without even having had a command roll I called it a day and signed Alan's Book of Victories.


We both agreed that perhaps as a scenario it needed tweaking if it were to be fun for the defender too so discussed some options around the Bugs Army List.

Thanks to Steve for penning that.

I have to say that it's not much of a game when it's won in less than 1 turn (unless playing against Steve)

I then tweaked the Bugs list to drop the Warrior bugs' tunnelling ability. This meant that they could be shot at as they came out of the tunnel with opportunity and defensive fire

We then went onto play a  second scenario with Steve using his Kraytonian army


Once again Whiskey Outpost was rammed to the gills - this time with terrapins.


The first tunnel attack ended up with every ant being destroyed due to defensive fire. However the attack on the north wall fared better


Overrunning the north wall the ants looked like repeating the previous scenario


However the Krays rallied and clear the infestation


A second wave of warriors and flyers was sent against the north wall


Once again Whiskey Outpost is overwhelmed


And once again the Krays clear the walls


The fight see-sawed for several turns with the bugs getting to the wall but being beaten back by the Krays. Eventually the bugs retired  with barely a handful left. A rare victory for the Kraytonians

This scenario played better than the first as the defenders had a chance to drop the bugs before getting into hand-to-hand. The bugs have no ranged weapons so must attack and against a good fire zone will suffer.

I will probably bring this game along to the Blast-Tastic show in October if that's ok with Michael

The Toys
Guild Legio by Exodus Wars
Kraytonians by Dark Realm
Fort by Angel Barracks
Dragonflies by Playmobil
Ants from The Works (out of stock in Stroud, Worcester & Leicester)

There are more photos at photobucket

Friday, 10 May 2013

Muskets and Tomahawks at Exeter 2013

I took my my 15mm Muskets & Tomahawks participation game to Exeter for the Legionary 2013 show.

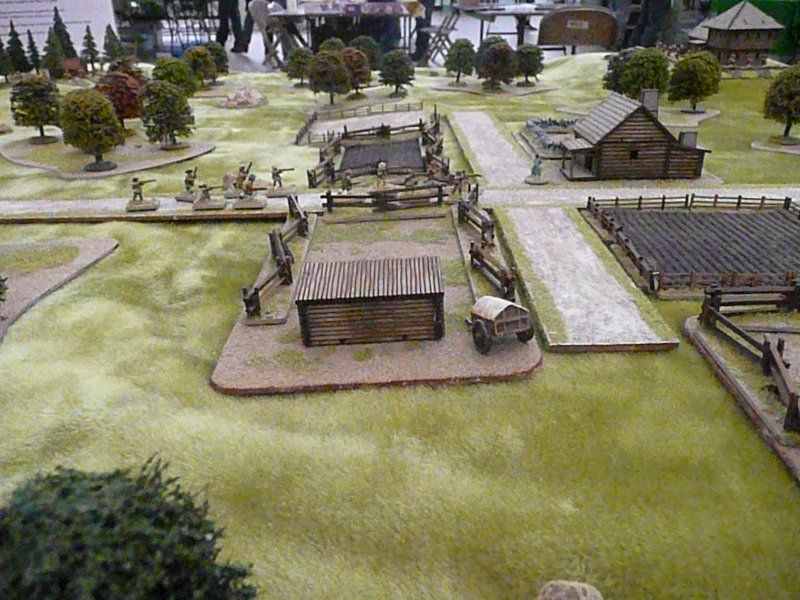
The scenario is an Indian raid on a British village.

The British have 2 Irregular Officers, 2 units of 6 Militia and 2 units of 6 Rangers and their objective is Defence. This means that no enemy can be within 4" of the two buildings in the centre of the table at the end of the game.

The Indians have 2 Sachem, and 4 units of 6 Indians with their objective being Raid. This requires the two buildings in the centre of the table to be burnt down.

We played two games during the day - the honours going to the Indians with one being a total victory and the other a marginal one. It keeps the carpenters in New Plymouth fully employed.

The photos are mix of the two games

The Militia fall back to New Plymouth

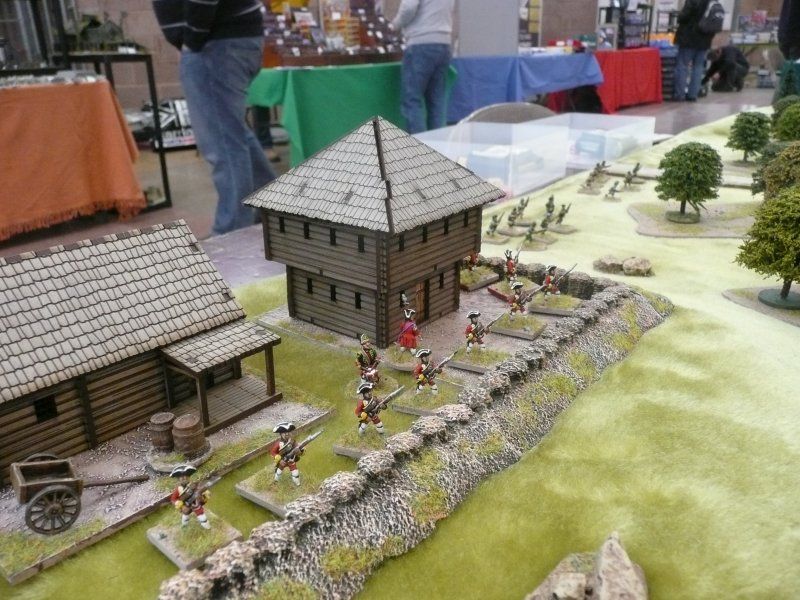
The fort at New Plymouth - the fort and it's garrison take no part in the game

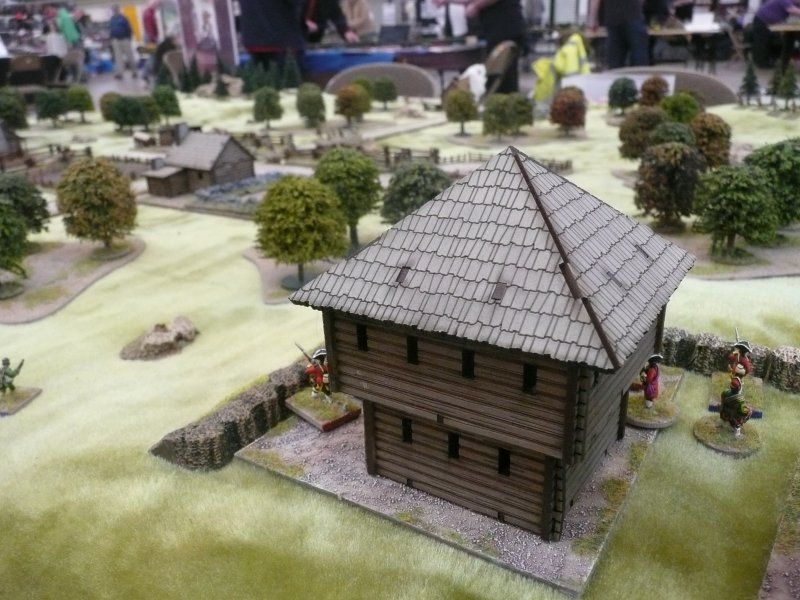
15mm Blockhouse by 4Ground - this is a pre-production model

Mrs Miggins counts them all out and counts them all back

A close-up of the Russian house burning

New Plymouth burns

Highlights of the day - I met Nick from the M&T Forum who pointed out some rules I had missed. Three people bought the M&T rules as a result of playing and hopefully a few people will think about using 15mm figures for not only M&T but also for skirmishing in general.

Amusing story of the day - an old chap walked up to the table and we started talking. I asked him if he played this period. He replied that he had AWI armies. I then enquired as to what rules he used. He looked at me and said "Well ours of course". I was about to ask he meant when someone approached him and said "Excuse me Mr Barker, can I talk to you about DBA".

Icing on the cake - winning the Phil Barker Best Participation Game award

The buildings are from 4Ground. The figures are from Peter Pig's AWI range with the exception of the British Regulars in the fort who are by Essex. The cloth is by Gaveno Cavailia. The flashing LED light in the burning Russian cabin is from The Glow Company

The are more photos at photobucket

Sunday, 5 May 2013

Bloody Run 1763 - a Muskets & Tomahawks AAR

The Battle of Bloody Run was fought during Pontiac's Rebellion on July 31, 1763. In an attempt to break Pontiac's siege of Fort Detroit, about 250 British troops attempted to make a surprise attack on Pontiac's encampment. Instead they were ambushed and forced to retreat back to Fort Detroit.

For a full account see Haughty Conquerors: Amherst and the Great Indian Uprising of 1763 by William Nester - from page 134 onwards.

This AAR is based on that battle. My previous post outlines the scenario. To recap the British have been ambushed by Pontiac's troops and must get at least a third of their force back to Fort Detroit.

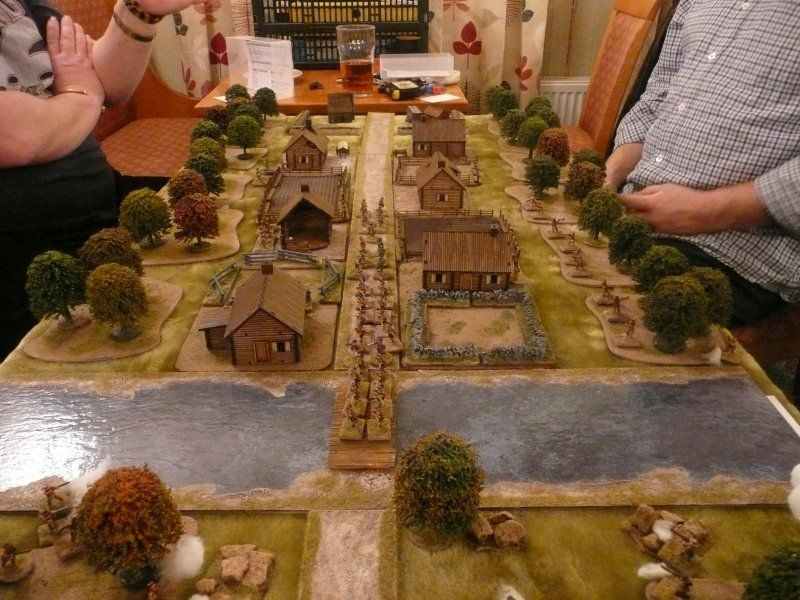
The buildings are made by 4Ground. The figures are from Peter Pig's 15mm AWI range with head swaps for some of the Rangers. The river is from Homebase via Eric the Shed

The keen-eyed will notice two things. Firstly that I have used Highlanders for the British regulars instead of the 55th Regiment of Foot. This is because Peter Pig does not make any British troops for the FIW and Pontiac Wars (yet)

Secondly the photos are a mash-up from several test games and from Salute. I forgot to take my camera to Salute so photos from there were taken using my mobile phone - duh.

Onto the battle...

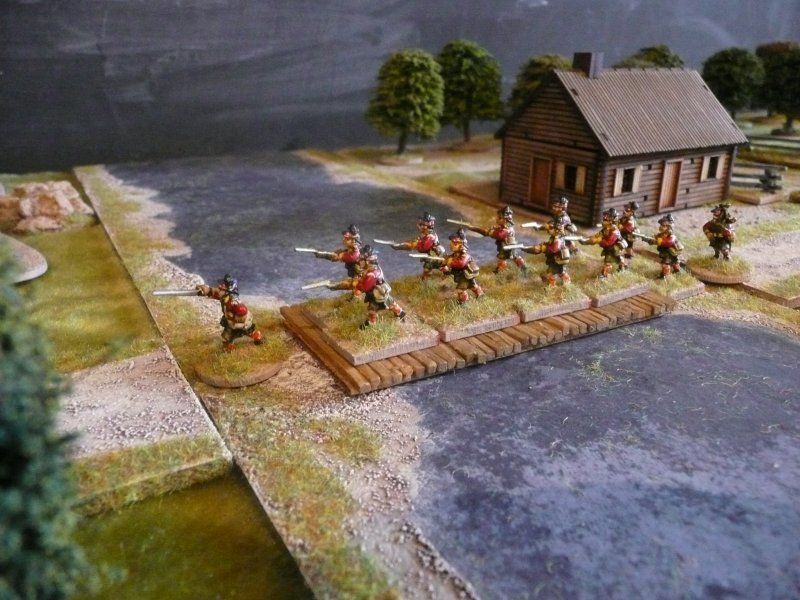
The Highlanders crossing the bridge

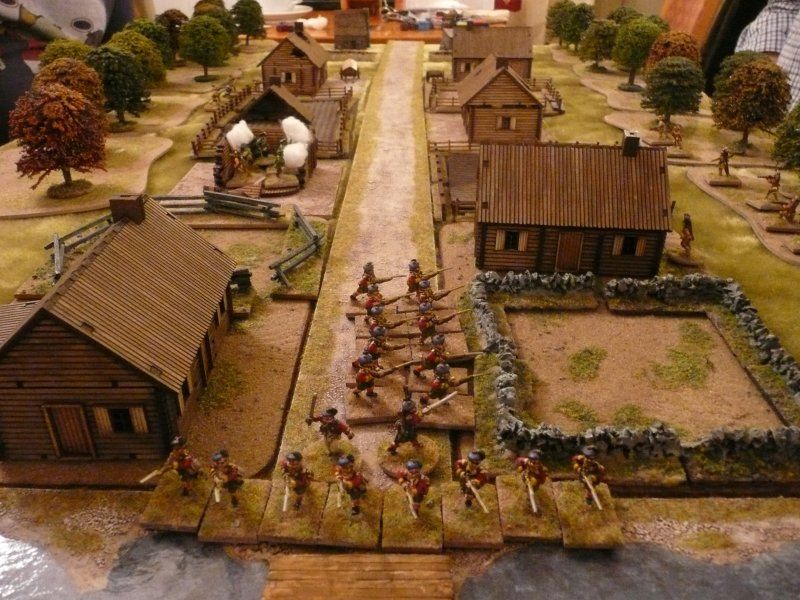
The British column gets ambushed en route to the Huron Village

The Highlanders form Firing Lines to repel Pontiac's troops and to scout the Southern section

Mrs Miggins with her sweetheart - side plot number 11 for the Indians

Moments before Mrs Miggins gets shot by a Highlander - note the hand of fate in the background

Vigilant Rangers in a ruined cabin - some of the new counters from 4Ground

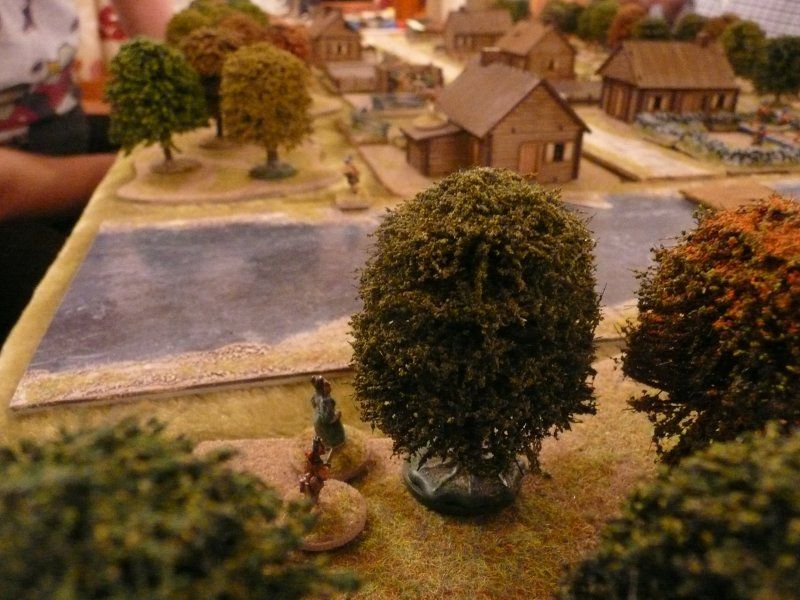
Indians advance through the woods

The British start retiring to Fort Detroit

A View from Fort Detriot - Major Rogers, in the ploughed field on the right, is about to die

Fort Detroit with pre-production blockhouses from 4Ground - I only got them at Salute

Indians advance across Parent's Creek - the original name for Bloody Run

The Highlanders' last stand - the fight on the road

The Highlanders retire to the corral

The last moments of the Highlanders as the Indians swarm over them

The Result

The British managed to scout the Southern and both central sections before being overrun.

However all 3 officers had been killed, both Regular units had been destroyed and only 6 Rangers reached Fort Detroit alive. As this was less that a third of their force the British did not achieve their objective.

On the other hand the Indians killed over two thirds of the British force and did achieve their objective albeit suffering just under 50% casualties.

The British Regulars suffered from the terrain - the fields and buildings forcing them to stay on the road. However the units can taken considerable punishment as their morale is good.

The Rangers deployed on the road instead of in the buildings which was a mistake and took casualties that made them ineffective.

The terrain suits the Indians and provided they don't get into a fire fight with a Regular firing line can have lots of fun harassing the British as they retreat.

Giving the British the Scouting objective forces them to hold their ground as they try and scout the Southern section. Otherwise they would just run back to the fort.

At Salute this game appeared on the 4Ground stand. I spent the day chatting and playing the game with some very nice people. I may have even converted a few to playing M&T in 15mm

There are more photos at photobucket - click here