The Battle of Macta was fought on 28 June 1835 between French forces under General Camille Alphonse Trézel and a coalition of Algerian tribes of western Algeria under Emir Abd-el-Kader.

Abd-el-Kader attacked the French column where the track passed between the Macta marshes and some hills.
Basically this is an historical version of the classic Wagon Train scenario. The objectives are the two wagons which start the game in French control. If a unit of Algerians contacts a wagon then it is removed from the table and cannot be recaptured by the French.
Information on the battle is sparse with regards to exact location and numbers of Algerian troops. For instance I have read accounts of the marshes being on the French Left flank and others where they are on the Right flank. I've gone with the marsh on the French Left flank.
The table is only 3x3 foot. With 3" ranges for the smoothbore muskets and the French having to stay near the track then it isn't really a game of manoeuvre as the Algerians can come on where they want. In theory the French could get the wagons off the table by Turn 4 but it is highly unlikely.
| French Forces | |||||
| Bases | Attributes | Morale | Weapon | Unit | Deployment / Arrival |
| 1 | Ldr | Gen Trézel C-in-C | Upto 12" from S Edge and <6" from track | ||
| 3 | P | Trnd | SM | 1/66th Line | Ditto |
| 3 | P | Trnd | SM | 1/66th Line | Ditto |
| 3 | Trnd | SM | Bataillon d'infanterie légère d'Afrique (Bat d'Af) | Ditto | |
| 3 | Trnd | SM | Bataillon d'infanterie légère d'Afrique (Bat d'Af) | Ditto | |
| 3 | S,A | Trnd | SM | 5/Legion Etrangere (Italian) | Ditto |
| 3 | S,A | Trnd | SM | 5/Legion Etrangere (Italian) | Ditto |
| 3 | S,A | Trnd | SM | 4/Legion Etrangere (Polish) | Ditto |
| 2 | A | Trnd | Cav | 2/Chasseurs d'Afrique (CdA) | Ditto |
| 2 | A | Trnd | Cav | 2/Chasseurs d'Afrique (CdA) | Ditto |
| 2 | SA | Mountain howitzers | Ditto plus limbered | ||
| 2 | Raw | Wagons | Upto 12" from S Edge on the track | ||
| Algerian Forces | |||||
| Bases | Attributes | Morale | Weapon | Unit | Deployment / Arrival |
| 1 | Ldr | Emir Abd-el-Kader | Anywhere along E edge | ||
| 4 | Trnd | SM | "Regular" Infantry | Ditto | |
| 4 | Trnd | SM | "Regular" Infantry | Ditto | |
| 4 | Trnd | SM | "Regular" Infantry | Ditto | |
| 4 | Trnd | SM | "Regular" Infantry | Ditto | |
| 1 | Ldr | Milud ben-Arrach | Anywhere along W edge | ||
| 4 | R | Trnd | SM Cav | Tribal Cavalry | Ditto |
| 4 | R | Trnd | SM Cav | Tribal Cavalry | Ditto |
| 4 | R | Trnd | SM Cav | Tribal Cavalry | Ditto |
| 4 | R | Trnd | SM Cav | Tribal Cavalry | Ditto |
| 4 | R | Trnd | SM Cav | Tribal Cavalry | Ditto |
| 4 | R | Trnd | SM Cav | Tribal Cavalry | Ditto |
| 4 | R | Trnd | SM Cav | Tribal Cavalry | Ditto |
| 4 | R | Trnd | SM Cav | Tribal Cavalry | Ditto |

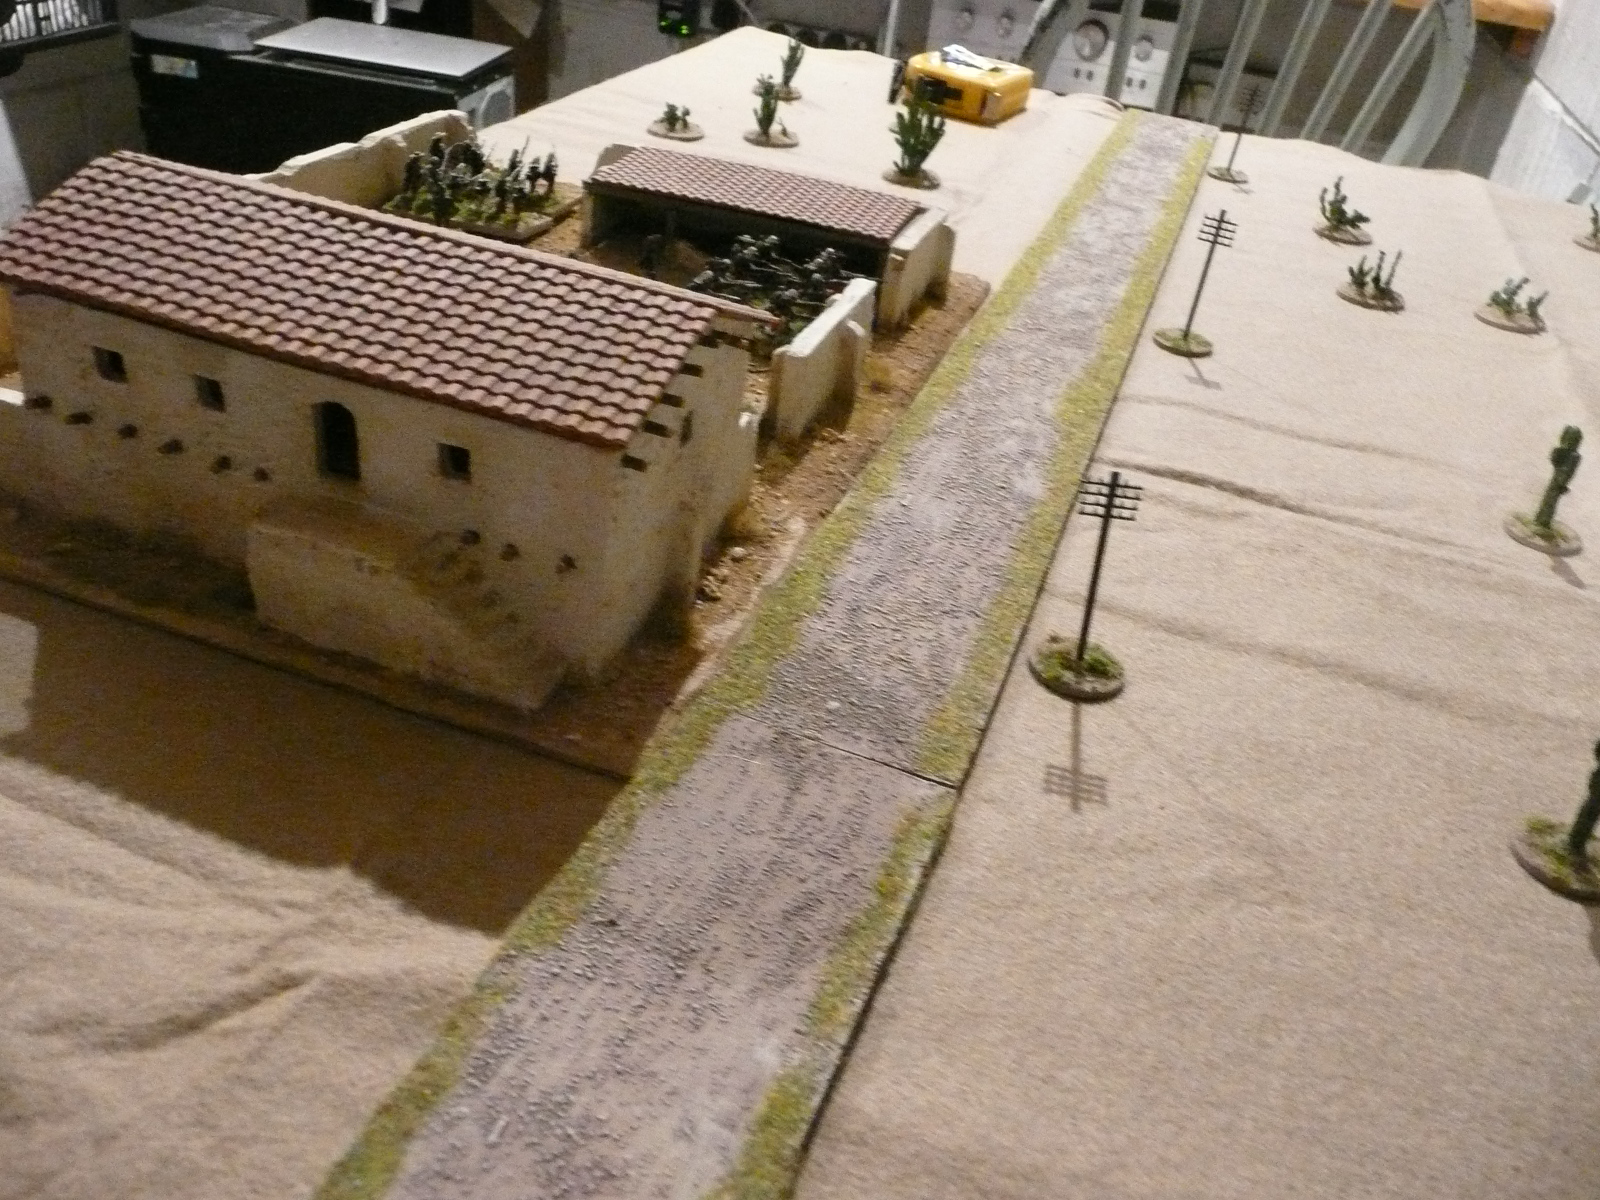
Deployment. The wagons must stay on the track which doesn't double movement.

Turn 1: Algerian cavalry & infantry move to cut off the column's advance. the rear wagon only moved half a move so the column is already extending

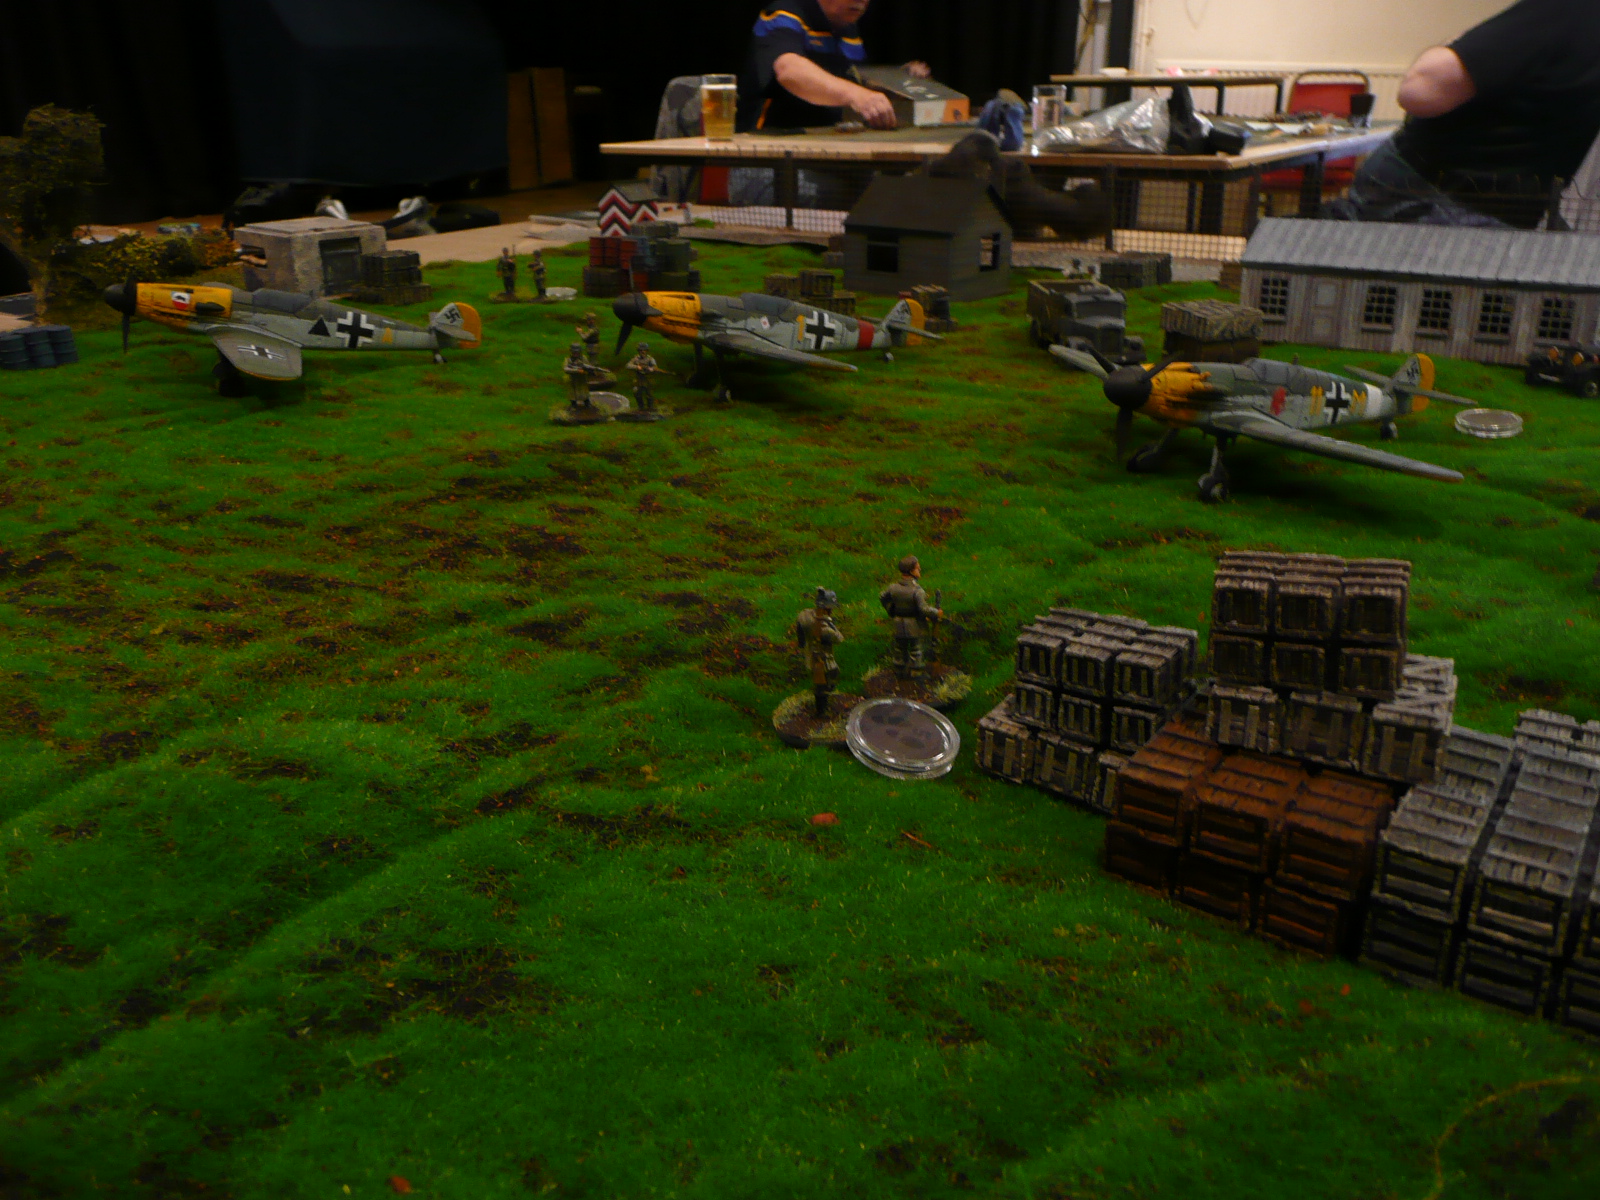
A close up of the column with General Trézel in the centre

Turn 2: On the right 2/CdA and a Mountain gun have moved onto the small hill but are charged by Algerian cavalry and infantry respectively. On the left the other squadrons of 2/CdA face off against more tribal cavalry. Meanwhile at the tail of the column a large force of Algerian cavalry awaits the right moment to pounce.

Turn 3: On the right 2/CdA and a Mountain gun have been overrun. On the left 2/CdA and General Trézel have been overrun whilst the rearguard companies of the 1/66th have retreated to the wagons . Only in the edge of the marshes have the French had success with part of 5/LE holding off a cavalry charge.

Turn 4: Part of 5/LE recaptures the hill. At the rear of the column the only remaining Mountain Gun unlimbers and together with 4/LE faces the Algerian cavalry. At the front of the column the vanguard companies of the 1/66th evaporate leaving their comrades from the rearguard as the new vanguard!

Turn 5: The Algerian cavalry sweep down from the hill hitting the right wing of 5/LE which retires behind the wagons. Behind them are two units of the Bat d'Af who both failed their movement rolls so can't do anything.

Turn 6: The rearguard Mountain Gun gets overrun and one wagon falls into Algerian hands. The 1/66 gets destroyed at the front of the column. One of the Bat d'Af makes its movement and swings about to face the cavalry from the marshes but it is really too late.

Turn 7: The loss of the second wagon means that the French are defeated. In the actual battle Emir Abd-el-Kader could only get a handful of his troops to continue the fight as many of them were too busy looting the wagons and killing the wounded.
When I originally wrote this scenario back in 2020 the French were in 6 base units which made them hard to destroy. This time I had split the French into 3 base units which made them more flexible but vulnerable.
For the next playtest I will make the Algerian cavalry Raw and give the French infantry Devastating Volley. I might even have to get some more Chasseurs d'Afrique painted up
Unlike most Colonial games, this one has both sides armed with the same weapons so there is no technological advantage to the Europeans. In fact the French had been selling weapons to the Algerians for quite some time as part of their treaty with Emir Abd-el-Kader!
I was made aware of this battle only because it was Marshal François Achille Bazaine's first major battle, admittedly he was only a sous-lieutenant in the Legion Etrangere at the time.
All French figures are Pendraken and all Algerian figures are either Lancashire Games or Pendraken


