Tuesday 24 April 2012

CWC - Crisis Point 2012 #2

This is the second posting describing the battle of Venlo which was part of a 6mm Cold War Commander 2-day mega-game. The game was organised by Richard Crawley and was based on General John Hackett's book The Third World War.

The central part of the Nato line was held by an Anglo-Belgian force of some 7000 points. The force comprised elements of the Belgian 10th Reserve Mechanised Brigade commanded by Colonel Poirot and the 13th/18th Royal Hussars Battlegroup lead by a very junior officer, a Captain "George" Hastings.
After studying the terrain the Anglo-Belgian forces took up advanced positions in  order to delay the advancing Soviets from the word go. Due to the length of the tables they were split into two halves, Nato and Soviet. Each area had it's own air superiority therefore Nato might have air superiority in the Soviet half but the Nato half may be contested. There were a set of house rules governing air superiority.


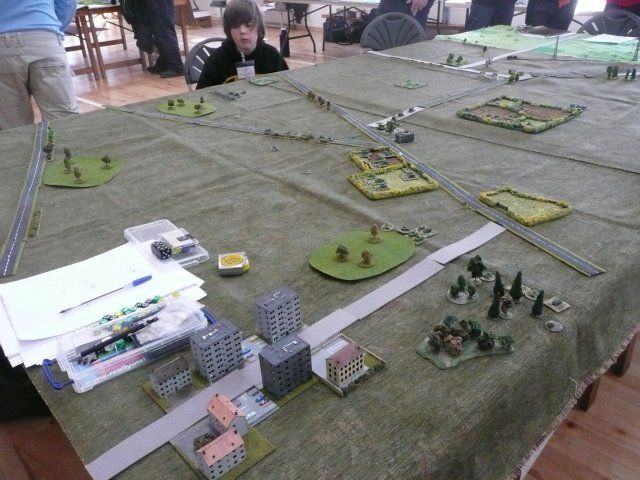
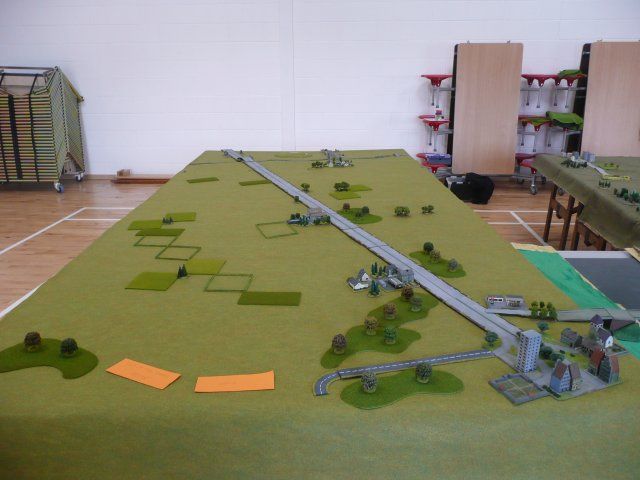
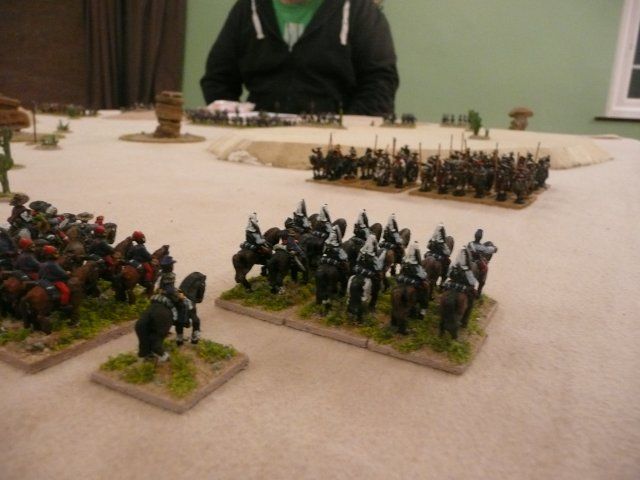
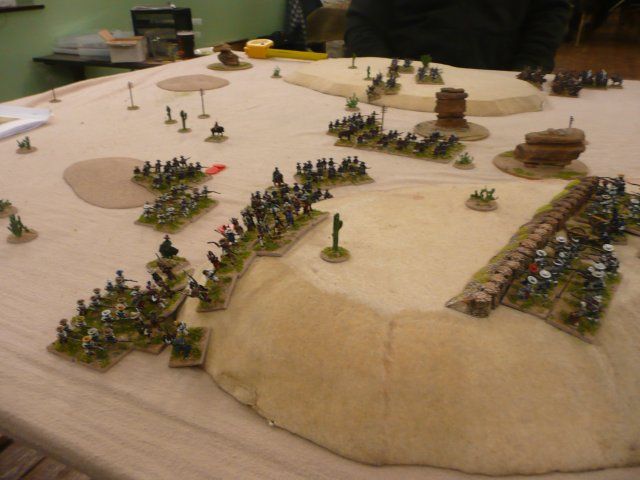
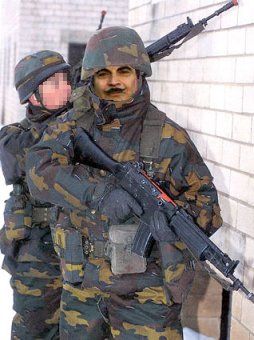
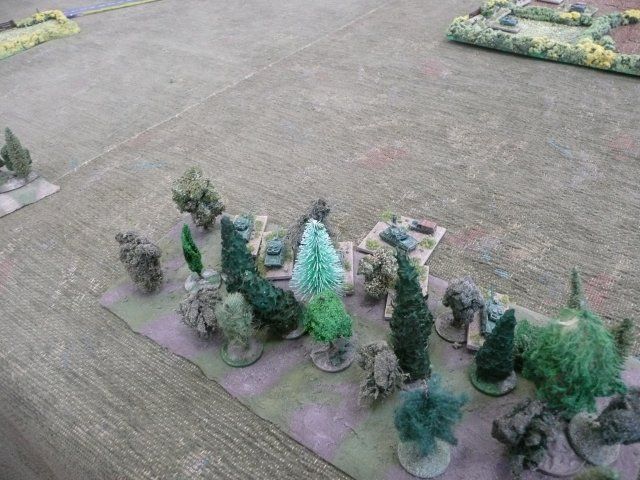
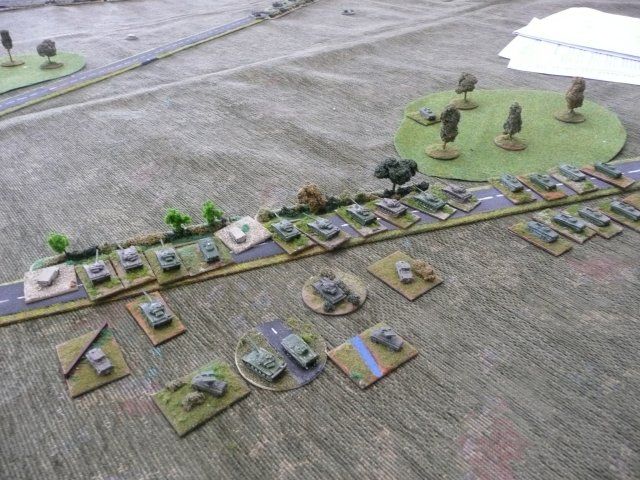
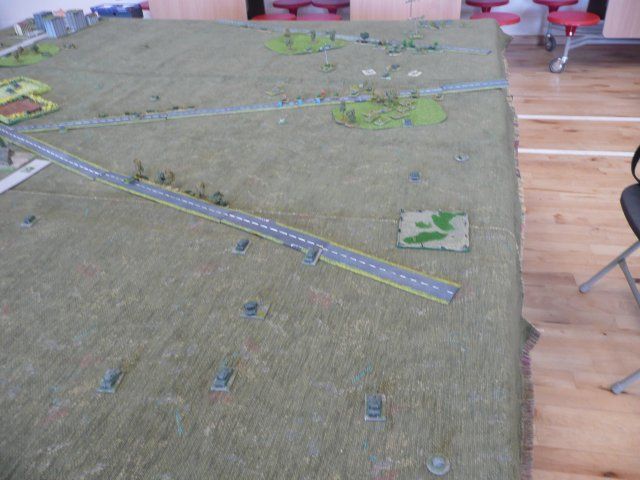
On the right Captain Hastings, seen in the right-hand picture sitting down admiring his tanks, deployed his Challenger 1s as far forward as he could hoping to take up a defensive position in the wood in front of the tanks. His infantry were dug-in along the road in the centre of the table.

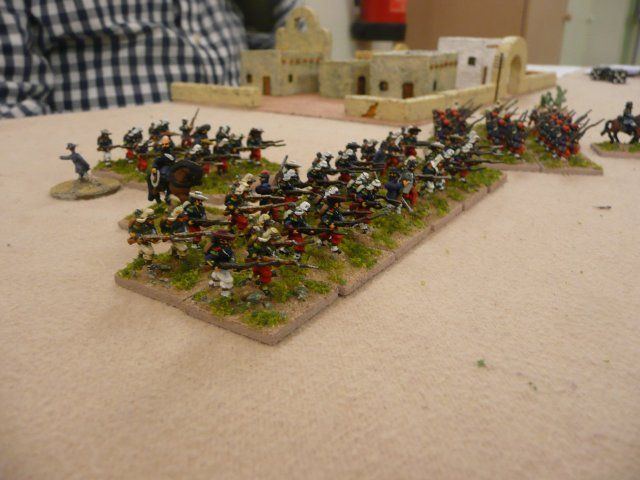
The Belgians extended the line to the left with an infantry company and half the tank battalion in the fields by the road junction. Another company sat ready to advance into the woods in front of Kleve, a local administrative centre judging by the paperwork.


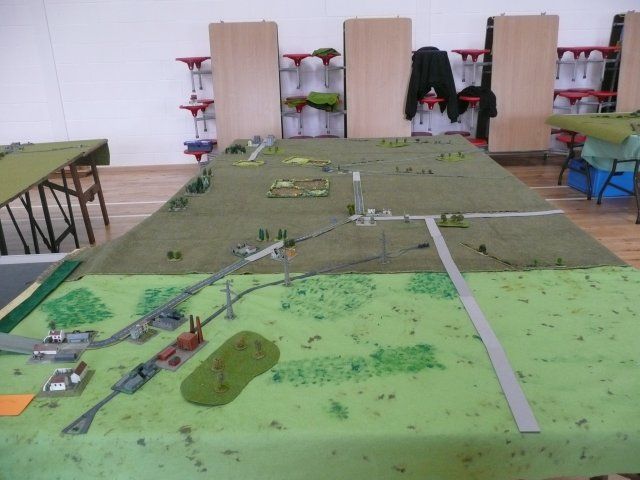
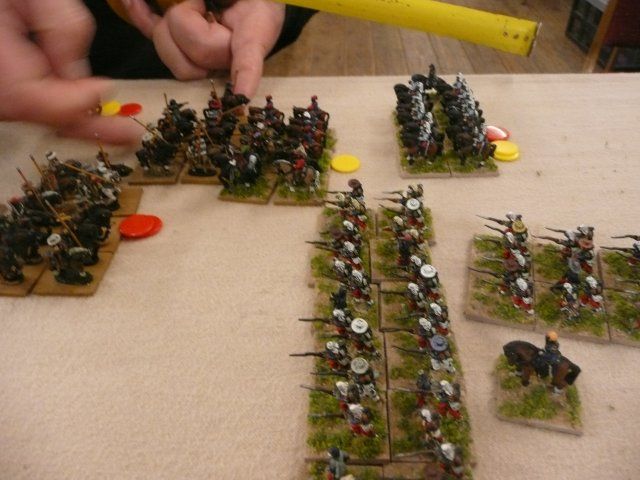
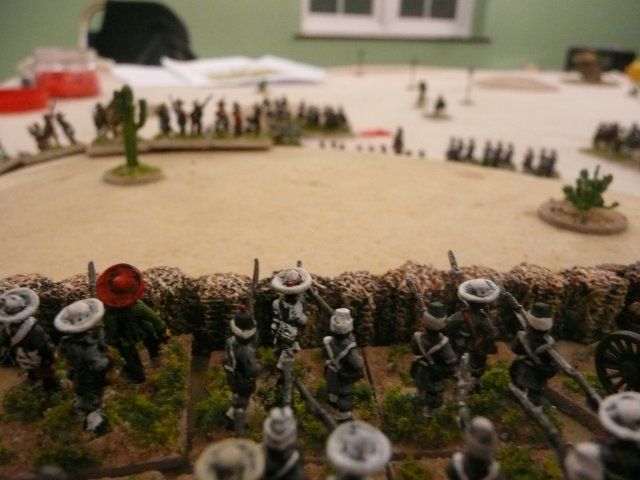
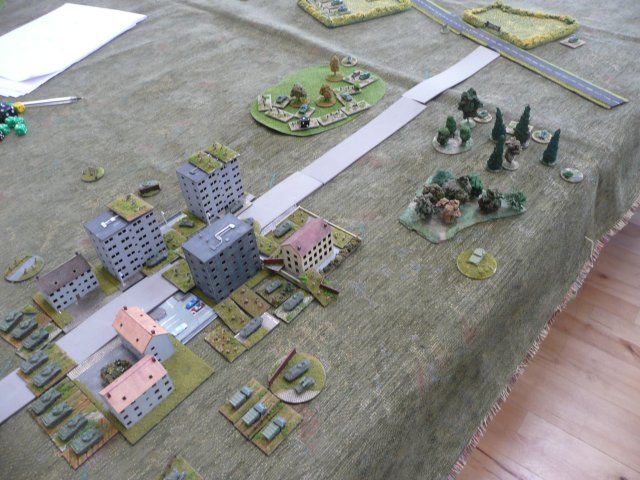
The final Belgian infantry company provided support to the rear of the centre with the remaining half-battalion of tanks held in a wood on the left flank.

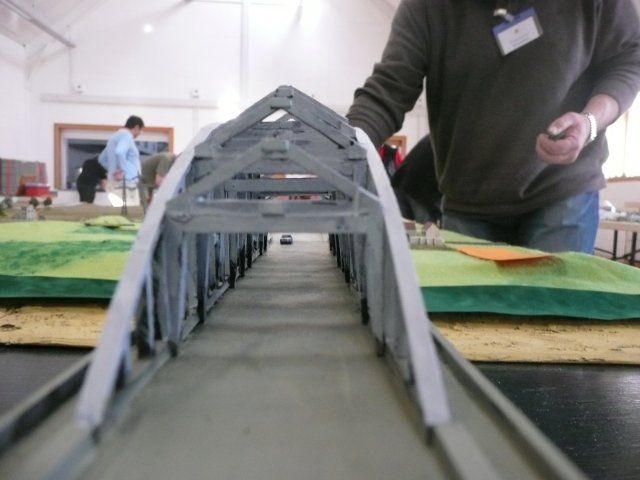
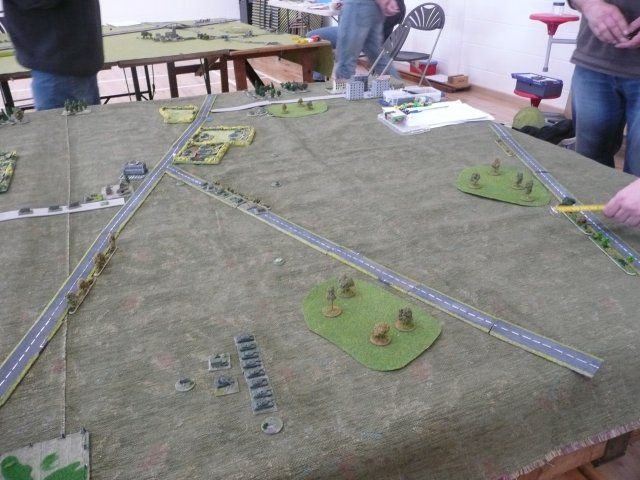
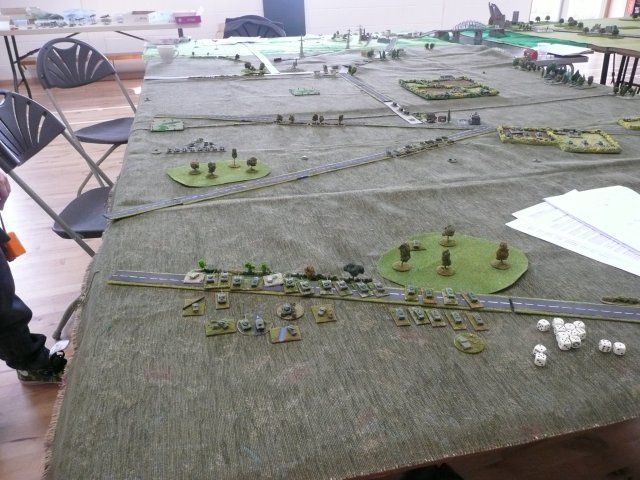
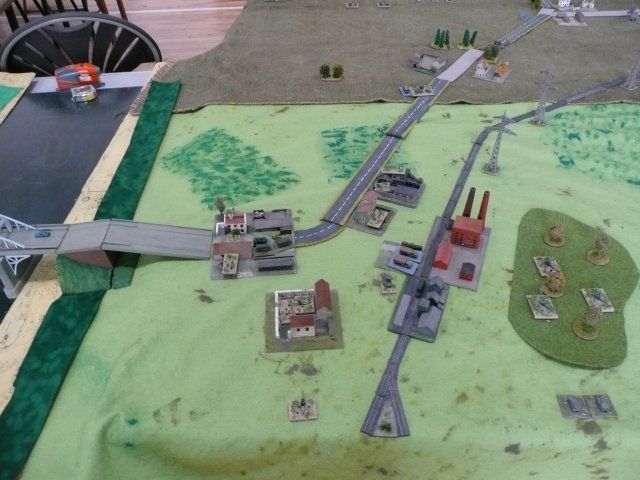
Due to the size of the tables and the fact that there were rear areas the mechanism for off-table artillery was that off-table artillery placed in the rear area could only target units in the nearest half of the 3 main tables. In order to target enemy units on the far half of the main table then the artillery had to be deployed on the table itself.


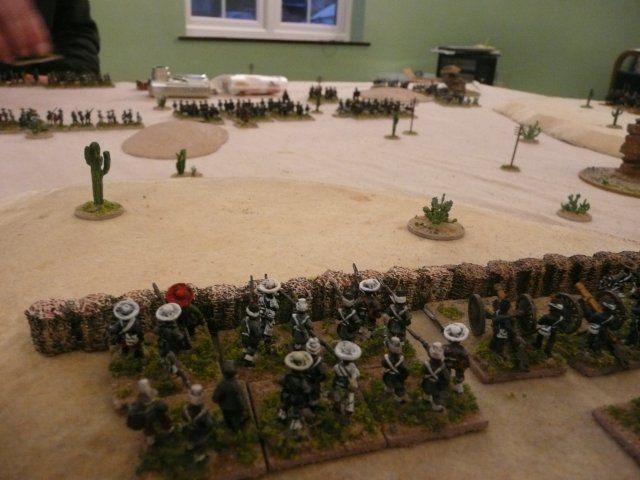
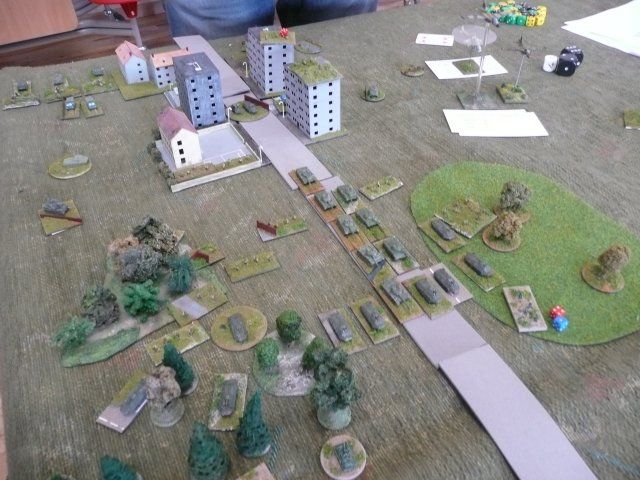
Therefore as the Anglo-Belgian force had deployed so far forward the off-board artillery was placed in Venlo in order to hit the Soviets as they came onto the table. The playing card in the picture represent the number of aircraft  allocated to air superiority for the Nato half of the table.

On the British sector the Soviets pushed forward with tanks and APCs under the command of  newly promoted Comrade Pete Buriak. The Challengers failed to occupy the woods before the Soviets reached  it.
It was at this point that we realised how good the Challengers were. The left photo shows 6 Soviet tanks coming through the wood  with 4 flanking it. The right photo shows the 4 flanking tanks in position but the 6 that advanced through the wood were all destroyed by the British tanks. Admittedly we had read the Soviet tank stats incorrectly so they probably died a lot quicker than usual. Soviet APCs advanced to fill in the gap left by the tanks.

In the Belgian sector an artillery strike by 105mm and 155mm took out several Soviet APCs as the latter advanced through Kleeve under the experienced eye of Commissar Chris Justice. A Belgian infantry company occupied the wood just west of the town but met a similar fate from Soviet artillery and air strikes.

Whilst the Anglo-Belgian line held just, terrible news was received from the British, Dutch and Germans defending the A73 across the Maas. All Nato forces were in full retreat having either being broken or were on the verge of being broken. The central sector was  suddenly looking grim as the victorious Soviets could swing across the Venlo bridge into our rear in overwhelming numbers. Orders were given to the Anglo-Belgian force to mount up and retire.

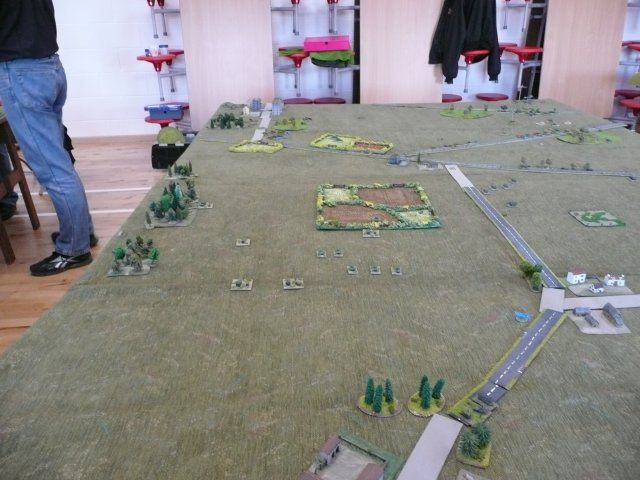
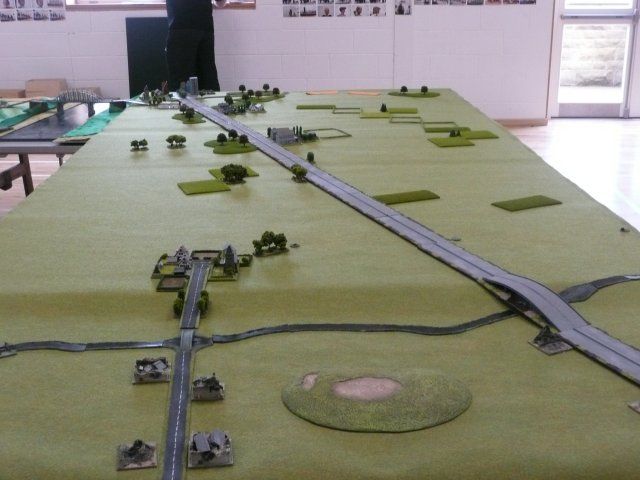
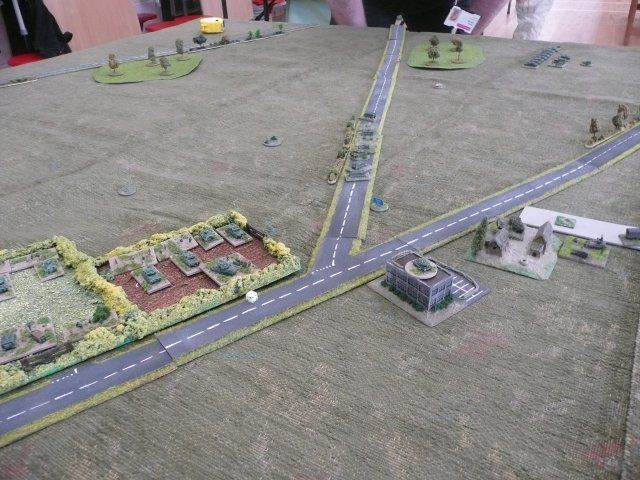
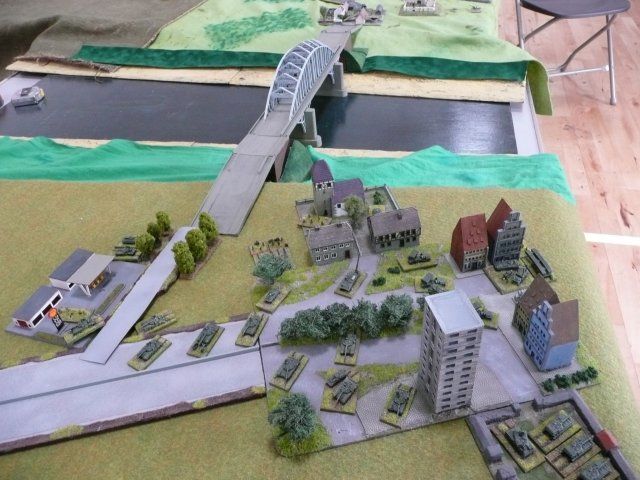
Leaving small rear-guards, such as the Leopards in the fields, to hold the Soviets advancing on a broad front from Kleeve, the allies retreated towards Venlo hoping to arrive before the Soviets crossed the bridge.

In the meantime Nato high command had managed to push the Belgian 3rd Paratroop Battalion into Venlo to hold it. As the Paras dug-in along the eastern bank of the Maas diesel engines could be heard revving across the river. A Soviet SPG artillery barrage heralded the bridge assault by destroying the Paras' HQ

Despite a desperate fight the Paras were overrun by the Soviet tank column spewing across the Maas. Comrade Andy Hamilton showed no mercy as even the Belgian 105mm guns and the lone Gepard AA were thrown into the defense of Venlo. Even repeated Nato air-attacks on the bridge were to no avail. Venlo had fallen.

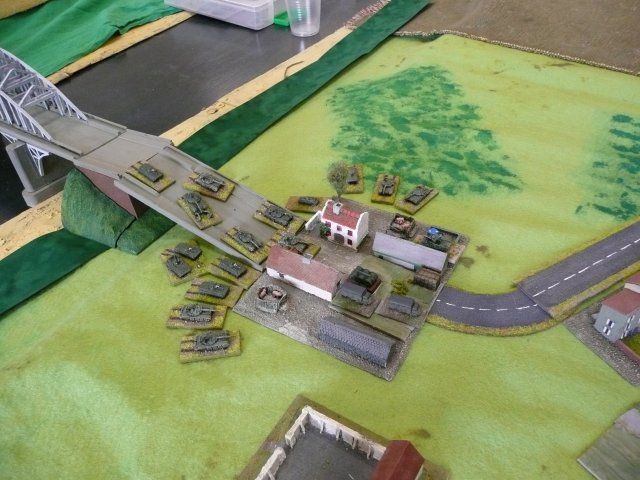
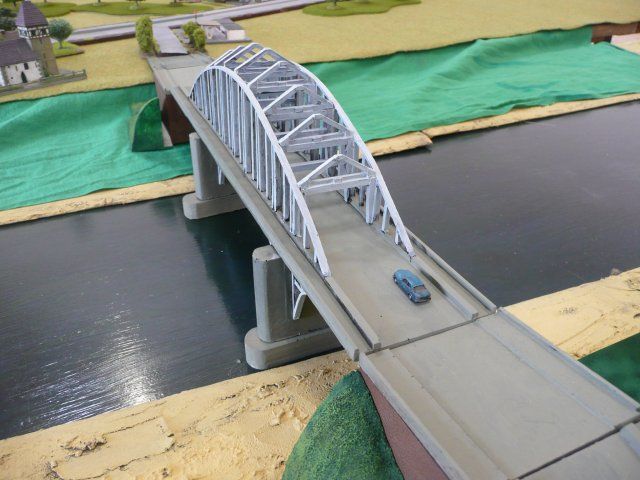
 North of Venlo the Anglo-Belgian forces suffered another blow as the British infantry and Challengers disintegrated under accurate Soviet tank and ATGW fire and started a full retreat.


Trapped between the Soviet forces at Kleeve and Venlo the Belgians deployed around Geldern and entered into cease-fire negotiations with the new rulers of  western Europe. In CWC terms the Belgians had to lose another 3 units before breaking which given the amount of Soviet firepower available would have only been a turn away.

Game over. The Soviets were victorious on not only the left and central tables but also on the Nato rear table as half the troops from the attack west of the Maas continued south along the A73. On the right flank the US forces still held Duisburg.

With hindsight I would have deploy the Belgian and British infantry on both sides of  the Maas at Venlo to hold the town and support the Nato troops on the left flank and just used the Challengers and Leopards to hold the Soviet advance from Kleeve. Also with hindsight I should have played CWC more than once before coming along to the event.

Well what a cracking game that was and combined with the pies and beer to be had at our B&B, the Royal Hotel, and the excellent company it all added up to a most enjoyable weekend.

My thanks to Richard for organising it, to Stuart for umpiring and to everyone for playing especially George. He is only 12 and deserves a medal for being up for it for 2 days - undoubtedly a wargamer in the making.

I look forward to Arctic Strike in 2013

There are a few more photos here

CWC - Crisis Point 2012 #1

Gordon and I went up to Sheffield this weekend to take part in a 6mm Cold War Commander 2 day mega-game.The game was organised by Richard Crawley and was based on General John Hackett's book The Third World War.

In Hackett’s books the Warsaw Pact invasion of West Germany reaches its high water mark on the 14th and 15th of August 1985. Having reached the Dutch border, Soviet forces begin to swing southwards aiming to cut the supply lines of NATO’s Central Army Group. The Soviets attack between the Maas and Rhein rivers towards the Dutch town of Venlo, pushing back II British Corps and forming a southward-pointing bulge known as the Krefeld Salient.

Richard's game covers not only the fighting in the central corridor between Maas and Rhein but also the two flanking sectors. The first of these is along the A73 motorway west of the Maas and the second is towards Duisberg, expanding from narrow bridgeheads across the Lippe river.

There were 5 tables as shown above - the rear areas connecting to all 3 tables and the left and centre tables connecting by a bridge across the Maas.
The left and central tables from the Nato end
The central and left tables from the Soviet end
The bridge connecting the two boards with a Mercedes wondering whether it is safe to drive across it.

I must apologise for not taking photos of the right-hand table - the Lippe table - T'other Richard had taken it on himself to do this table and he did a stunning job on it. Have a look at the photos on his blog.

Gordon already had a load of Soviet kit so he did a 3000 point Airborne Battalion - I believe that there were about 40000 points of Soviet troops in the game. Apparently the Soviets had even organised a plan before they arrived to play the game.

I went for Nato troops so that we could play CWC back at Slimbridge. I opted not to go for British, US, Canadian, West German or Dutch. I went for Belgians instead. I originally wanted to do French but as they weren't there I opted for the next best thing.


My Belgian force of 4000 points had 9 Leopard 1A4s, 9 YPR-765s, 12 Infantry armed with Carl Gustavs, 2 Gepards, several 105mm and 155mm guns and loads of HQs. Andy at Heroics and Ros had everything but the YPR-765s which I picked up from Skytrex. Both suppliers turned the orders round very promptly.

Nato had 20000 points of US, British, West Germans, Dutch and Belgians but no plan. After a quick chat Rob and Jamie took the left flank with 7k of British, West German and Dutch troops, Ian took the right flank with 7k of US troops which left the Centre to myself and George with 10th Reserve Mechanised Brigade (4k of Belgians) and the 13th/18th Royal Hussars Battlegroup (3k of British with 8 Challenger 1s, some infantry in FV432 and a couple of Abbott SPGs)

The Soviet plan involved an airborne assault on the right flank with 10K of troops, a feint in the centre again with 10k of troops leaving 20k of Soviet armour to charge down the A73 on the left flank.

Things did not look good for Nato

The next post will show the course of the battle on the Central table.

Tuesday 17 April 2012

FWC - Battle for New York

Breaking news:  a report filed by S-K-P from New York

The Stroud Alliance (SA) made up of the Eldritch, the Andrayadan Collective known as Shaun, Cybernetic Species X31 and Pax Arcadians launched a massive assault on the Marine Corps home world of New York. Over 11k of troops advanced from 4 directions on the capital held by 2k of Marines and Neo-Soviets. An additional 0.5K of Neo-Soviets (NS) were somewhere in the rear of the SA forces.


For those not up on their galactic geography New York comprises a central district with a suburb to the North-West. The river is nothing more than a dried up open sewer which, apart from the smell, does not present an obstacle to troops. Bizarrely the raised causeways running in from the surrounding countryside are built so high as to be impassible to all but Grav or Air-borne troops. The defenders occupied the central district leaving the SA to roam at will.


At SA planning sessions it was decided that they would advance from 4 directions. The Eldritch gliding into the north-western suburbs on their grav tanks, the X31 approaching from the south west again in grav tanks, the Andrayadan Collective marching on from the north-east and the PaxArcs advancing from the south using the large wooded area as cover.

For the battle I was lucky enough to embedded with the PaxArc command under the watchful eye of Group Leader Snake Plissken


The main concern for the SA was where the NS were as they would undoubtedly grasp at the chance to take someone in the rear.


PaxArc conscripts form a rearguard in case the NS troops appear in their quadrant. There was some nervousness amongst the conscripts one of whom took shots at my Remote Camera which caused it take low quality images.(well that's my excuse for the shoddy photos)


Cybernetic Species X31 reached the central district first and were ambushed by flame-throwing yellow taxi-cabs. The cabbies were happy to fight in the central district but would not go north of the river.


Group Leader Plissken sent a lone HQ to face up to the defenders, dropped E-Cig - the healthy alternative obscurant to battlefield smoke - on the central district and then brought 3 Mammoth Mk2s out of reserve much to the defender's surprise. For the rivet-counters out there the Mammoth Mk2 has the upgraded gun which can now rain death on soft-targets as well as armour. The 3 tanks and the HQ can just be seen through the E-Cig


From the north-west the Elditch grav tanks swarmed forward only to be halted by an effective artillery barrage.


As more PaxArc Mammoths emerged from reserve the defenders attempted to save themselves by dropping E-Cig on their own positions. However it did not stop the PaxArcs and the X31 Species from gunning the defenders down.

The Andrayadan Collective known as Shaun had the pleasure of being attacked in the rear by the roving band of Neo-Soviets. In an impressive display of Andraydan shooting and Neo-Soviet incompetence the raiders were reduced to scrap metal.

Both the Central district defenders and the raiders were now at or  past their break points.

Contrary to Marine Corps / Neo-Soviet reports the defenders of New York surrendered unconditionally as after several failed attempts they found that there was no escape from New York.

This battle was part of the War in The Berkeley Vale Galaxy - an FWC campaign run by Steve Price - I ran the PaxArc, Mike the Eldritch, Gordon the X31 and the Andaraydan Collective known as Shaun by Shaun.

The Marines & Neo-Soviets were run by Mark and Freddie. They played a very good game considering the odds stacked against them.

The excellent Snake Plissen minifig is by John_0515. You can see the rest of his excellent models here


Wednesday 11 April 2012

The French in Mexico #2

This battle is based on the fight at San Lorenzo on 8th May 1863.

We used 15mm armies with a set of home-grown ACW rules that we are currently playtesting. Comments on the rule mechanisms will be enclosed in []. The Republicans were commanded by General Shaun and the French/Imperialist forces by Brigadier Rodge

The Republicans have launched an assault to capture a pass and the village behind it. A small force of Imperialists has been ordered to prevent the capture of the pass and the village. A French relief force is on the way - will they be in time to save their allies?

The Imperialists
3 Companies Infantry
2 12pdr Napoleons (what else!)

The French
3 Companies Foreign Legion
1 Company 92nd Line
1 Company Zouaves
1 Squadron Chasseurs d'Afrique
1 Squadron Contra-guerillas

The Republicans
9 Companies Infantry
4 Companies Irregular Foot
3 Squadrons Irregular Horse

The picture shows the Republicans arriving onto the battlefield with the Imperialist infantry and artillery entrenched on the right hand hill overlooking the pass. 

The Republicans carried out a general advance with their cavalry rapidly advancing over the left hand hill [Cavalry can move 15" and if there are no enemy within 18" the move can be doubled - hence they moved 30"!]


As the Republican horse thundered across the table the French relief force arrived lead by the Chasseurs d'Afrique and a squadron of Contras. I do apologise for the Republican Horse not having their bases done.


Who are the best? The Republicans are pretty good. The Chasseurs are pretty good. There's only one way to find out - fight!


The ensuing melee saw the Chasseurs gain a slight advantage by pushing the Irregulars back. Their charge however allowed the Foreign Legion to advance swiftly to support them.


The cavalry melee expanded to include not only the Legion but also Republican Regular Infantry companies. However first the Chasseurs disintegrated followed by 2 Irregular Horse squadrons and the Contras leaving just one Republican Horse squadron and a Regular Infantry company to face the Legion.


The Legion went onto destroy the Republican Infantry company and then turn to face off both the cavalry and  the infantry advancing down the hill.
[The red counters represent hits and the yellow counters represent fatigue which can be recovered]

On the right flank the Republicans sent 3 Regular Infantry companies and 4 Irregular Foot companies against the Imperialists entrenched on the hill


On the right flank the Republicans sent 3 Regular Infantry companies and 4 Irregular Foot companies against the Imperialists entrenched on the hill


Waiting until they could see the whites of their eyes the Imperialists opened up with muskets and Napoleons destroying 2 Regular companies. The Irregulars however carried on over the entrenchments into hand-to-hand combat with the Imperialists.


The Irregular stood little chance charging the entrenchments and were easily pushed back leaving the Imperialists not only  holding the hill but advancing down to support the fight in the pass.

The Pass was only wide enough for a company to advance in column which put the Republicans at a disadvantage. [The circular bases were classed as impassible]


The Republicans bravely attempted to push through the pass but the exit was held by a company of Zouaves supported by a company of French infantry. The arrival of Republican Regular Infantry companies from the left hand hill did open up the pass but the Republican army was on the verge of breaking.

In total the Republicans lost 6 units and the French lost 2. The early arrival of the French column scuppered the chances of the Republicans capturing the town and combined with the defence of the pass by the Zouaves left the French/Imperialists victorious.

The rules worked well but it was the first time we had used cavalry in anything other than a skirmishing role.

For the ACW Brigade game they are used either in the pre-battle terrain game to modify terrain placement dice rolls or they can be used in the game to move fast and then dismount to shoot. They are not allowed to charge anything even other cavalry.

For the Maximilian Company game they were allowed to charge but their factors need tweaking as they were too good in some respects but pants in others.

We are also considering whether shooting should be more effective in the Company game.

More photos can be found here