This is the third scenario in our Romans vs Blemmye "campaign" using our variant of the 19th Century colonial ruleset
Battles For Empire 2. (BFE2).
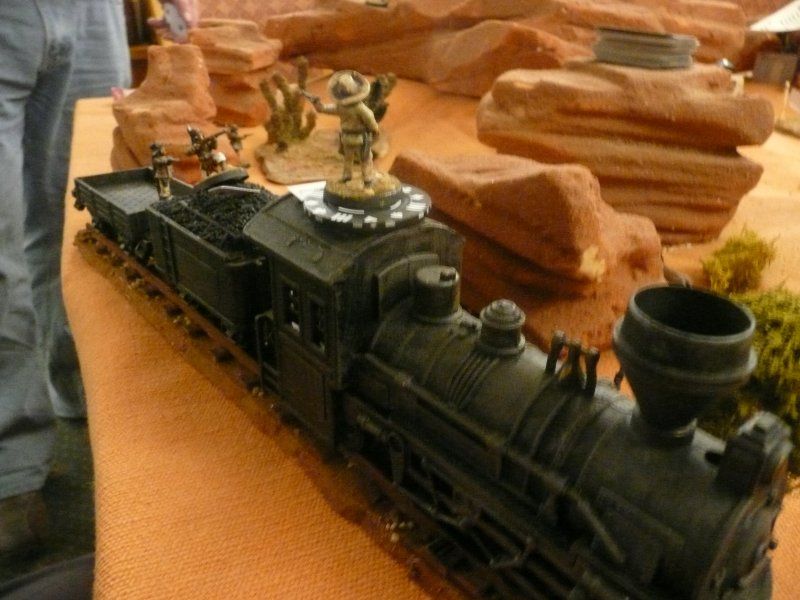
The game is set in Upper Egypt circa 400AD. The figures are 15mm and based for Armati. Each figure represents about 5 men so a Roman Legionary unit represents a Century
The Scenario
Following their defeat to the Romans at the Temple at Kalabsha the Blemmye responded with a series of vicious raids. Much booty,including many slaves, was accumulated and the raiders headed south towards towards their tribal lands to enjoy the rewards.
The Blemmye have stopped for a brief overnight respite in the deep southern wastes at the Oasis at Kalab believing they are safe from Roman attentions. The Romans, however, have other ideas and have force marched to catch them.
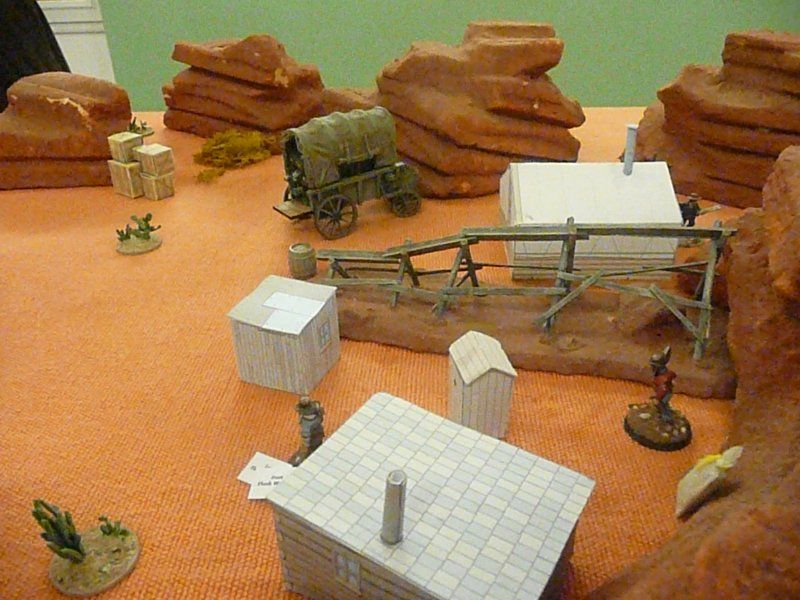
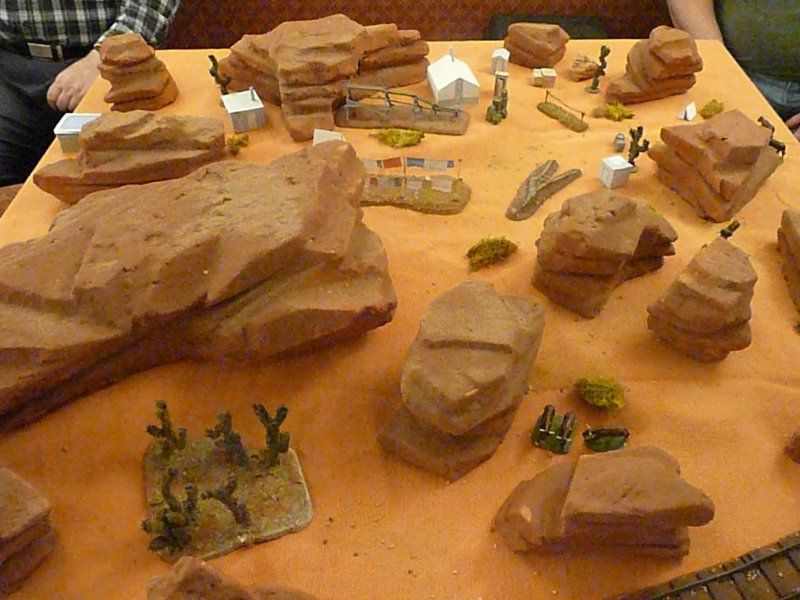
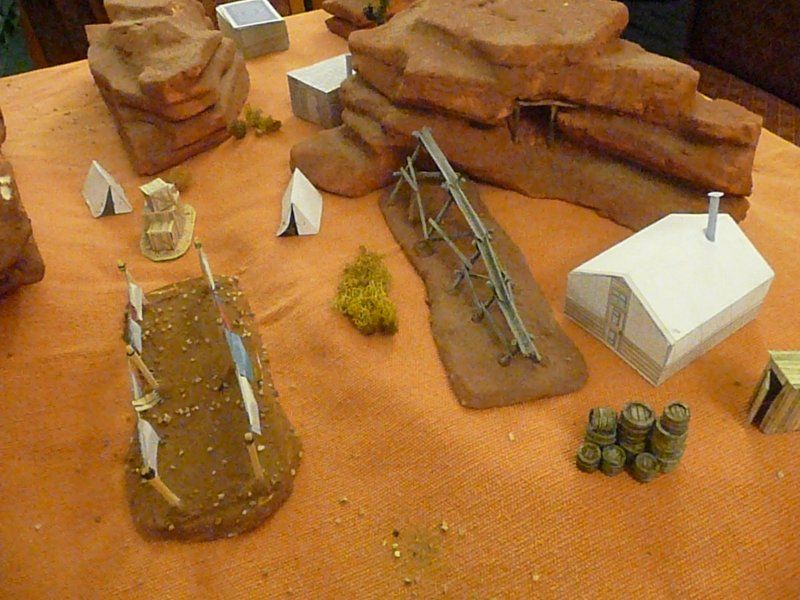
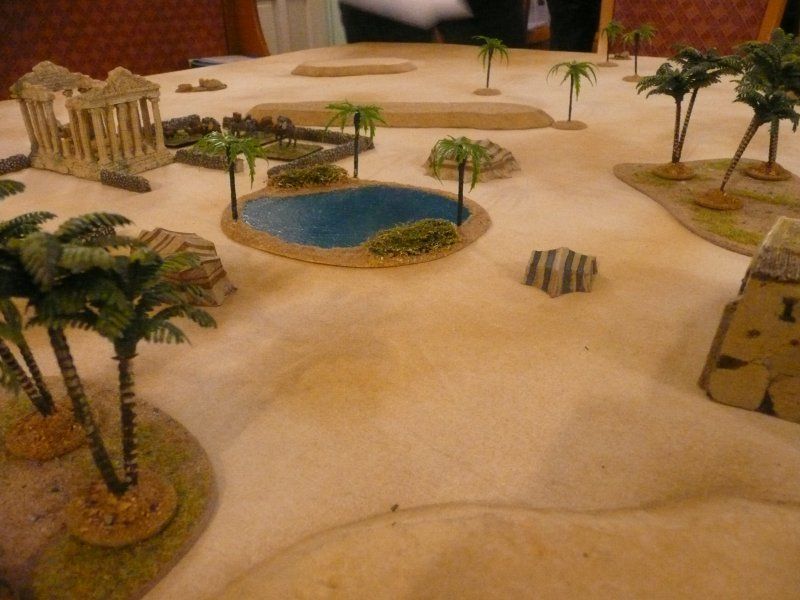
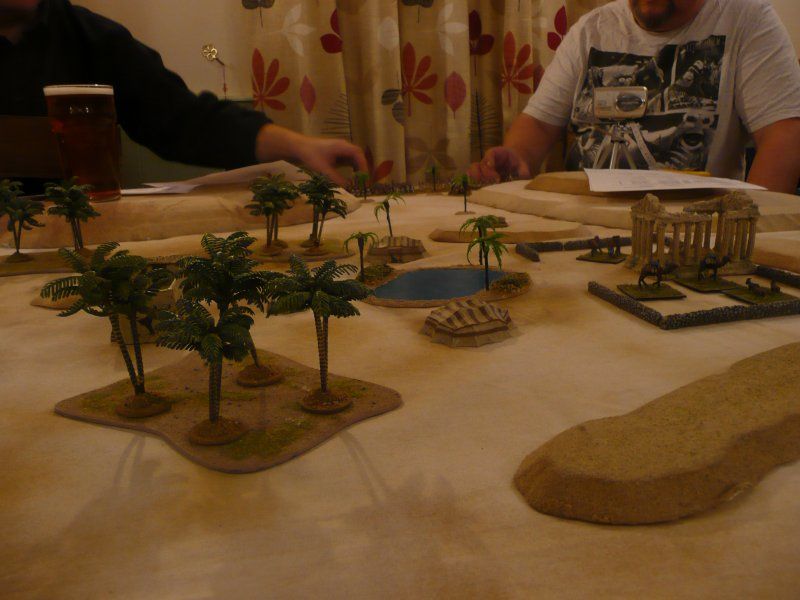
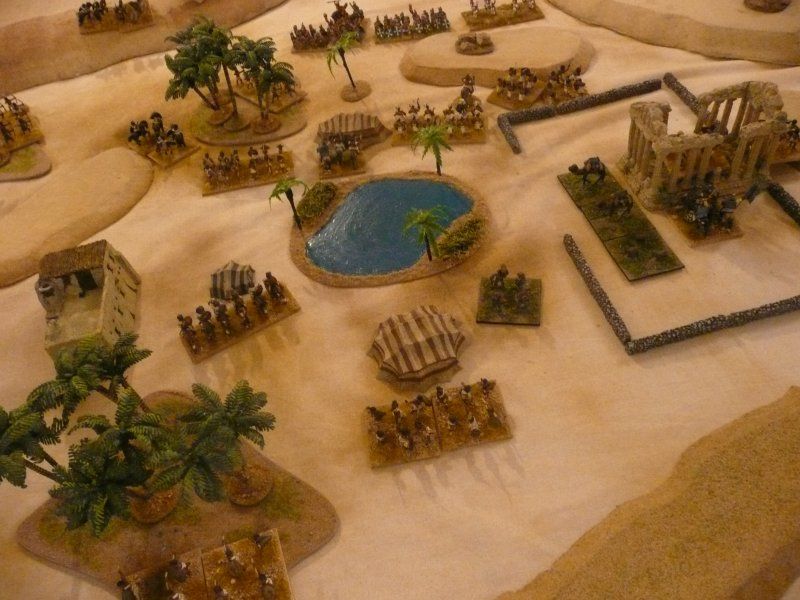
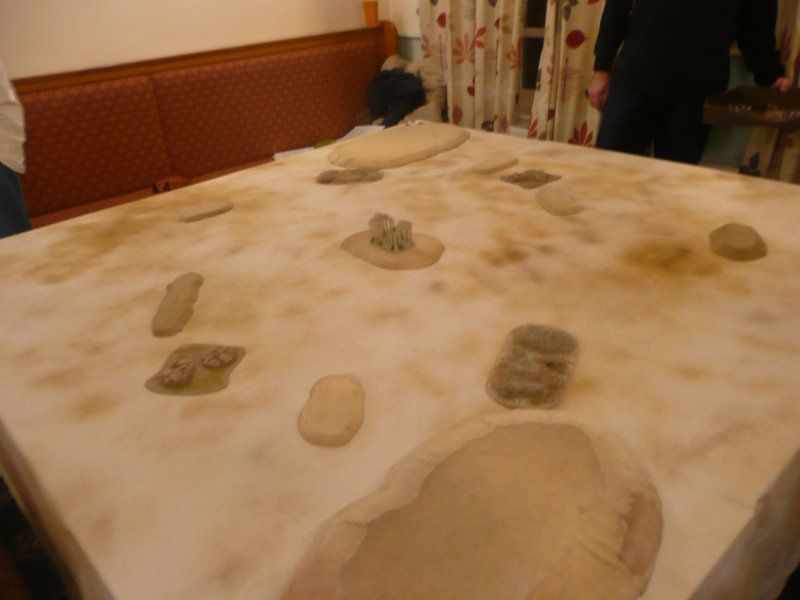
The Terrain
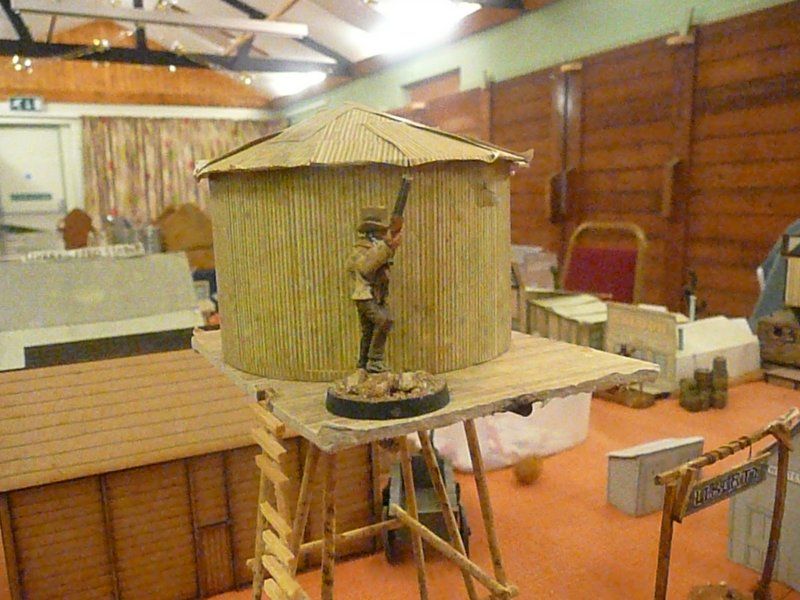
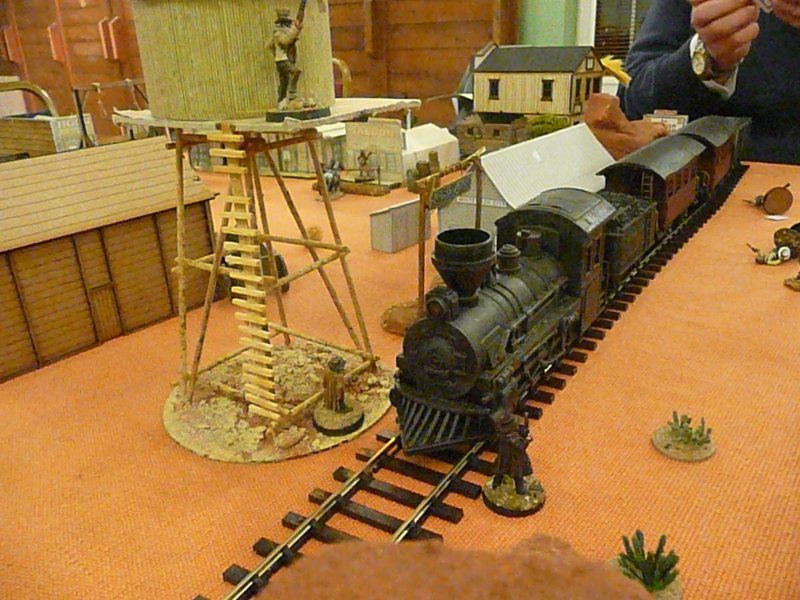
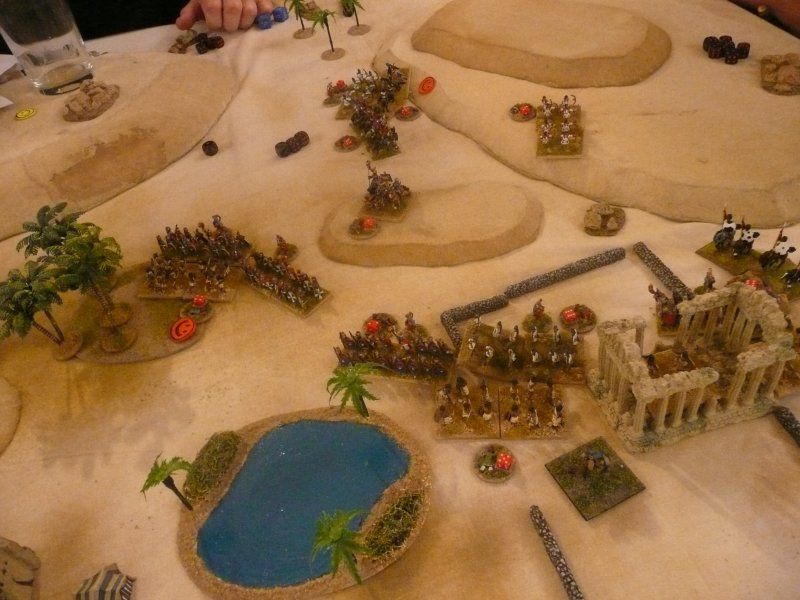
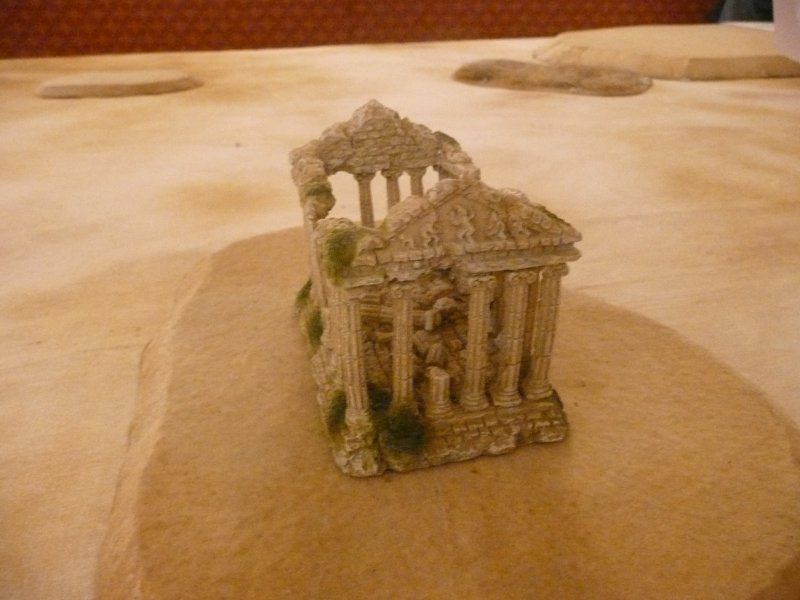
The oasis is surrounded by low sand dunes that block line of sight. The booty and slaves are held in a temple compound. and a building, a few tents and clumps of palm trees are scattered around the oasis. The temple and the building can each hold one unit that always fights as skirmishers. The Temple compound is placed 30" inches from the southern edge so that it will take the booty/slaves 6 turns to exit the table moving at 6" per turn
Roman Objective
Retake the booty, rescue the slaves and destroy the Blemmye raiding force
Roman Forces
| 1 Commander | +1 12" Command Radius, +2 if attached to unit |
| 2 Leaders | +1 if attached to unit |
| 6 x Century Legionaries | Infantry, Elite, Spears / Javelins - treat as Pila |
| 1 x Egyptian Auxilia | Infantry, Foot Bows |
| 2 x Egyptian Auxilia | Skirmish Foot, Foot Bows |
| 1 x Equites Ala Secunda | Cavalry,Spears / Javelins |
| 1 x Ala Germanorum | Cavalry,Spears
may add +1 to a UCC roll once in the game |
| 1 x Auxilia Sagitarii | Skirmish Horse, Horse Bows |
Roman Deployment
The Romans have surprised the Blemmye at dawn and caught them napping.
Upto 3 units of any type plus a Leader can enter anywhere on the East table edge 15” from the South East corner point. They may enter on Turn 3 or any subsequent turn.
All other troops must march on table anywhere along the northern table edge.
Blemmye Objective
Get the booty off the southern edge of the board
Blemmye Forces
| 1 Commander | +1 8" Command Radius, +2 if attached to unit |
| 2 x Leaders | +1 if attached to unit |
| 1 x Retainer Cavalry | Cavalry, Spears / Javelins |
| 3 x Light Horse | Skirmish Horse, Javelins |
| 1 x Camel troop | Melee weapons
On contact enemy cavalry become Shaken on roll of 1,2 or 3 |
| 1 x Guard Warband | Melee weapons
Can ignore 1 Shaken result once per game |
| 3 x Warriors | Warband, Melee Weapons |
| 3 x Light foot | Skirmish Foot, Foot Bows |
| 2 x Light foot | Skirmish Foot, Javelins |
Blemmye Deployment
The Blemmye have been surprised at dawn and caught napping in their camp
Secretly deploy units within the oasis area.
Pack Mules/Camel Baggage/Slaves must be in the Temple compound area.
1 unit of any type may be placed in each building/tent
1 skirmish Foot Unit may be placed in the Temple
Blemmye Activation
All Blemmye forces are asleep at the start of the game - they are activated by rolling the Turn Number or less on a D6 ie on turn 1 a 1 is required, on turn 2 then a 1 or 2 is required. If a unit is caught asleep then they are immediately destroyed
The dice roll has the following modifiers:
-2 if Heavy Unit
-1 if Skirmish Unit
- leader bonus if attached
The Game
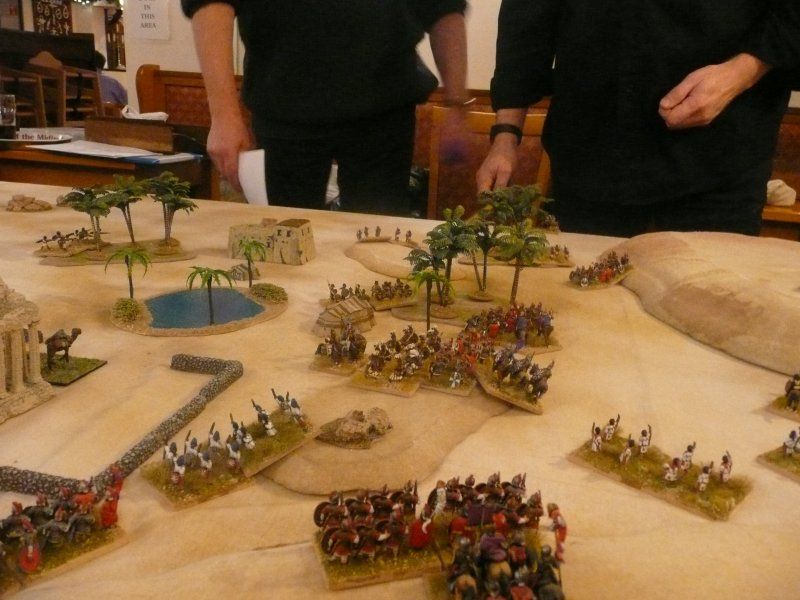
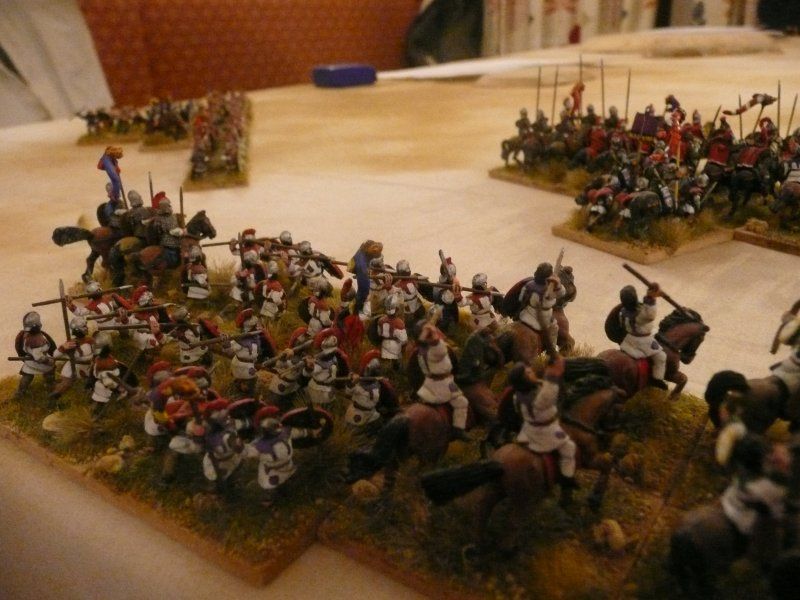
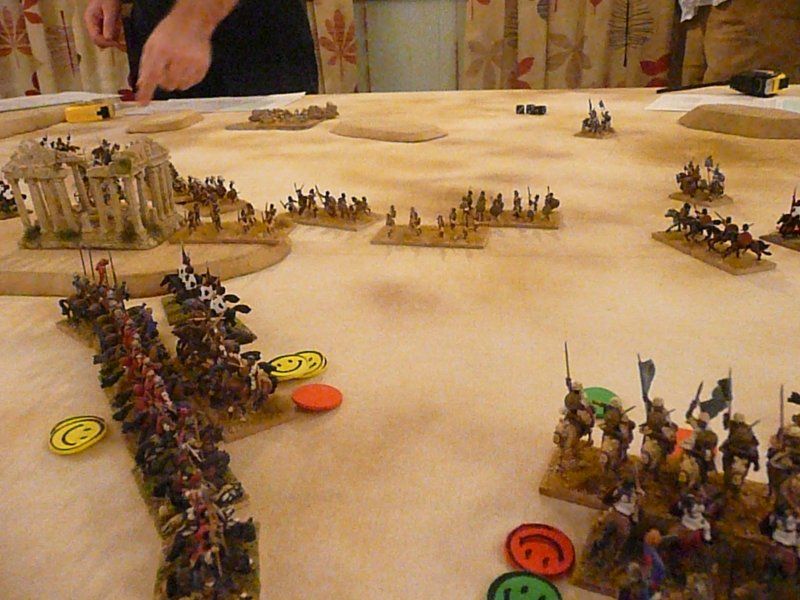
Steve and Shaun were the Romans and Paul and I took the Blemmye. The Romans kept 3 cavalry units off table for the flank march.
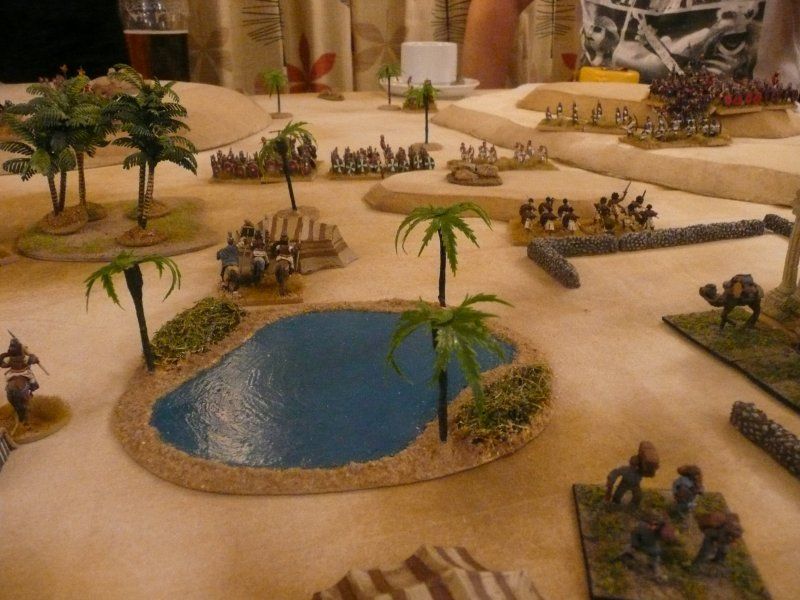
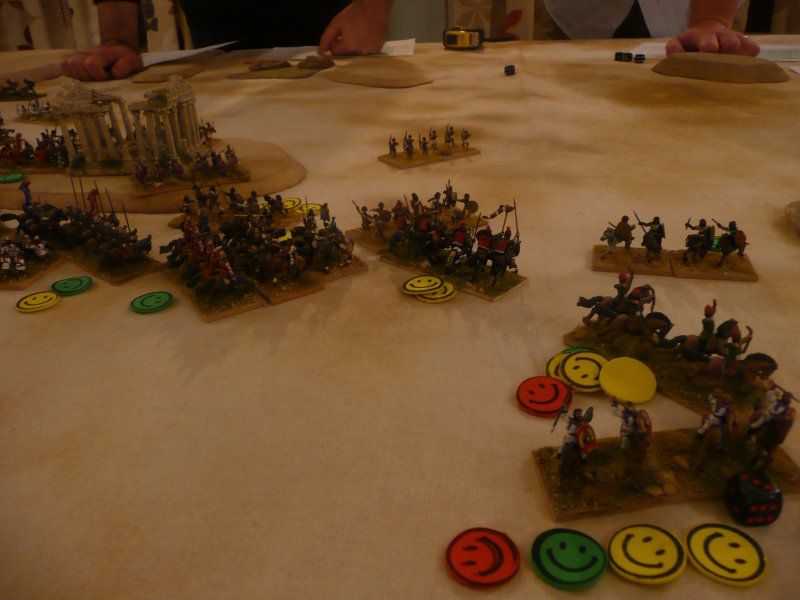
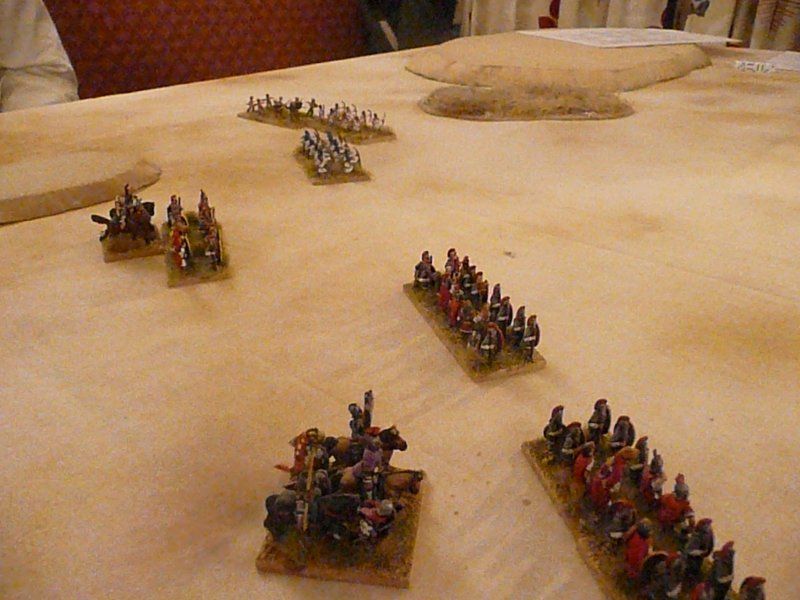
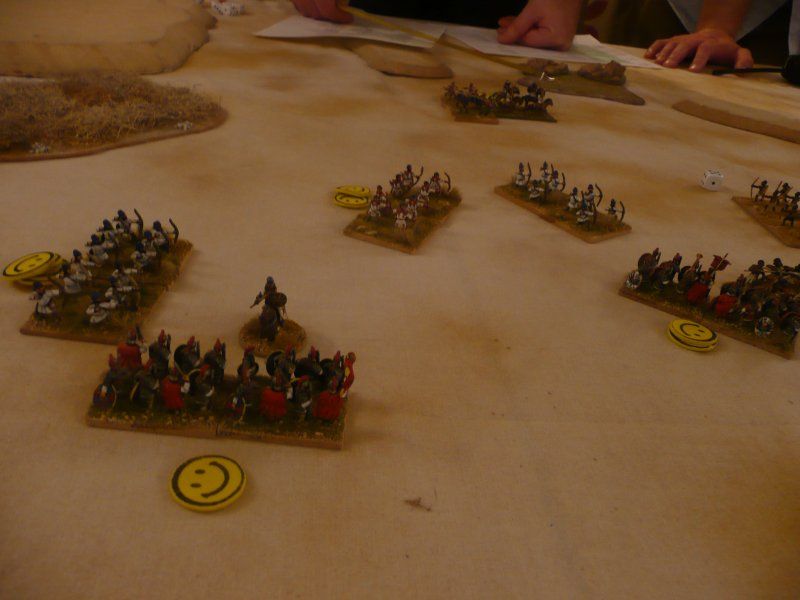
The Blemmye arranged the warband as the frontline with foot skirmishers on the flanks and cavalry at the rear of the oasis in the hope that everyone would wake up very quickly
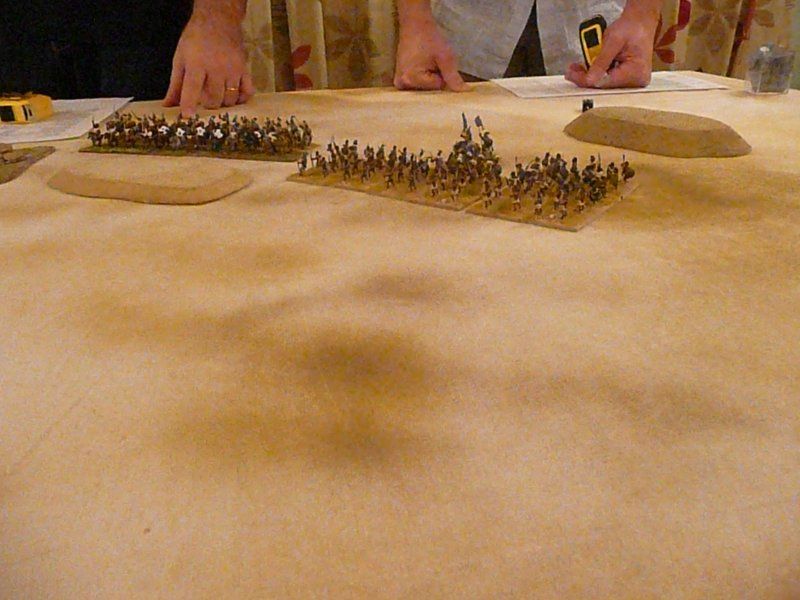
The Romans arrived on the northern edge at the crack of dawn. Our activation rolls only woke up two of the Light horse units and the Slaves
Due to their elite rating the Roman Legionaries moved swiftly towards the camp spotting a sleeping warband which failed to activate
With the exception of this warband and the the booty, the rest of the camp woke swiftly and started organizing itself to face the Romans
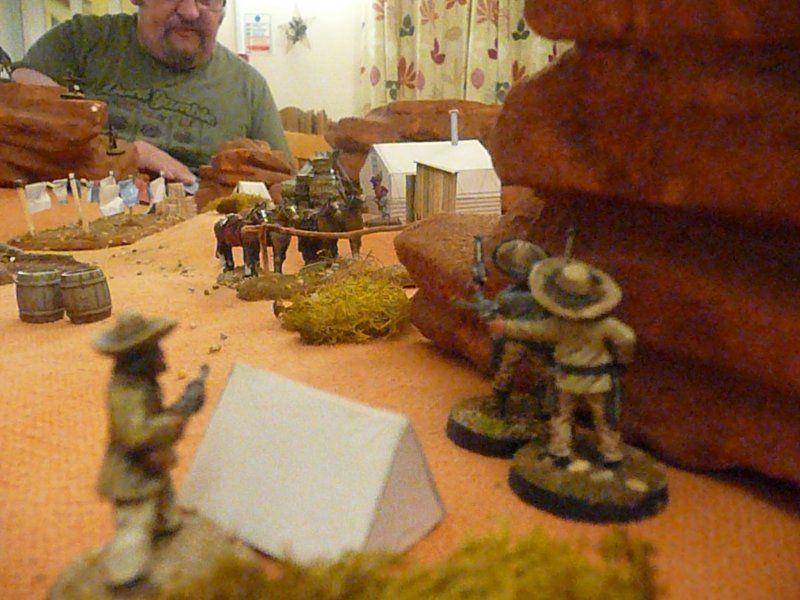
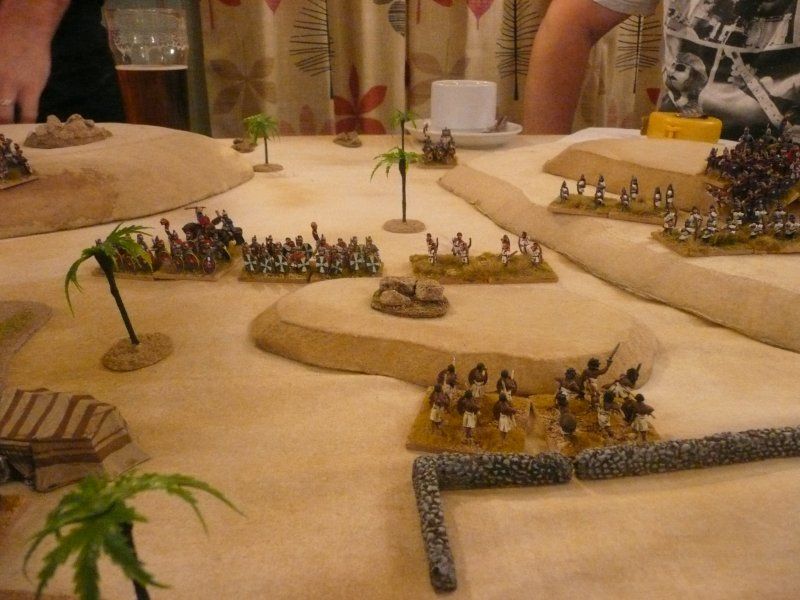
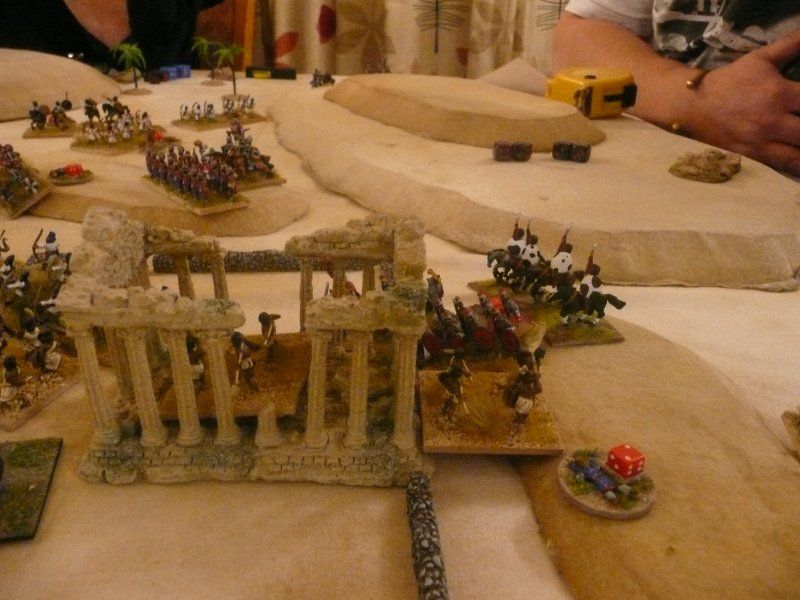
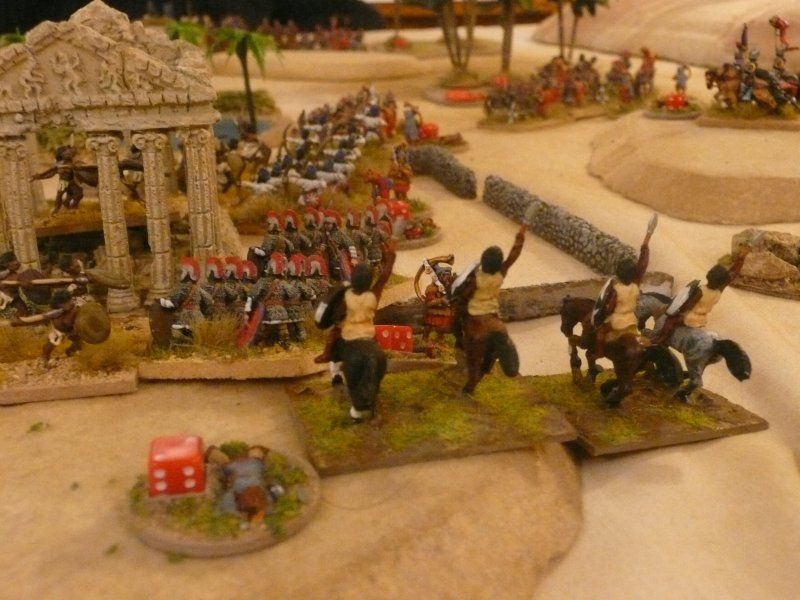
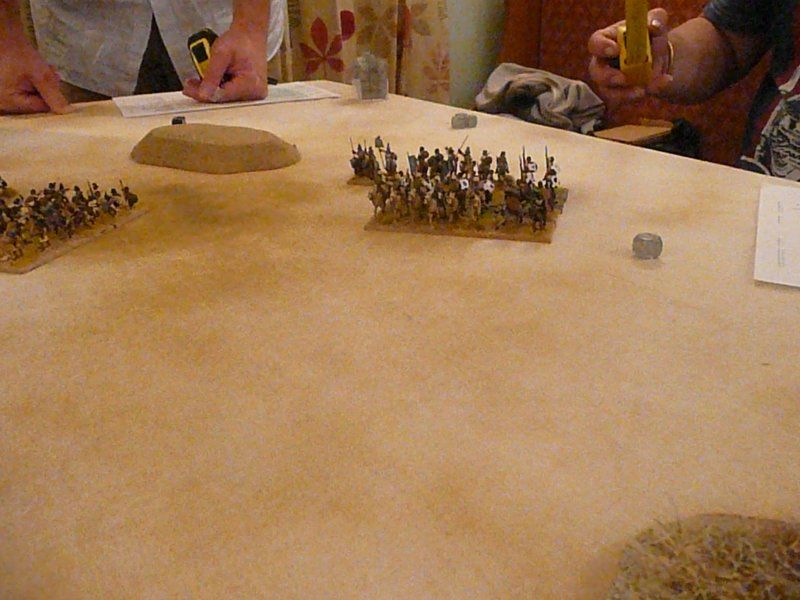
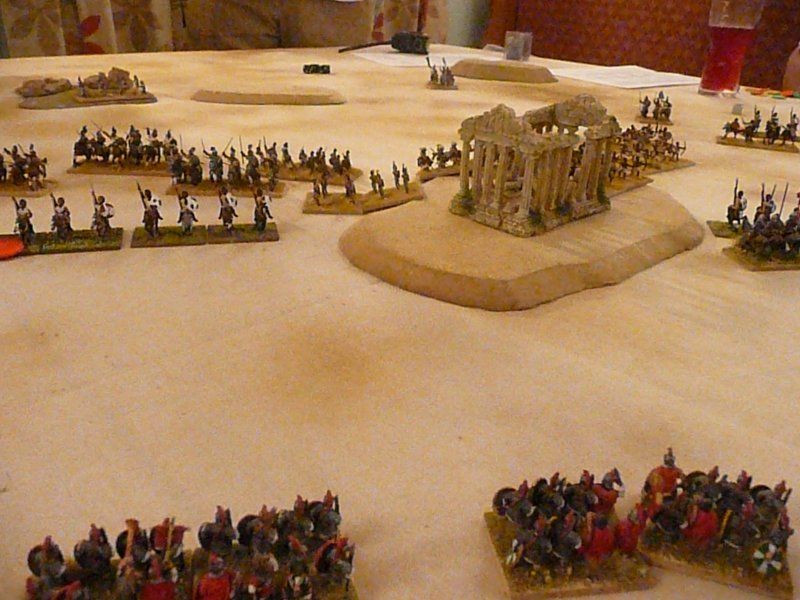
The Romans sent a Auxilia unit in to give the warband a rude awakening. This warband fled leaving only the Guard Warband to take on the might of Rome
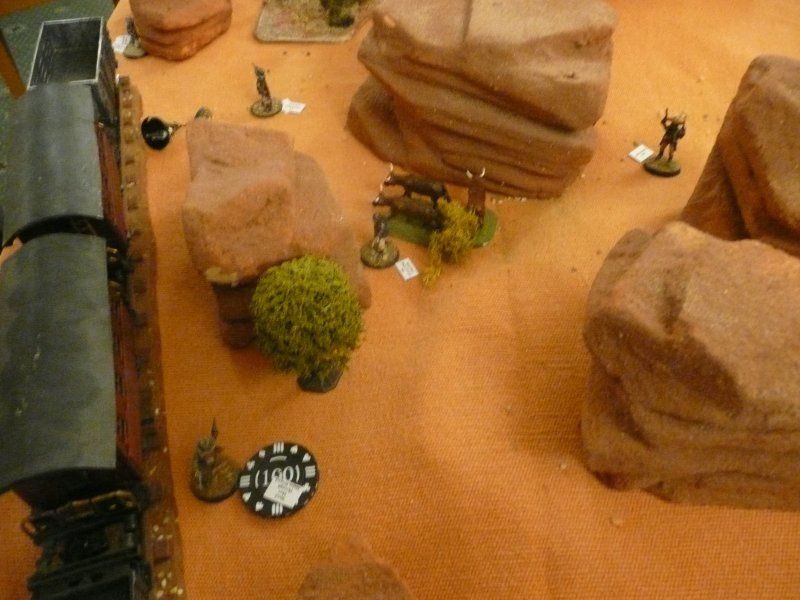
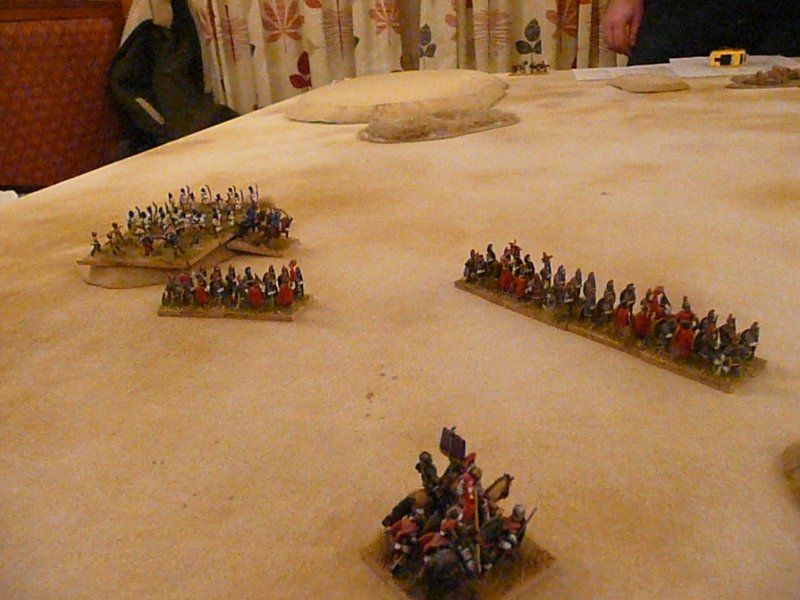
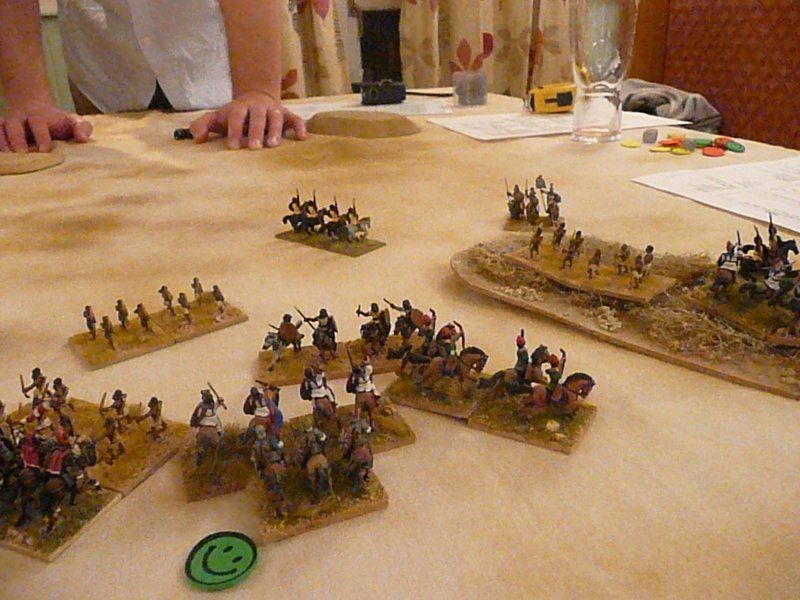
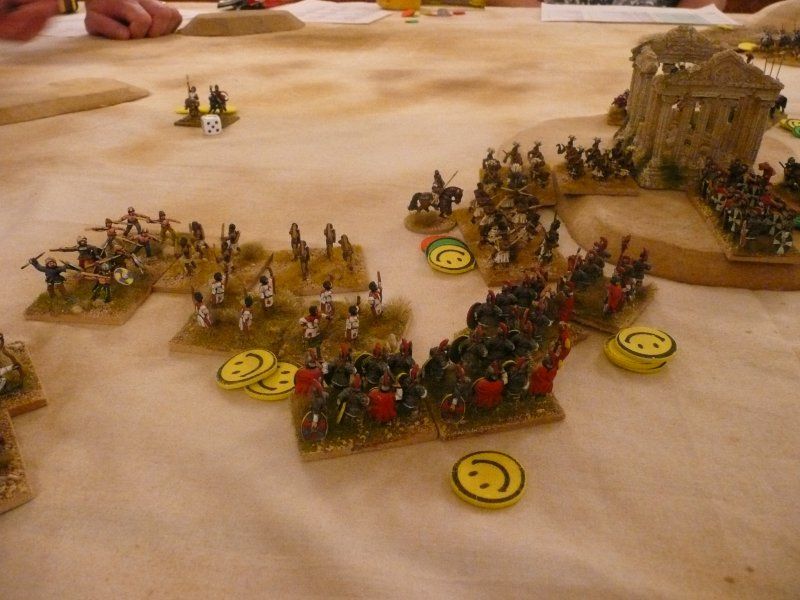
Although Blemmye light troops had got onto the wings and the rear of the Roman force, the latter were unstoppable and stormed the camp
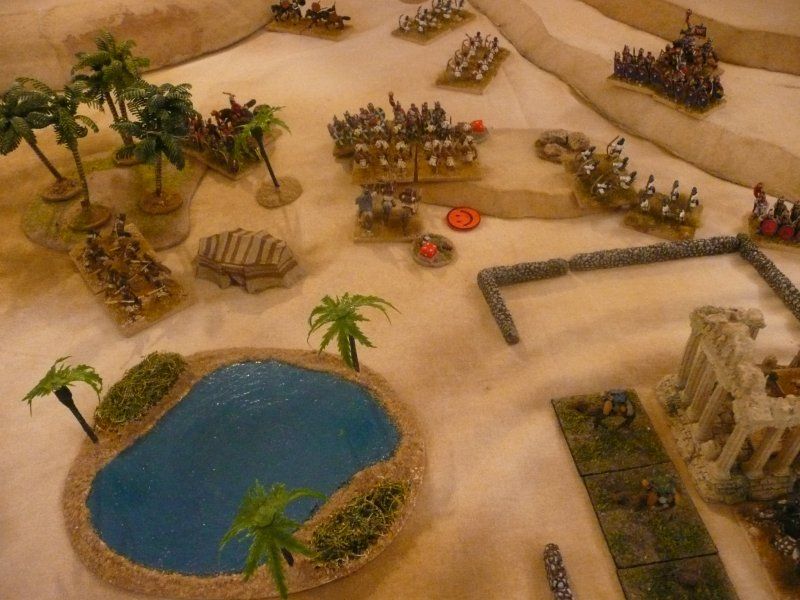
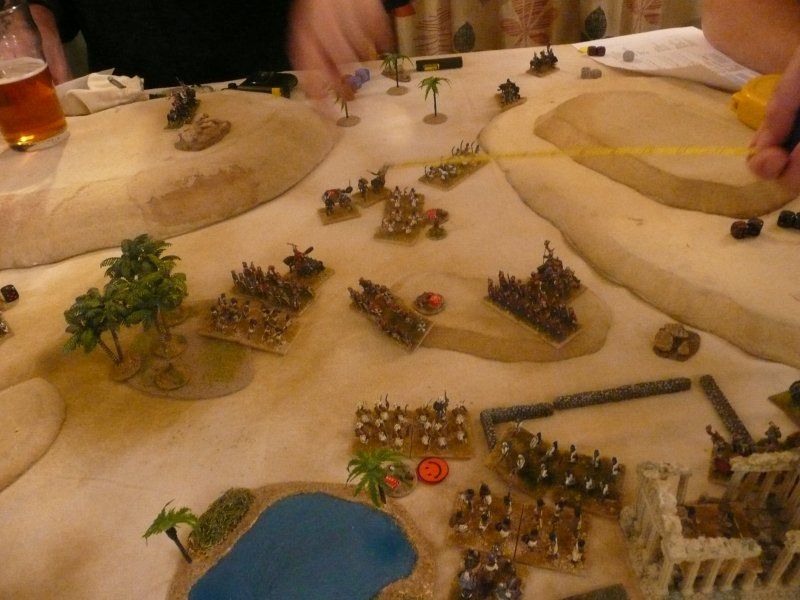
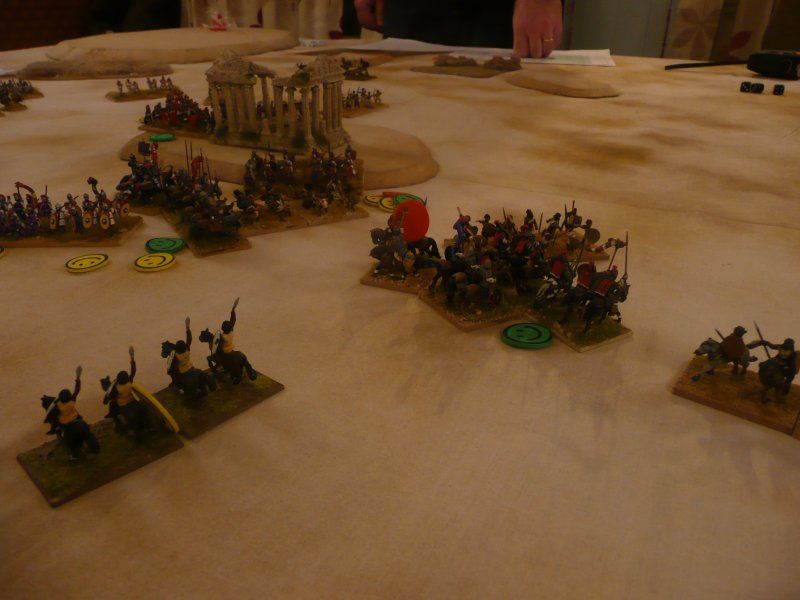
However the remaining Blemmye warbands advanced to join the Guards and managed to hold the line
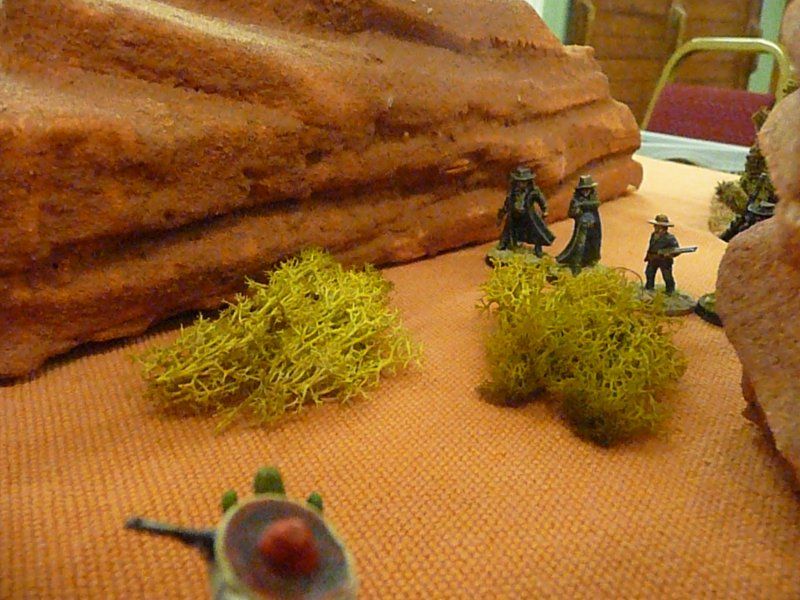
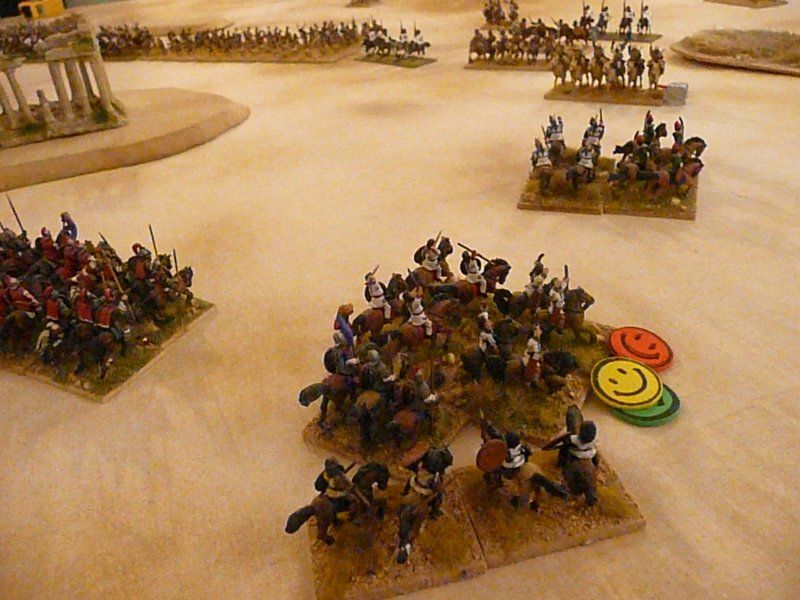
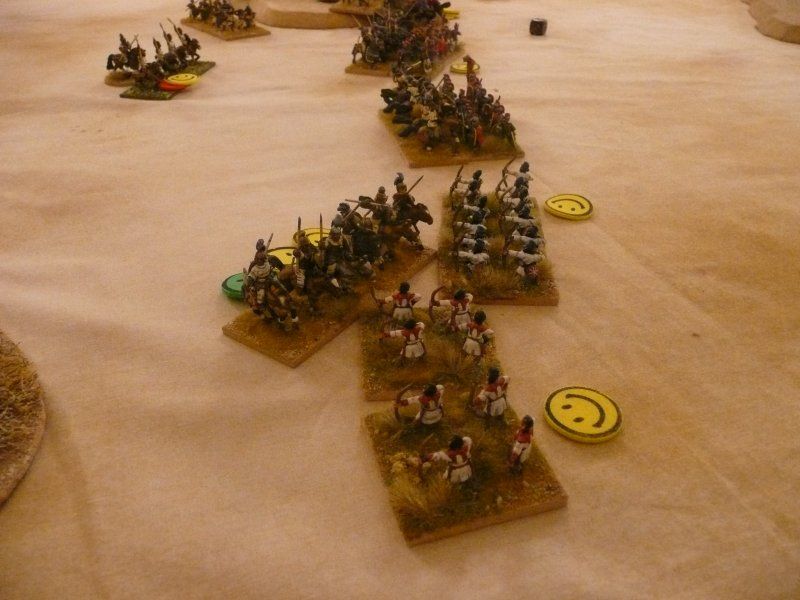
The Romans decided to bring their cavalry flanking force on into the back of the skirmishers on the Blemmye left flank. Regular readers will note that smiley faces are now only used for the Blemmye. The Romans have proper casualty markers and use Cornicines to indicate Shaken units
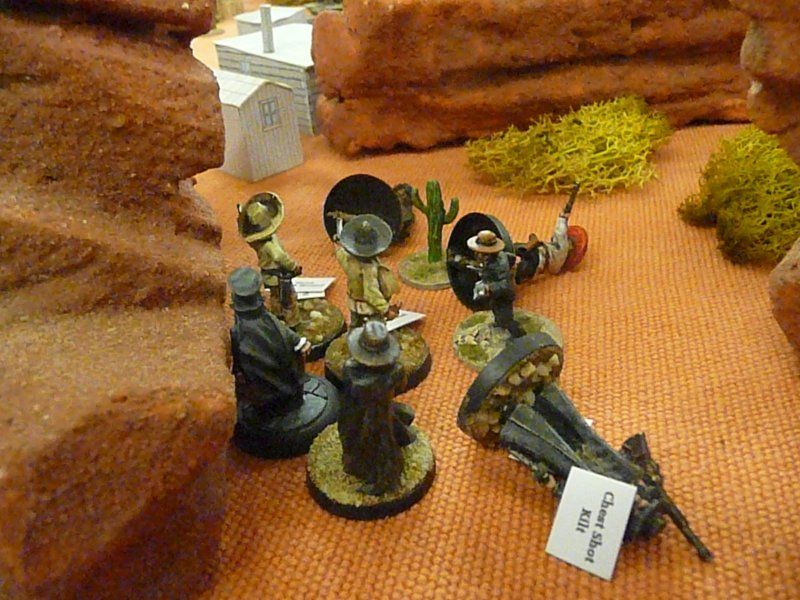
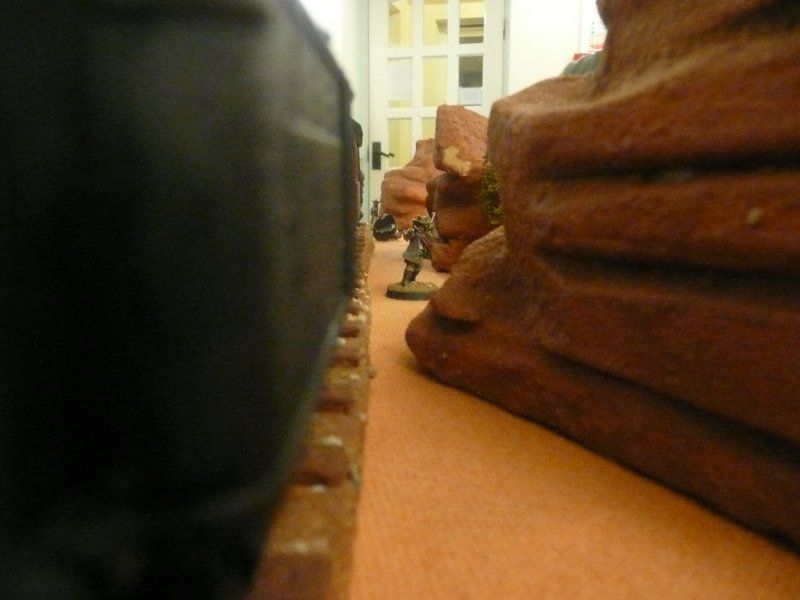
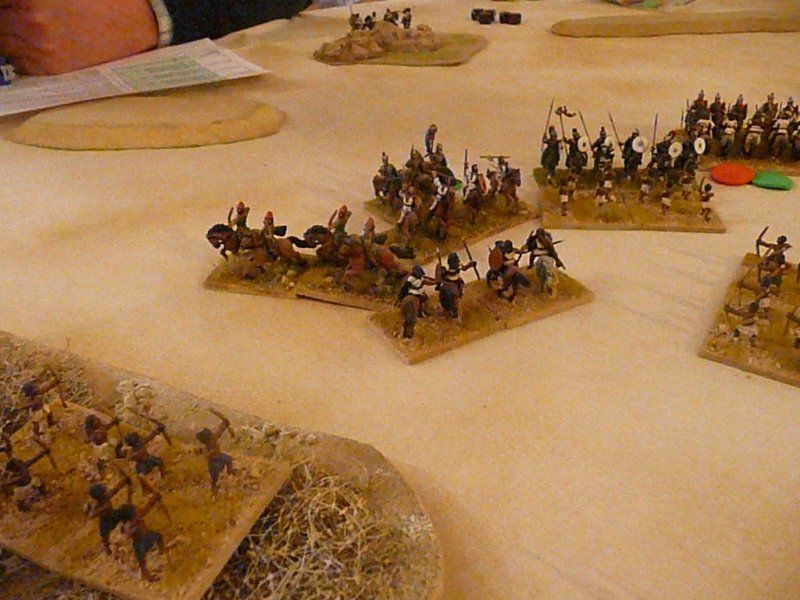
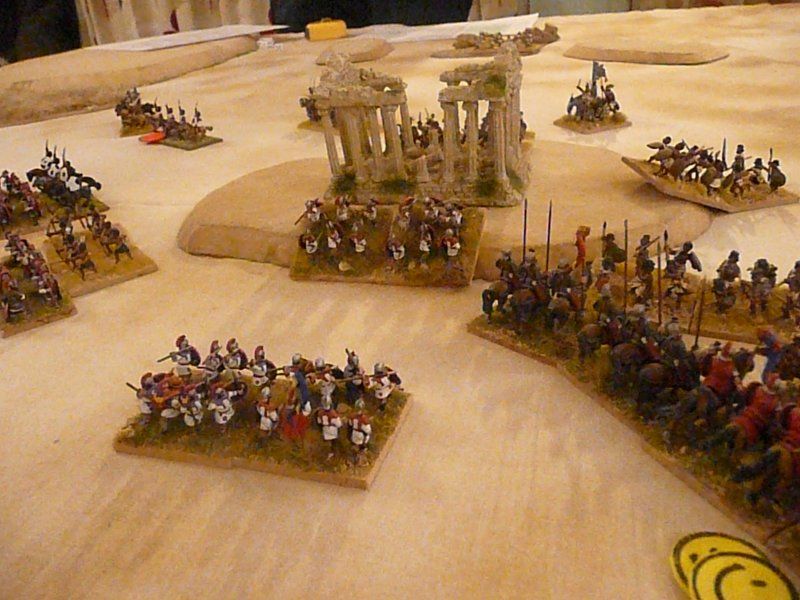
Whilst the Blemmye left flank and centre grimly held on, it was a different story on their right flank where a Legionary unit attempted to storm the temple. This was held by a javelin skirmish unit aided by light horse that charged the Shaken Legionaries. Rule - skirmishers can only charge shaken units or other skirmishers
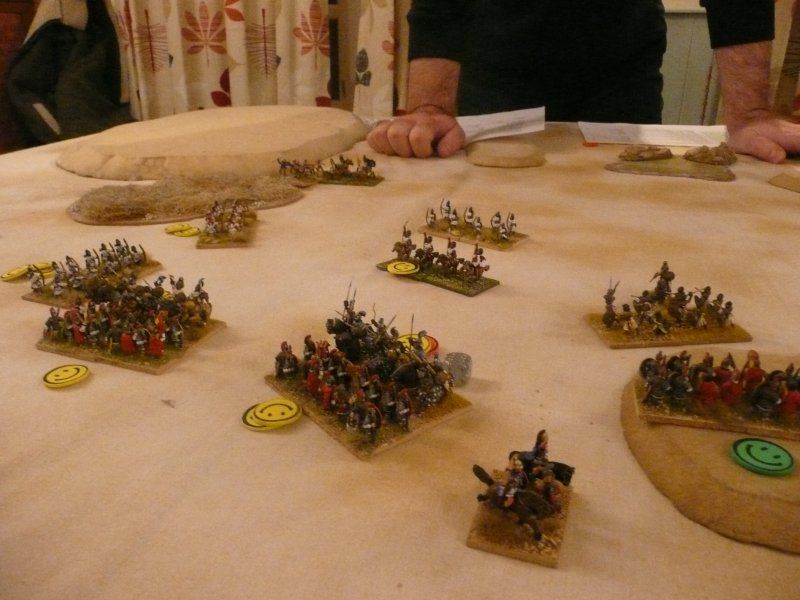
In the centre the Blemmye warbands looked like they might hold up the Legionaries but as the Roman rear was cleared of Blemmye Light Horse the pressure started to mount
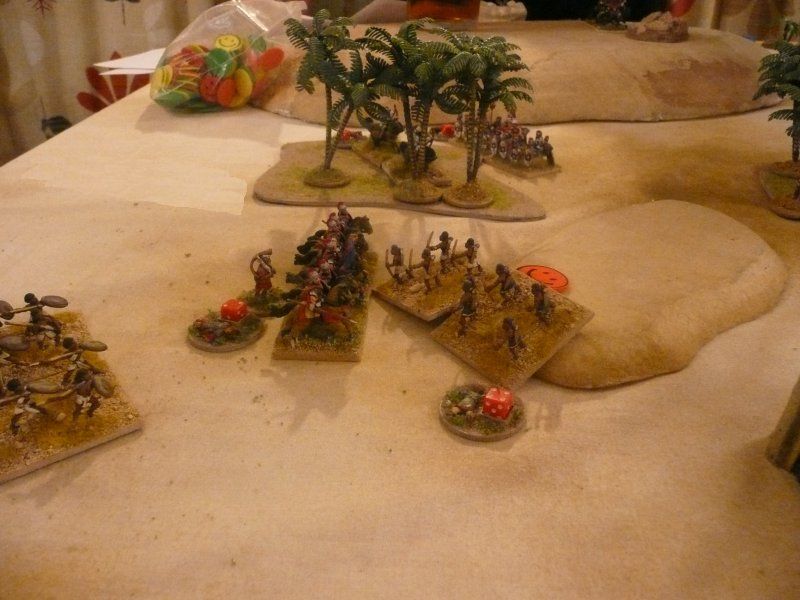
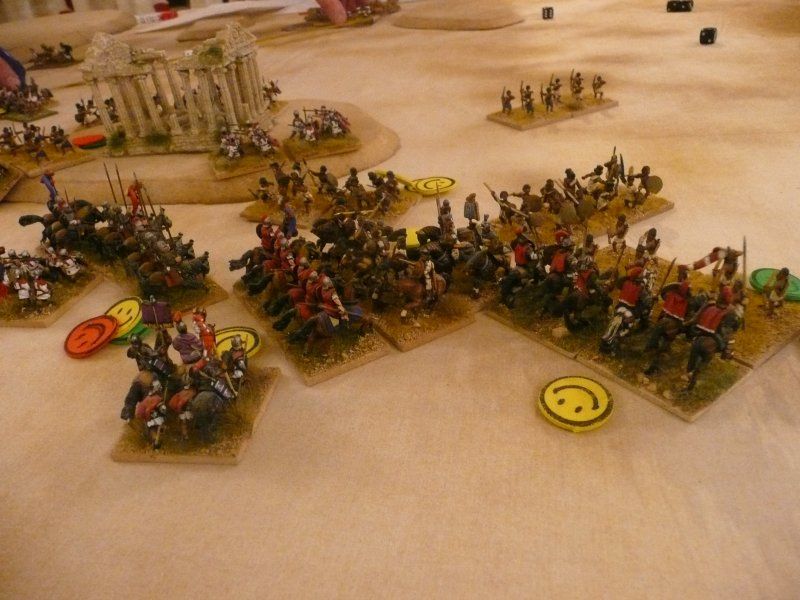
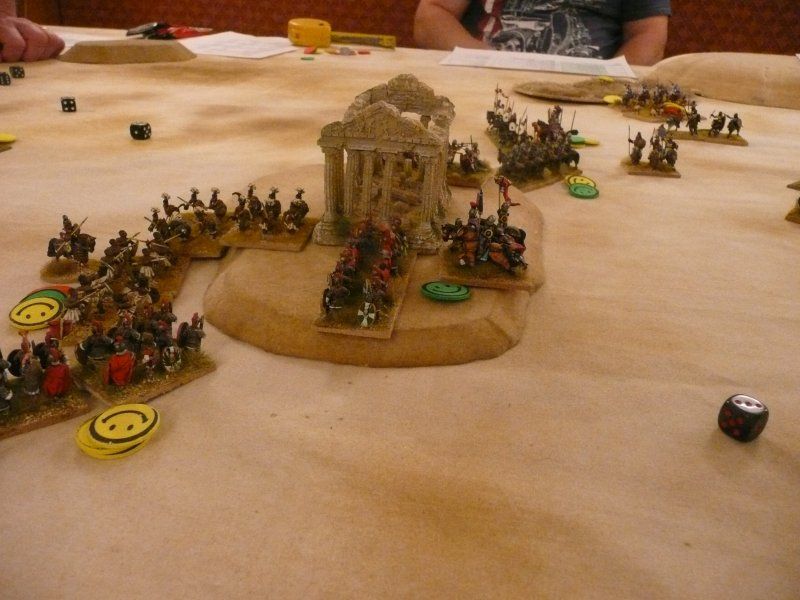
Eventually the remaining booty got organised and started to leave the compound covered by the warbands and skirmishers
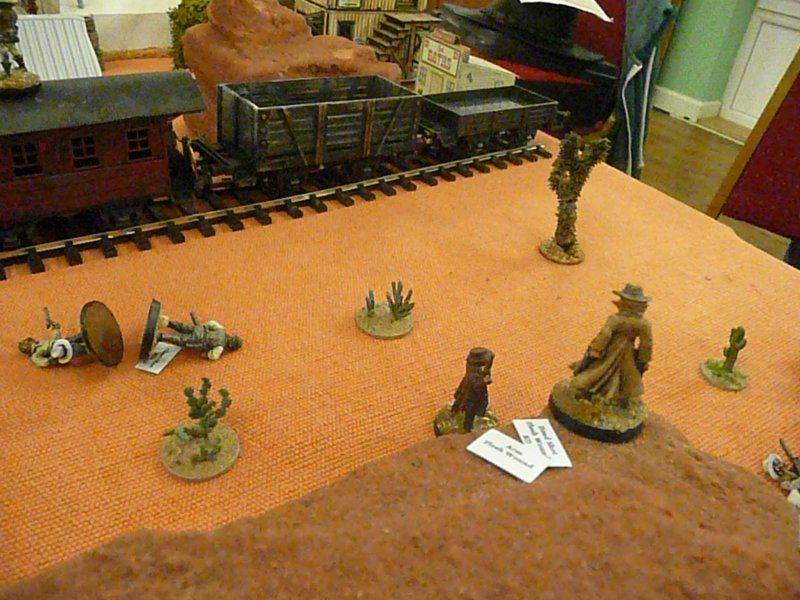
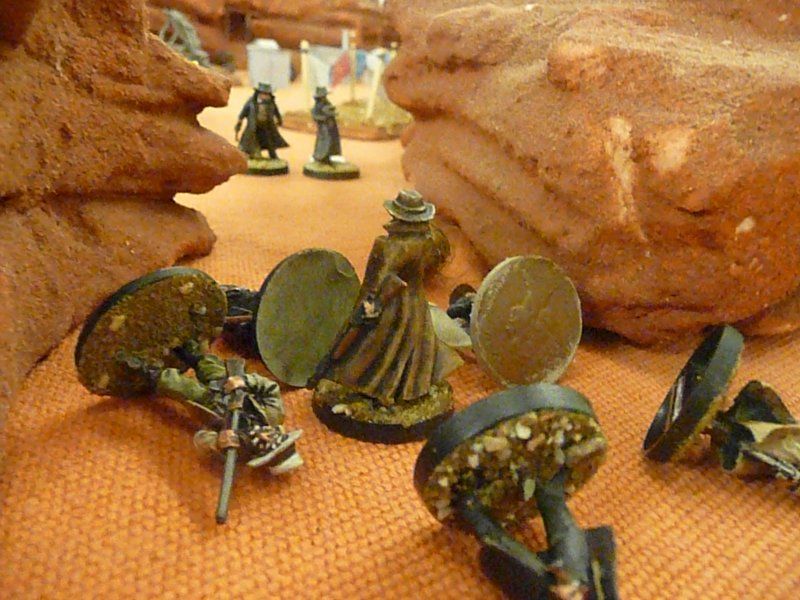
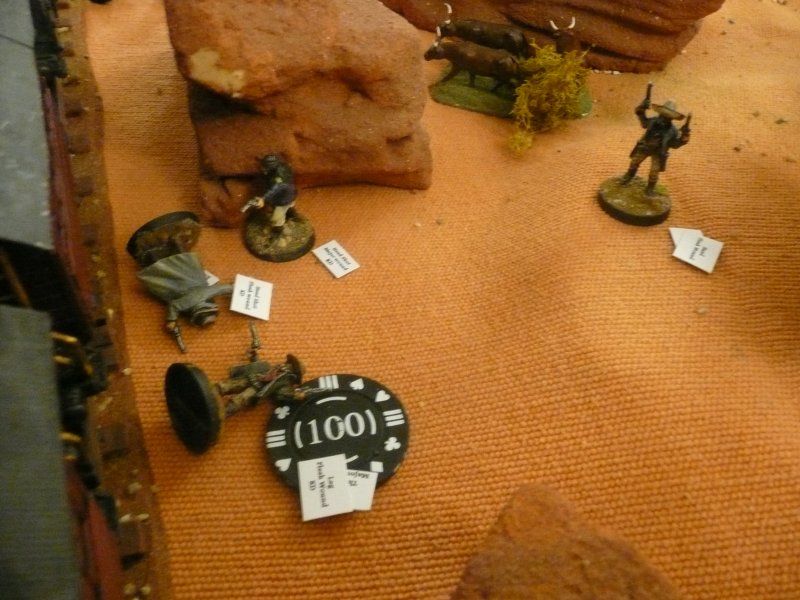
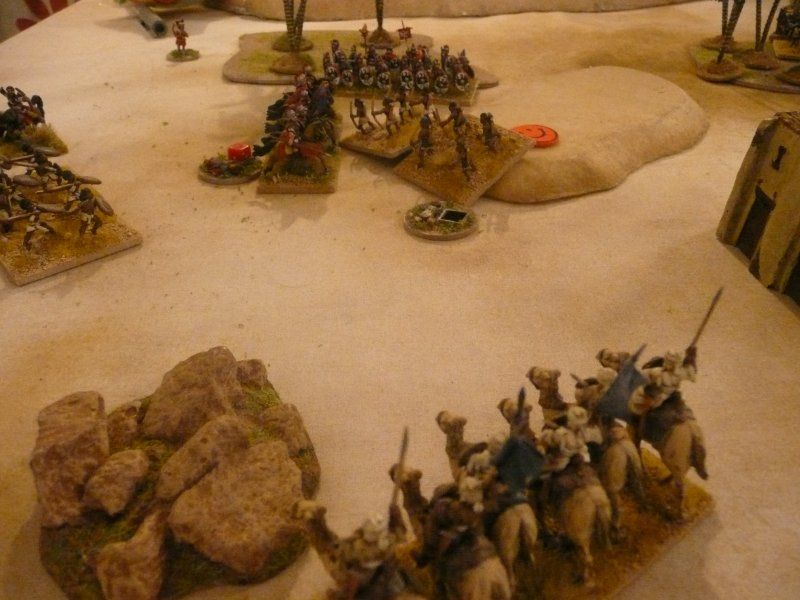
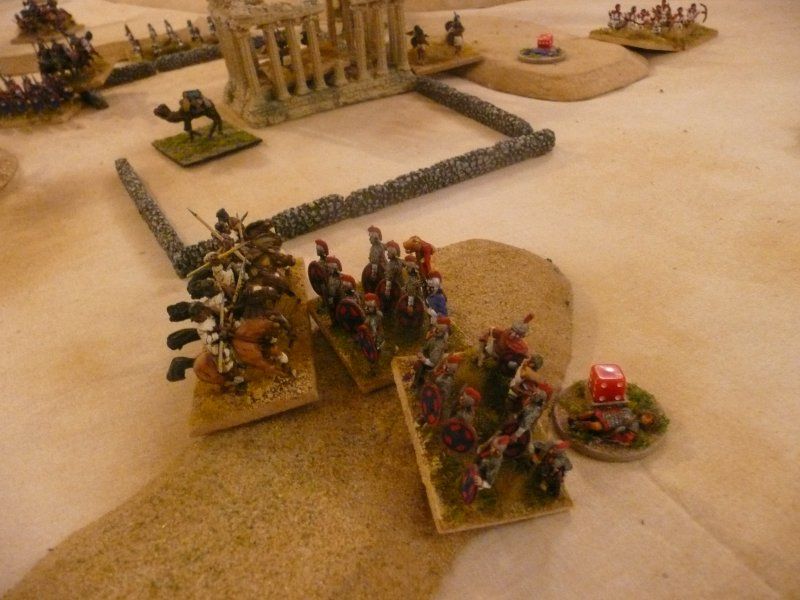
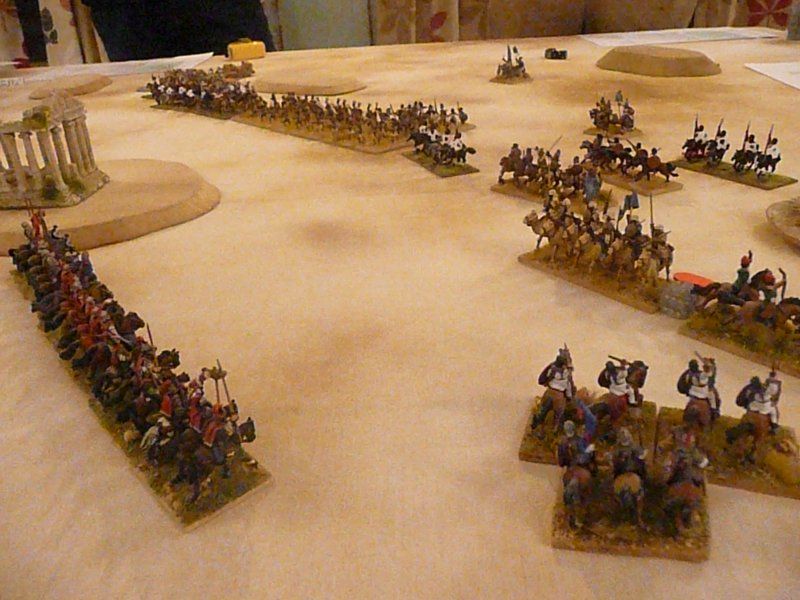
From the far south the Blemmye camelry went into action on the left wing against the Roman Cavalry and Legionaries in a vain attempt to save the skirmishers
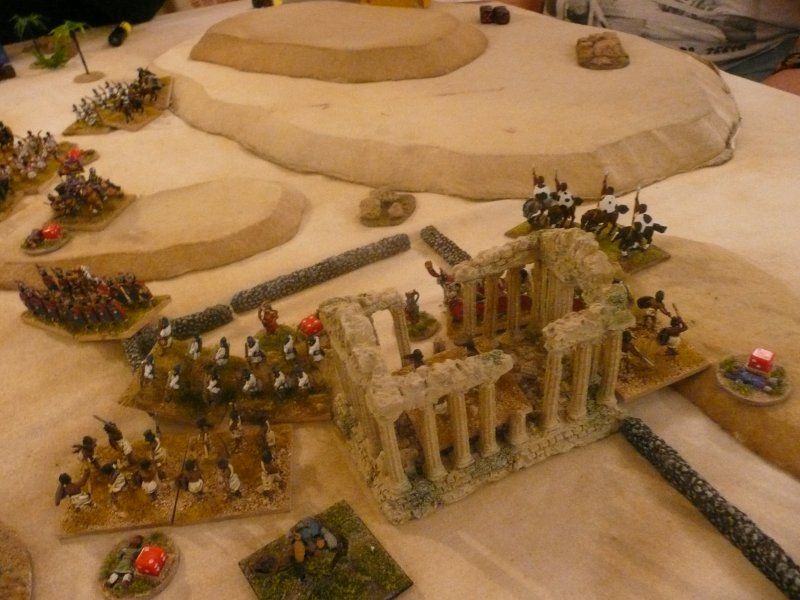
Gradually though the Legionaries wore down the warbands one by one leaving a huge hole the Blemmye centre
At the temple the fight raged on until the Legionaries were rescued by Roman cavalry attacking the Light horse in the flank. The Light Horse fled the field but not before seeing the Legionaries worn down by kills and destroyed.
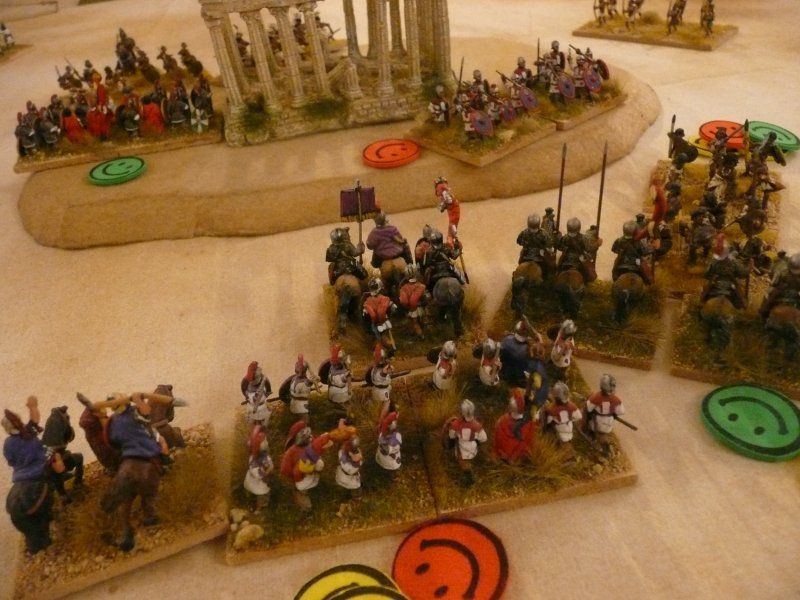
As the slaves and booty headed south the Roman pursuit was bravely thwarted by the Blemmye Retainer cavalry.
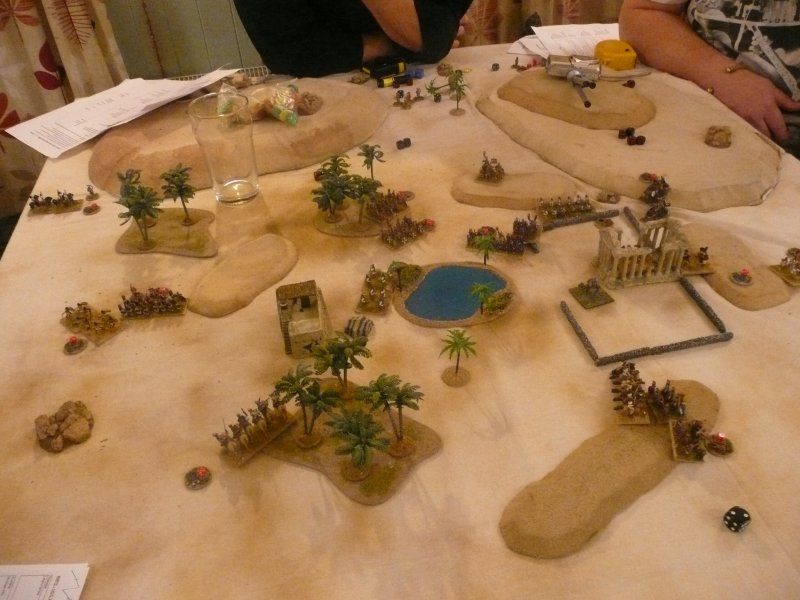
With the slaves and booty gone the Romans were masters of the oasis. Although they had beaten the Blemmye force they had only recaptured 1 of the 3 items of booty and the slaves were nowhere to be seen.
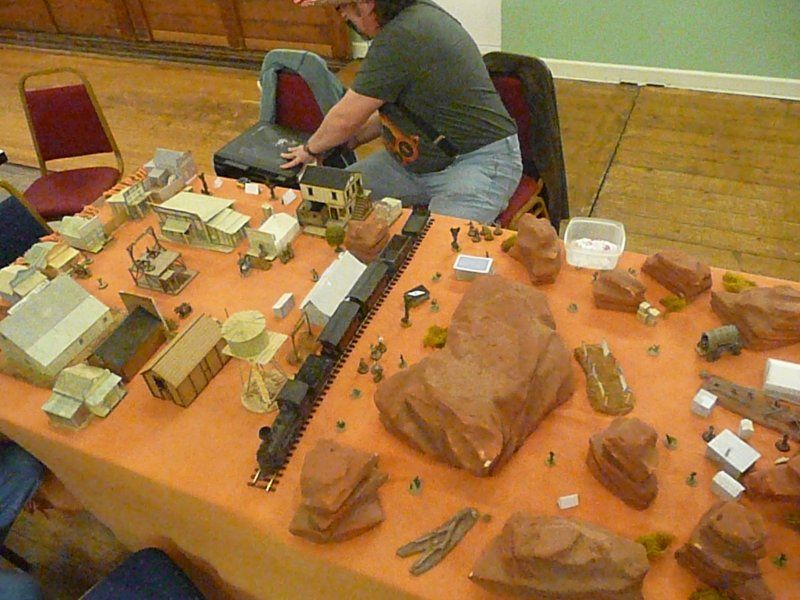
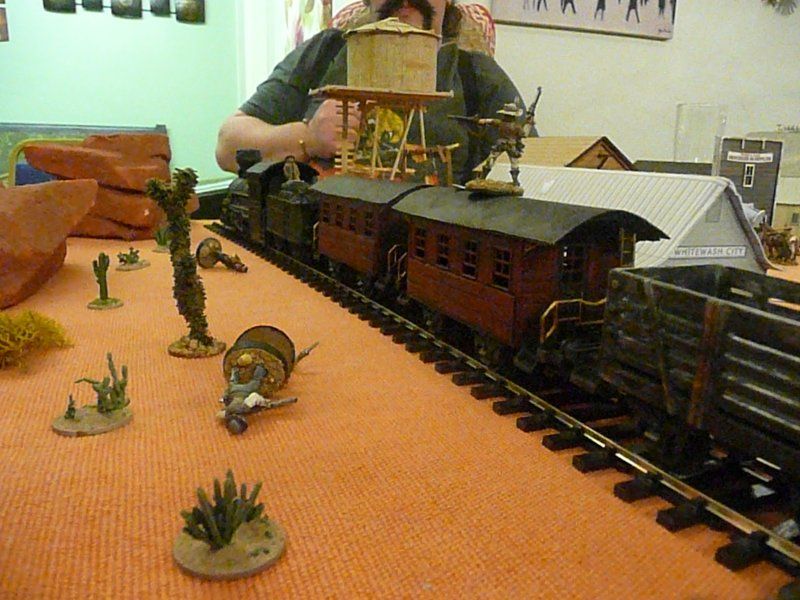
I must apologize for the Roman end of the table in the above photo - it is an utter tip
The Epilogue
After the battle a Roman officer discovered a necklace in one of the tents. Only one such necklace exists in Upper Egypt and belongs to Chlamydia, eldest daughter of Flurus, Roman Governor of the Province. She must have been one of the slaves that got taken south - dan! dan! daaan! - looks like the set-up for the next game
This game was based on the
San Lorenzo scenario from Tim Tilson's Colonial Campaigns book
Maximilian in Mexico. It worked extremely well and certainly gave the Blemmye players an edge-of-the-seat game. It's a mark of a good scenario when it can be played across different periods
Once gain the rules came through with little or no Rule Debating or Recrimination phases
Well done to Rodge for another enjoyable evening
More pictures can be found at
photobucket