Saturday, 23 November 2013

Nikhab Oasis - Romans vs Blemmye using BFE2

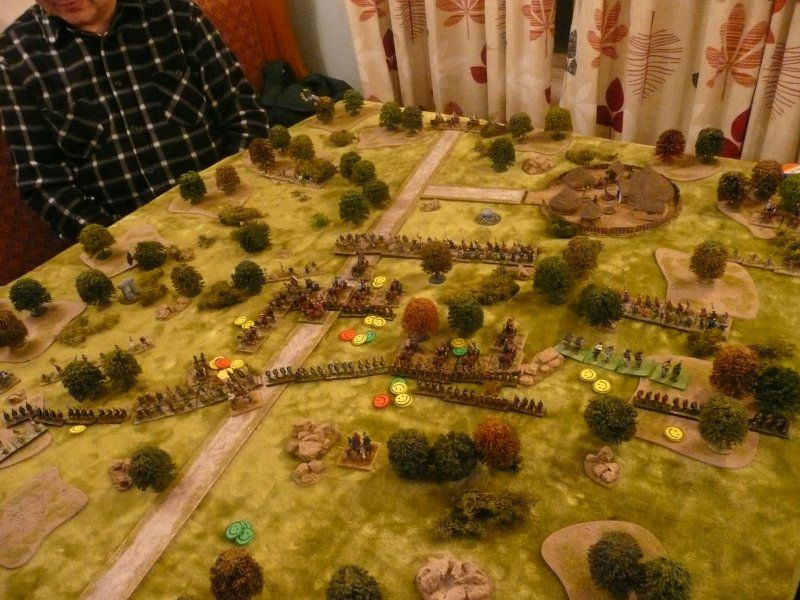
Rodge put on an excellent ancients game using our variant of the 19th Century colonial ruleset Battles For Empire 2. (BFE2). The game is set in Upper Egypt circa 400AD involving a reinforced Roman Cohort of 1000 men vs 1500 Blemmye raiders.

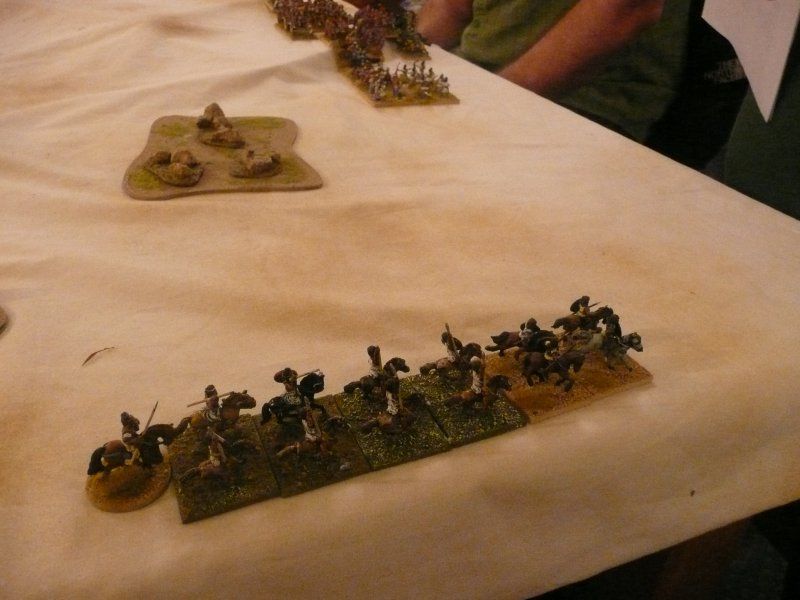
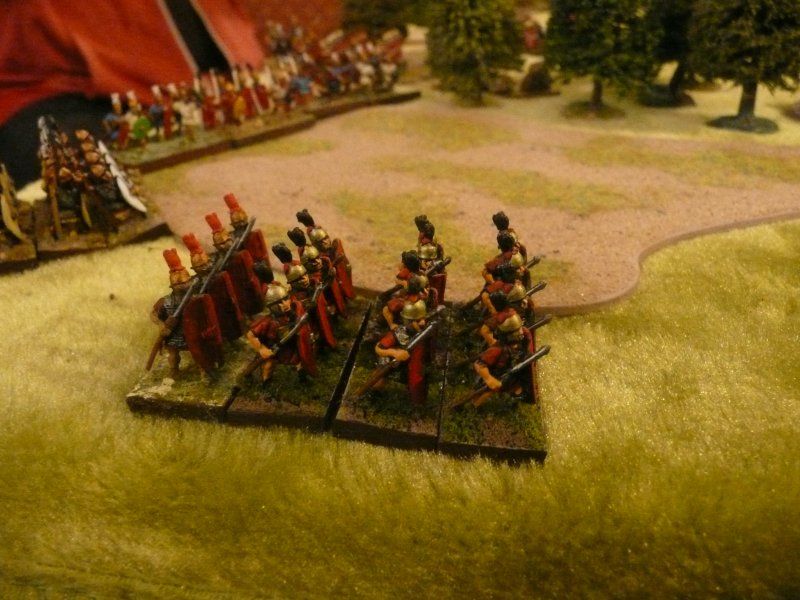
The figures are 15mm and based for Armati. The beauty of BFE 2 is that it works with any basing system. Each figure represents about 5 men so a Roman Legionary unit represents a Century.

The Scenario
The Blemmye raids into Upper Egypt have become a real problem. Thousands of slaves have been taken and the stability and reputation of Roman rule is under threat. The Blemmye are using a series of oasis as supply points.

The Terrain
The Oasis of  Nikhab lies at the southern end of the board. Sand dunes, which block LOS but do not impede movement, surround the table edges. A few areas of rough ground slow down non-skirmish troops. 

Roman Objective
Poison the oasis at Nikhab. To do this have a Legion infantry unit or an Egyptian Auxilia infantry unit, not skirmishers, with the Pack Mule attached to it in base contact with the Oasis for a whole turn and not in Melee.

Roman Forces
1 Commander+1 12" Command Radius, +2 if attached to unit
1 Leader+1 if attached to unit
1 Pack Mule
1 x Century LegionariesInfantry, Elite, Spears / Javelins - treat as Pila
3 x Centuries LegionariesInfantry, Spears / Javelins - treat as Pila
1 x Equites AlaeCavalry, Spears / Javelins
1 x Estate BucellariiCavalry, Spears / Horse Bows
2 x Egyptian AuxiliaInfantry, Javelins
1 x Egyptian AuxiliaInfantry, Foot Bows
2 x Egyptian AuxiliaSkirmish Foot, Javelins
1 x Egyptian AuxiliaSkirmish Foot, Foot Bows
1 x Auxilia SagitariiSkirmish Horse, Horse Bows
1 x Auxilia Light HorseSkirmish Horse, Javelins

Roman Deployment
The force marches onto the table from the centre of the northern edge

Blemmye Objective
Destroy the Roman force before they reach the oasis. Beating the Romans will enhance your reputation and further weaken their hold on Upper Egypt

Blemmye Forces
1 Commander+1 8" Command Radius, +2 if attached to unit
2 x Leaders+1 if attached to unit
1 x Armoured Noble CavalryArmoured Cavalry, Spears / Horse Bows
-1 to ranged weapons
3 x Retainer CavalryCavalry, Spears / Javelins
1 x Camel troopMelee weapons
On contact enemy cavalry become Shaken on roll of 1,2 or 3
4 x Light HorseSkirmish Horse, Javelins
1 x Guard WarbandMelee weapons
Can ignore 1 Shaken result once per game
1 x WarbandMelee weapons
1 x Archer troopFoot Bows
2 x Light footSkirmish Foot, Javelins
2 x Light footSkirmish Foot, Foot Bows

Blemmye Deployment
5 units can start on the table in the southern 1/3 of the table
1 of these units can deploy in terrain in ambush anywhere on the table
The remainder arrive randomly from the south, the east or the west

The Game
Paul and Graham took charge of the Romans and Shaun and myself played the Blemmye.
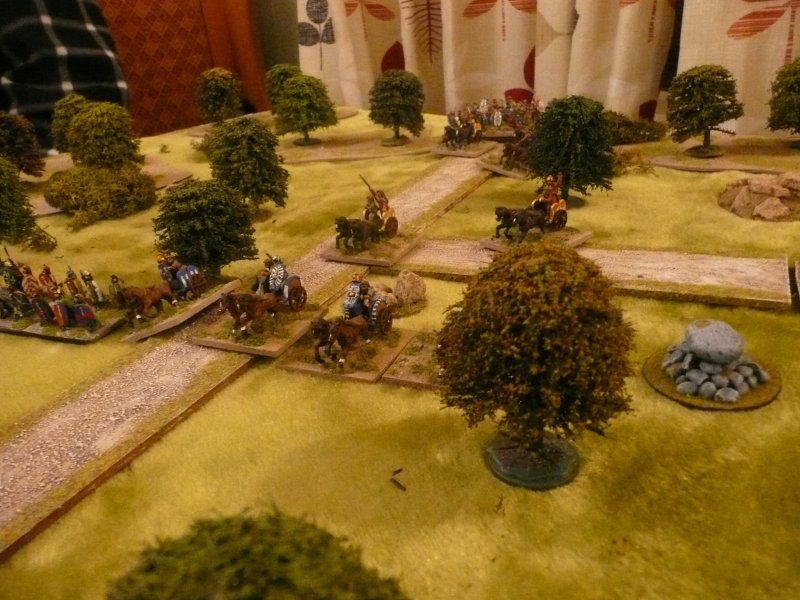
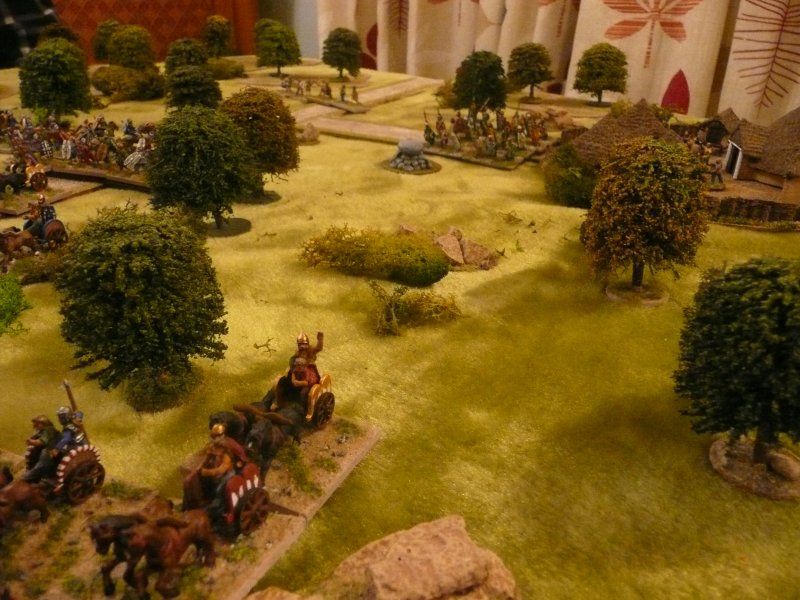
The Blemmye deployed the Guard Warband and the Archer troop in front of the oasis, a light Bow unit was deploy on dunes to the east and the west and the Camel troop was hidden in ambush in rough going on the Roman right flank
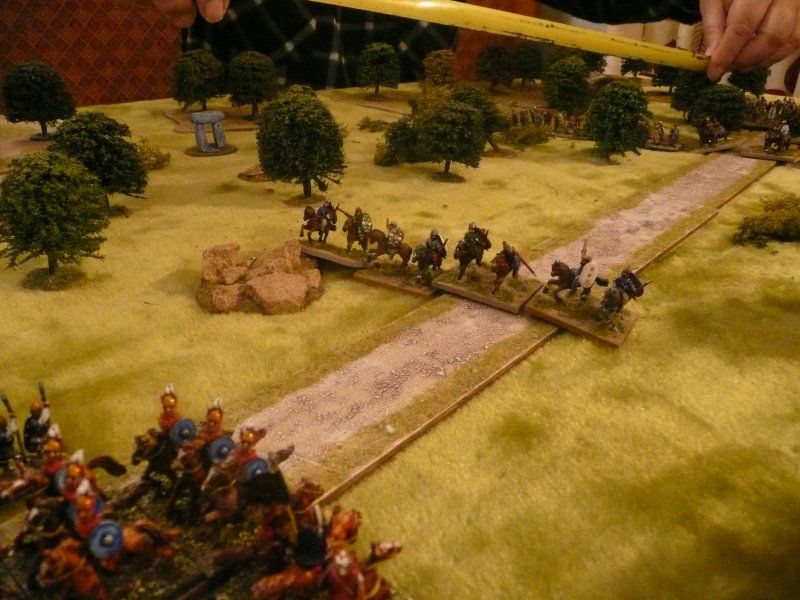
The game started with the Romans deployed en masse on the northern table table. The Blemmye had 3 Light Horse units arrive on the eastern edge which were sent forward to harass the Roman left flank
As the Romans advanced they dispatched units to take on the Blemmye light horse and to engage the Blemmye skirmishers
This advance triggered the Camel ambush against a Roman light foot unit which held owing to the rough terrain
On the Roman left flank the Blemmye horse charged in against skirmishers. Bad dice gave the advantage to the Roman skirmishers - no doubt bolstered by the arrival of the Bucellarii

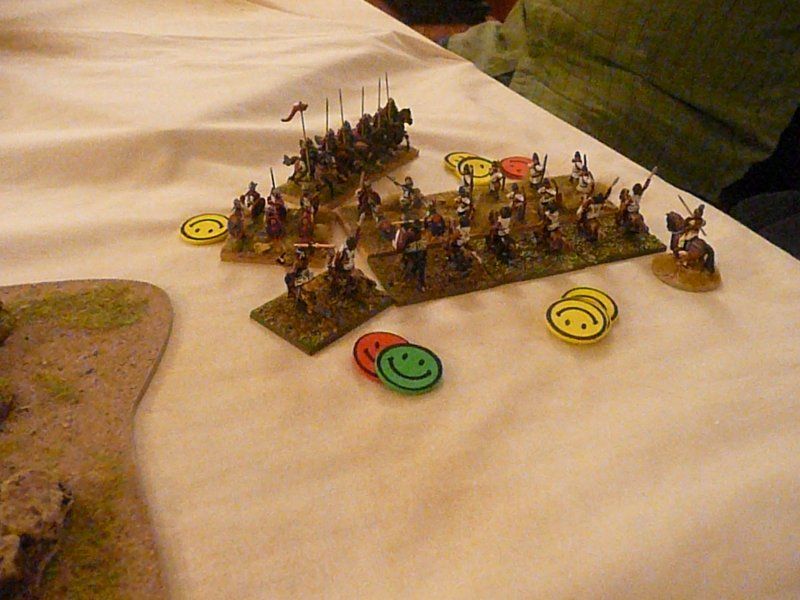
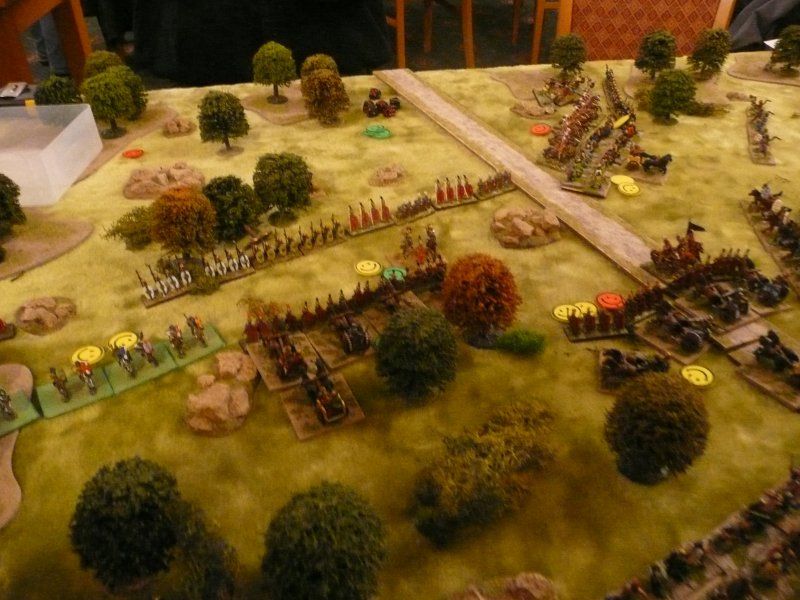
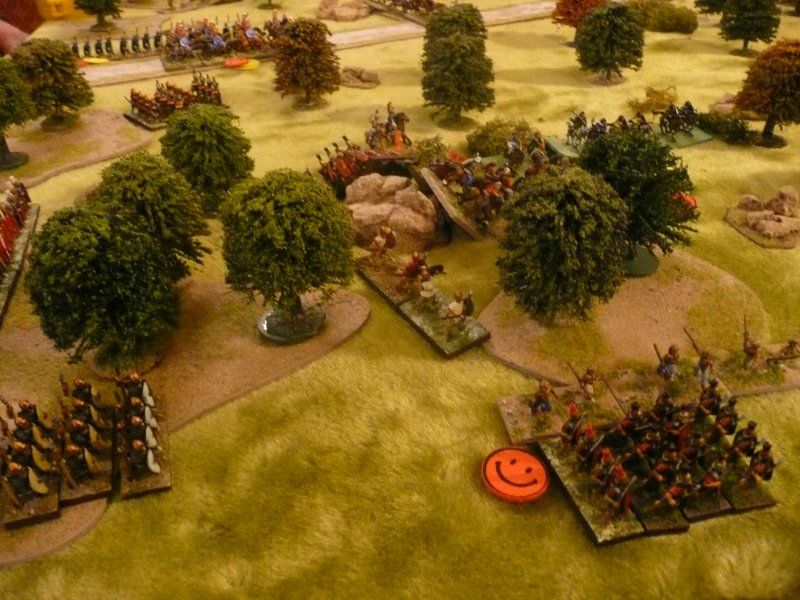
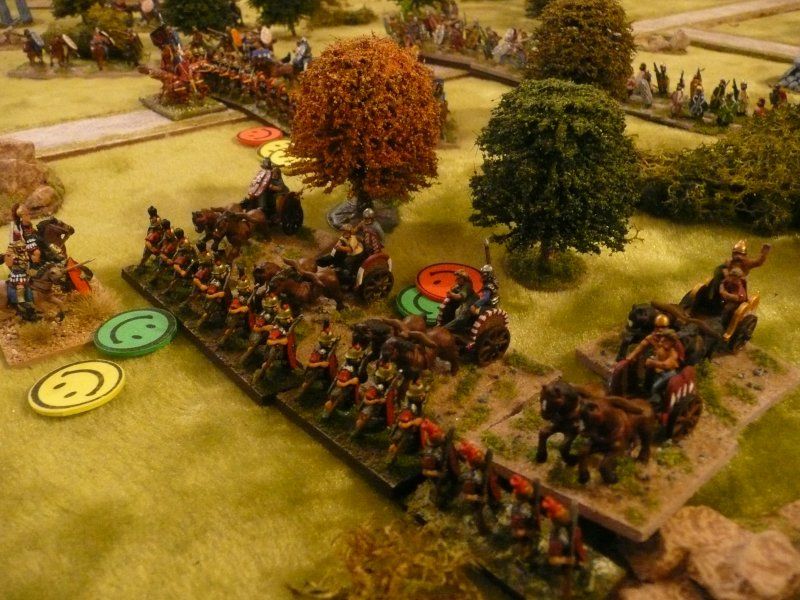
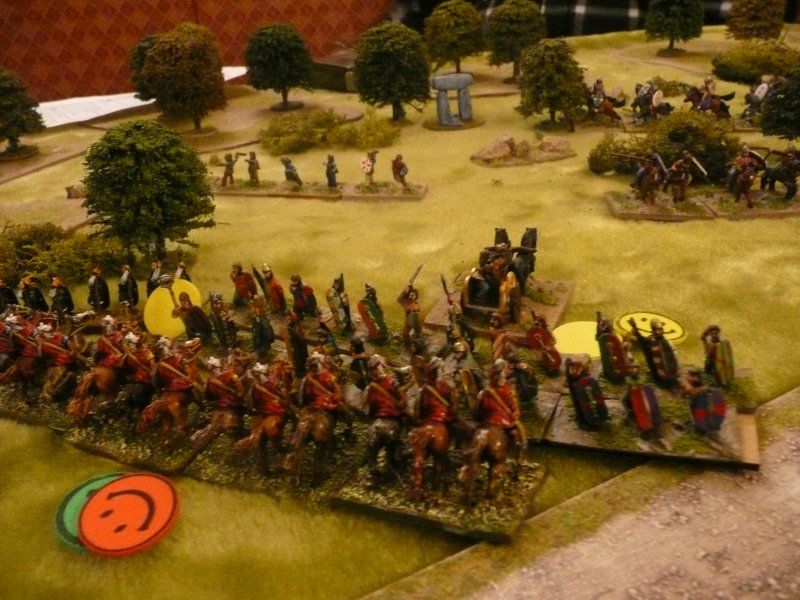
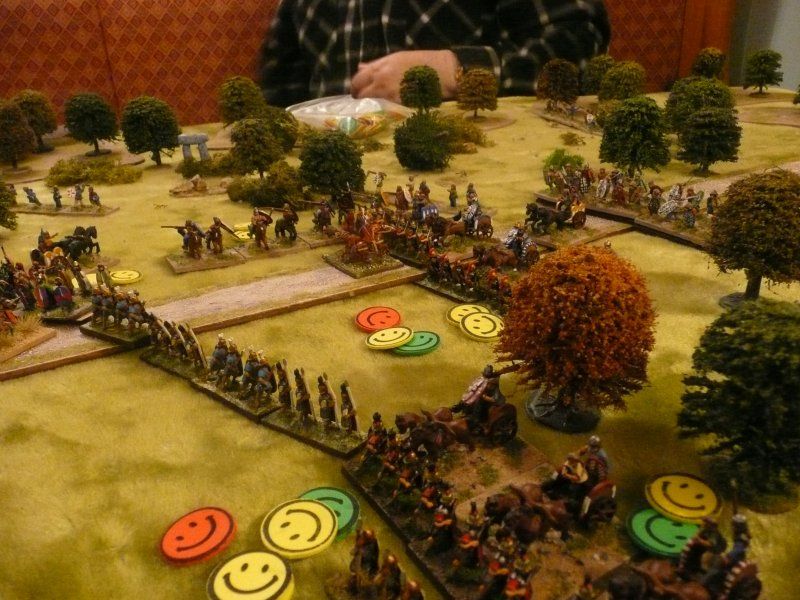
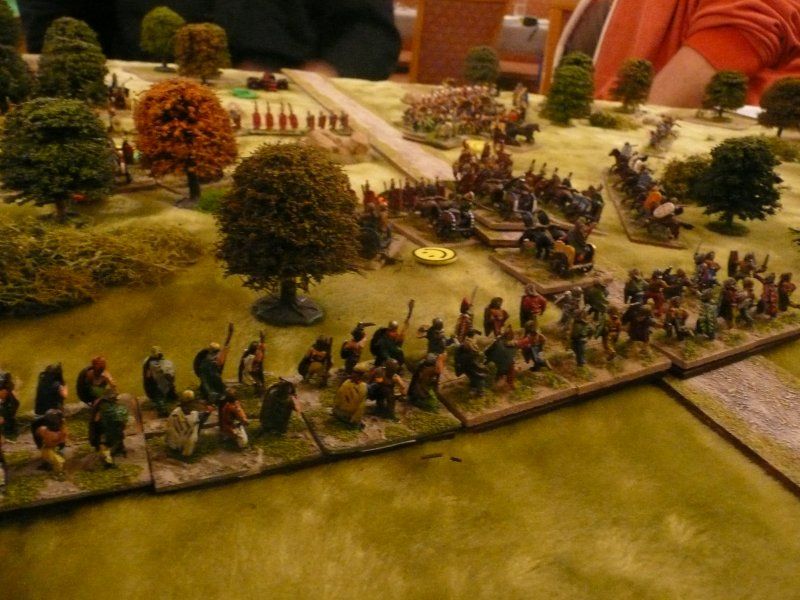
I haven't painted any casualty markers yet so we use Smiley Faces - red is Shaken, Yellow is 1 kill and Green is 4 kills - it makes for a happy game
As the Cohort advanced to the oasis the Blemmye Heavy cavalry arrived on the southern edge and deployed to meet the threat. The pack mule bio-weapon is in the centre of the cohort
Having seen off the skirmishers the ambushing Camels were charged by the Equites Alae. The smell of the camels causing the Alae to become shaken

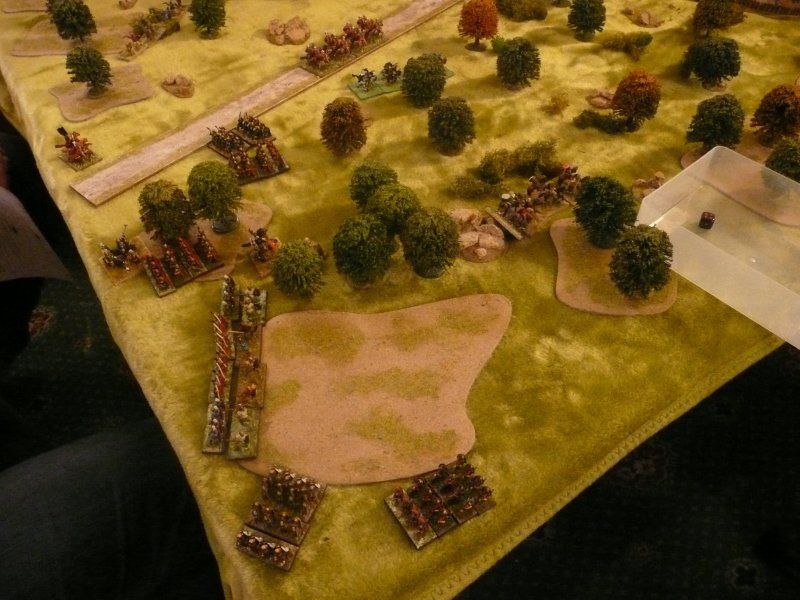
Although having being reinforced by the cavalry, the Blemmye line looked woefully inadequate to face the Roman juggernaut. Even skillful maneuvering  left huge holes in the line.
Left to their own devices the Equites Alae and the Camels fought out their own little war
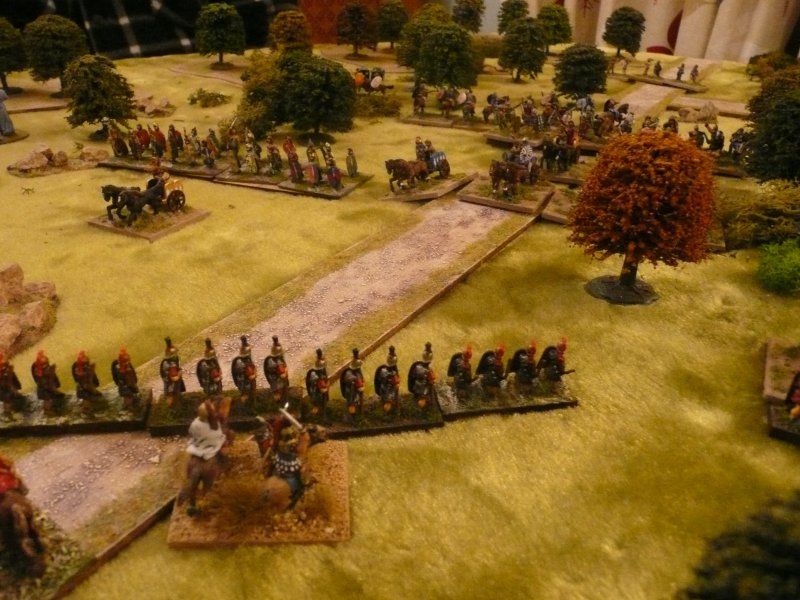
As the Blemmye cavalry appeared before them the Romans formed their own battleline
Having seen off the Blemmye Light horse the Roman left flank raced forward to support the centre only to be attacked by skirmish foot and horse
In the centre the Blemmye Guard warband and Noble cavalry rolled fanatic charges and hurled themselves forward into the Roman cohort
To support the centre the Blemmye cavalry launched attacks along their left flank against auxilia and skirmishers
As the battle lines engaged the Pack Mule and escort hung back waiting for a gap to appear
Suddenly the centre Century advances past it's engaged comrades to take on the lone warband protecting the oasis. The Roman commander sensing that this is the moment pushes the century protecting the pack mule forward. A Roman Victory is at hand!
How cruel are the Fates - a Blemmye cavalry unit lurking out on the left flank dives into the rear of the Roman centre and rides  down the Roman second in command and the pack mule. Unable to poison the oasis the Romans concede the game.

A cracking game that once again came down to the wire.

The Blemmye commanders spent a lot of the game worriedly looking at the overwhelming number of Romans heading towards them and even when the cavalry arrived it barely evened the numbers.

The Noble cavalry and Guard warband  going fanatic stopped the Roman line in it's tracks. However the push forward by the Roman commander would have been a game winner if they hadn't ignored the lurking Blemmye cavalry.

BFE2 makes for a very refreshing alternative to the standard Ancients game of line them up and charge. We intend to do more of these scenario based ancients games

More photos are at my photobucket site

Tuesday, 29 October 2013

Caesarian Romans vs Britons using BFE2 - Game 1

Caesar's two invasions of Britain in 55BC and 54BC have always fascinated me.

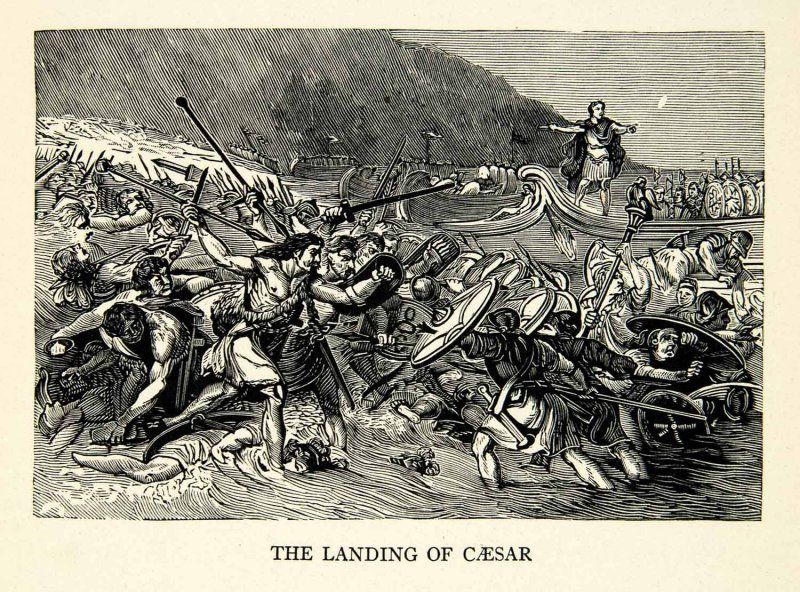
I think it's due to the many Victorian images of fur-clad tribesmen chucking spears at boat loads of Romans with the White Cliffs of Dover in the background.

That and the story of the Aquilifer jumping from the ship with the eagle to inspire the troops to follow him. See De Bello Gallico IV.XXV
The club played a lot of Field of Glory when it was first released. I painted up an Ancient British army using the Cassivellaunus option. Cassivellaunus sent the warbands home and kept only light troops to fight a guerrilla war aganst Caesar. This FOG army has only 1 warband unit, the rest is chariots , light horse, slingers and javelins.

Recently the club has been playing the colonial ruleset Battles for Empire 2. Therefore why not try BFE2 using Ancient Britons against Caesarian Romans.
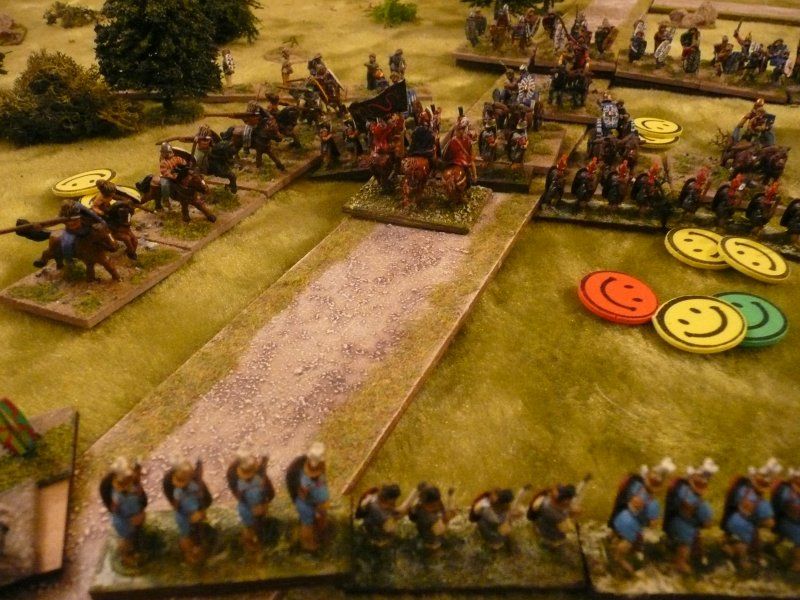
BFE requires casualty markers which I don't have for this period, yet, therefore the yellow, green and red smiley faces represent 1 casualty, 4 casualties and Shaken respectively

Rule Changes

I wanted to keep to the BFE2 as much as possible but some rule changes were required

1. Generals attached to a unit can fight giving an extra dice in melee and disregarding the worst dice.

2. All missile armed troops can shoot in the 1st round of melee. Both defender and attacker can shoot. This allows Legionaries to throw pila and chariots to use javelins.

3. Skirmishers can evade. If a skirmish unit has not moved then they can evade by rolling on the UCC table as normal. If they can movement then they can recoil directly to their rear.

4. Interpenetration. All troops can interpenetrate friendly units. Both are disordered and the interpenetrated unit cannot move. If they have already moved then they cannot be moved through.

5. Shooting uses Version 1 combat tables and Melee uses Version 2 combat tables. This reduces the effectiveness of missiles

The Unit Conduct Chart is on the BFE yahoo group

The Forces

As most of the fighting is melee I went for a 2:1 unit advantage to the Britons

Romans 
1 Commander
2 Officers
6 centuries of Legionaries armed with Pila
1 troop of Legionary cavalry
1 troop of German light horse with Javelins
1 troop of German light footwith Javelins

Britons

1 Commander
2 Officers
4 troops of Chariots with Javelins
4 Warbands
4 troops of Light Horse with Javelins
4 troops of Slingers with Slings
2 troops of Javelinmen with Javelins

Light horse, Light foot, slingers and Javelinman are all classed as skirmishers

The Scenario

The game is set during Caesar's second invasion in 54BC. Cassivellaunus has sent his main force home and is fighting a guerrilla war. Caesar has sent a punitive expedition against a British village, Wyre Piddle, to take hostages.

The Terrain

The game was played on a 4x4 table
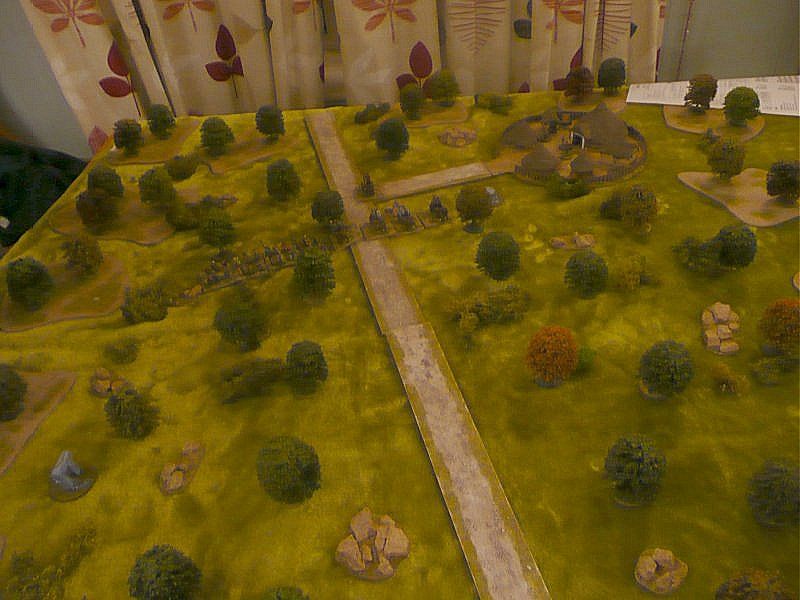
A track runs south-east to north-west through mainly open woodland, visibility 12", with the village in the north-east corner. There are clumps of dense woodland around the edges.

Troop Setup

The Britons can setup 6 units of their choice on the board

The remainder come on from Turn 2 by rolling a D6 to see how many units arrive and from which table edge

The Romans arrive on Turn 1 on the southern table edge.

The game (in brief)

Shaun and Steve took the Romans and Dave and Mike the Britons.
The Romans advanced on a broad front to the east of the track flushing out some light horse and javelinmen which were quickly destroyed by combined Legionary and light horse attacks.
The British started bringing reinforcements on from the north and building up a solid line of warband and chariots south of the village.
The two lines met with chariots engaging Legionaries and a warband unit charging into the cavalry.
The warband destroyed the cavalry who had already taken casualties from slings and javelins.
The chariots caused severe casualties on the Legionaries due to excellent dice rolling resulting in both Legionary units and a chariot unit being destroyed.
The Romans conceded as that point as the pub had called last orders and the village was still some distance away with a mass of warband in between.

Conclusions

My intention was to recreate the guerrilla warfare during the second invasion, provide scenario based games for Ancients rather than the standard 800 points per side line-them-up FOG fights and to see if BFE2 could be used outside of the 1870-1914 period.

To some extent they were all achieved although a but more fiddling is probably required

I was pleased with the initial try-out of BFE2 for this period. Rules had to be added or amended as the game progressed - skirmisher evade being the major one but essential there were no radical changes

I don't think BFE2 would be suitable for Ancient gaming in general but for scenario based games such as this it was fine.

I have a couple of other scenarios waiting in the wings. I may even a stand-up fight between these two forces at some point

There were a couple of heated debates, not unusual for our club. There is a standing joke that each turn has, beside the Move and Shooting phase, a Recrimination phase.

The 4x4 table should probably have been 6x4 to allow skirmishers to use the flanks better

The 2:1 unit ratio was maybe a bit too much for the Romans. I will drop it to 3:2 for future games. 

The Toys

The Britons were from Corvus Belli's excellent range

As I don't have any Caesarian Romans I proxied by borrowing Gordon's late Republican Roman army which I think is from Essex Miniatures. My apologies for any historical inaccuracies

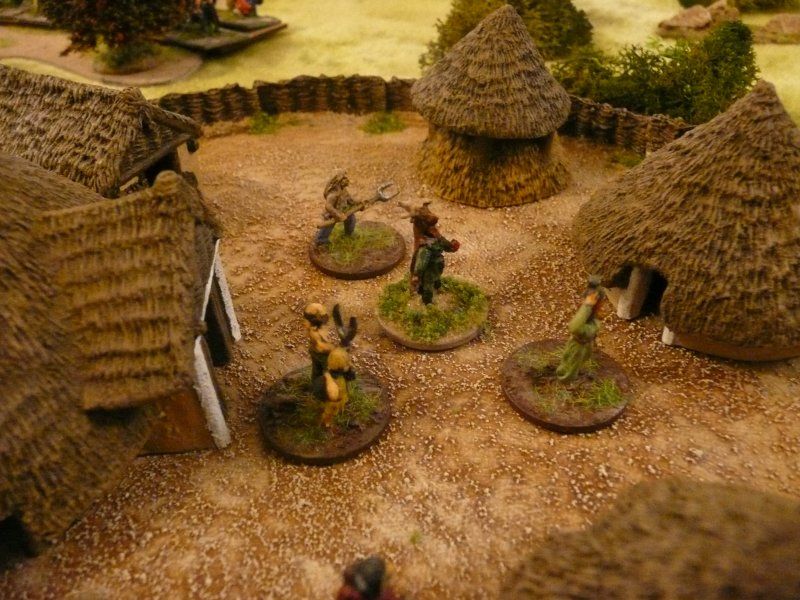
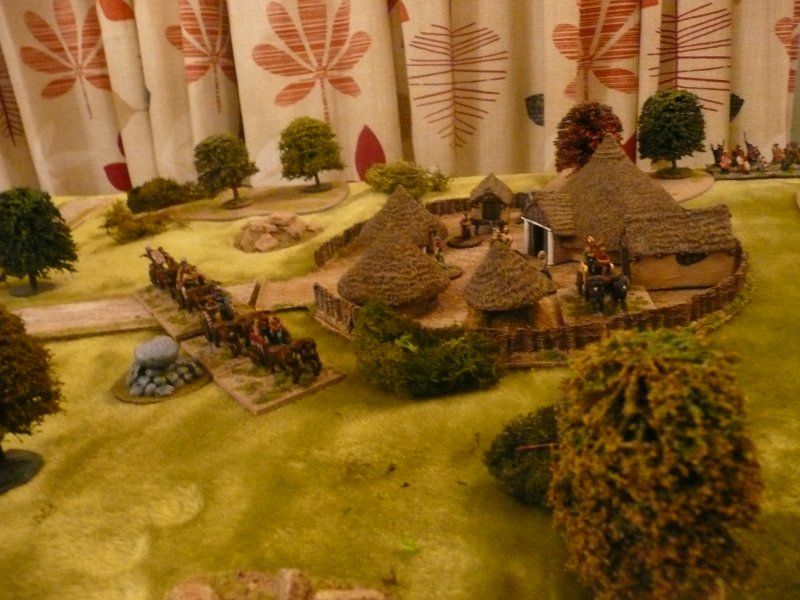
The village is the Celtic farmstead from Hovels

Note the top two pictures are copyright their respective owners

More pictures can be found at photobucket

Thursday, 10 October 2013

San Lorenzo - a French-Mexican AAR using BFE2

After the debacle of Vigésimo tercero de Septiembre the French mounted a dawn raid on the victorious Republican forces at San Lorenzo to try and recapture the wagons.

This scenario is taken from Tim Tilson's Colonial Campaigns book Maximilian in Mexico. Tim's scenarios use The Sword and the Flame rules but I use Chris Leach's Battles For Empire V2.

For this game we used the BFE V2 Combat chart (CC) for melees but shooting used BFE V1 CC

In BFE2 each unit can take 8 casualties before being destroyed

V2 CC has each hit causing a casualty with 1 hit also causing disorder and 2 or more hits making the target become shaken.

V1 CC has 1 hit  causing disorder, 2 hits making the target become shaken, 3 hits shaken and a casualty and 4 hits shaken and 2 casualties. If a unit is already shaken then 2 hits causes a casualty

I felt that using the V2 CC made shooting very powerful in this period. This is not a problem in a standard colonial game where the European army tries to gun down loads of natives before being overwhelmed. However when both sides are essentially European armies then shooting needs to be toned down.

The Republican  forces

Shaun and Paul

Unit Number Abilities
Line Infantry 4 Companies 1st Rate MLR, Regulars
State Militia 5 Companies 2nd Rate MLR, Colonial Recruits
Regular Cavalry2 SquadronsRegulars - no firearms, can not dismount
Artillery1 gun2nd rate SB
Wagons3move 6"
Padre TedSpecialmedic
moves 9"
can heal 1D3 of hits per turn at end of turn

The troops set up anywhere in the village. They are in camp so cannot move or shoot until they organise themselves. If they are contacted by a enemy unit whilst disorganised then they count as being attacked in the rear.

To get organised each unit must roll less than or equal to the current turn on a 1D6. Regulars subtract 1 from the dice and the wagons add 1 to the dice.

The supply train must exit the table by the northern road. The wagons must start 5 turns away from the exit ie if wagons move 6 inches then the exit must be 30 inches away

The French  forces

Dave and Rodge

Unit Number Abilities
Foreign Legion5 CompaniesElite, 1st Rate MLR, Regulars
Zouaves1 CompanyElite, 1st Rate MLR, Regulars
Chasseurs d'Afrique1 Squadron2nd Rate MLR, Regulars, can dismount
Contras1 Squadron2nd Rate MLR, Colonial Recruits, can dismount
Artillery2 guns1st rate SB
The Lost PatrolSpecialmarksman
moves 9"
1D6 to shoot at enemy unit or roll on Critical hit vs enemy officer

The French deploy along the southern edge of the board with the option to have up to 3 units appear anywhere on the western edge from Turn 3 onward.

Objectives

The French get victory points for capturing the wagons and the gun. The Republicans get victory points for getting the wagons and the gun off the northern edge of the table. Both sides get points for killing the enemy

The game

The French decided to have the Chasseurs d'Afrique and a company of Legionaires as the flanking force. With hindsight they should have added the Contras to aid the Chasseurs but they thought that the Republicans had forces other than those sleeping off the victory celebrations in San Lorenzo so wanted to cover their rear.

The remainder of their force massed to the south west of the village and advanced north.

The Republicans had mixed results getting their forces up and about. Those in the western half of the village were mainly organised by Turn 2 but those in the Church yard which included the wagons and the gun remained snoozing until Turn 3.

Once they were roused however the wagons, the gun and a covering squadron of cavalry headed north as fast as they could.


The French deployed their flanking force on Turn 4 with the Chasseurs riding ahead to cut off the escape column. With some very helpful initiative rolls they caught the Republican cavalry in column and destroyed then after a couple of turns of melee. They were then presented with 3 targets  - the wagons, the gun and a Militia infantry company.


They charged the infantry in the hope of  clearing a space to take out the wagons but a well executed volley from the Militia, poor melee dice and a wounded commander shattered them leaving the way clear for the wagons and gun to escape.

On realizing that they were being flanked the Republicans in the village started withdrawn north to face this new threat leaving a weak rearguard to hold up the French main force advanced from the south.


This movement left them open to several flank and rear attacks as the French caught up with them. As a result the Republicans lost units as the French took out their frustration at seeing the supply train about to disappear.

The tenth and final turn saw the game hanging in the balance. The French had rushed the Contras forward to a position where they could capture the last wagon in the column. This wagon had just enough movement to exit the table.

BFE uses initiative rolls to decide who goes first in each turn with the French adding +1 their roll for better command. The highest roller decides whether to go first or second. Both sides needed to go first in this last turn, the French to capture the wagon, the Republicans to move it off the table.

Lady Luck decided that the day would go to the Republicans as they rolled highest leaving the Contras to choke in dust of the high-tailing supply train

Victory Points

The Republicans got the 3 wagons (1 VP each) and the gun (1 VP) off the table and destroyed 1 French unit - the Chasseurs (1 VP) making 5 VP

The French destroyed 4 Regular units - 2 infantry and 2 cavalry (1 VP) making 4 VP. They also destroyed 2 Militia units but needed to kill 3 Militia units to get an extra 1 VP

So once again the Republicans claimed the day albeit a Pyrrhic victory as they lost 50% of their fighting force

Conclusions

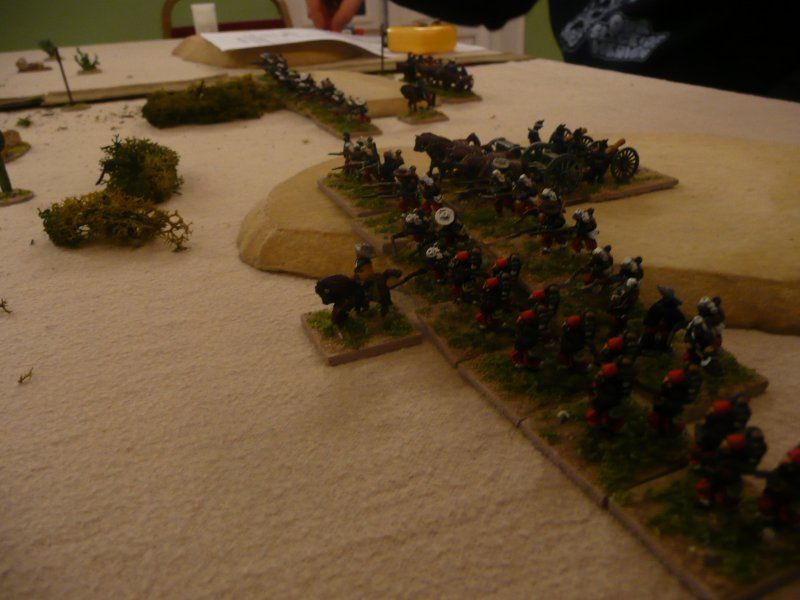
Congratulations to the Republicans for saving the wagons at the expense of half their army.

I think putting both cavalry squadrons in the French flanking force and not worrying about sober Republicans would have won them the game

The BFE V1 Combat Charts worked very well causing disorder and shaking units without destroying them in long distance fire-fights. It certainly made the French fight in their traditional Furia Francese style. The charts fit neatly into BFE2.

Finally well done to Tim Tilson for putting together a very finely  balanced scenario which went right down to the wire and could have easily gone to the French. This scenario has potential for any period - a Zulu kraal with herds of cattle for instance.