Thursday, 26 December 2013

The Oasis at Kalab - Romans vs Blemmye using BFE2

This is the third scenario in our Romans vs Blemmye "campaign" using our variant of the 19th Century colonial ruleset Battles For Empire 2. (BFE2).

The game is set in Upper Egypt circa 400AD. The figures are 15mm and based for Armati. Each figure represents about 5 men so a Roman Legionary unit represents a Century
The Scenario
Following their defeat to the Romans at the Temple at Kalabsha the Blemmye responded with a series of vicious raids. Much booty,including many slaves, was accumulated and the raiders headed south towards towards their tribal lands to enjoy the rewards.

The Blemmye have stopped for a brief overnight respite in the deep southern wastes at the Oasis at Kalab believing they are safe from Roman attentions. The Romans, however, have other ideas and have force marched to catch them.
The Terrain
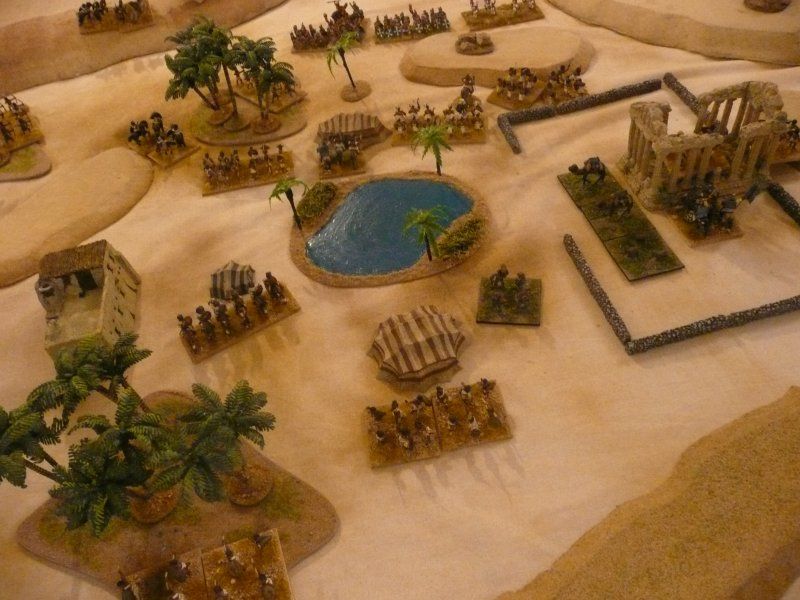
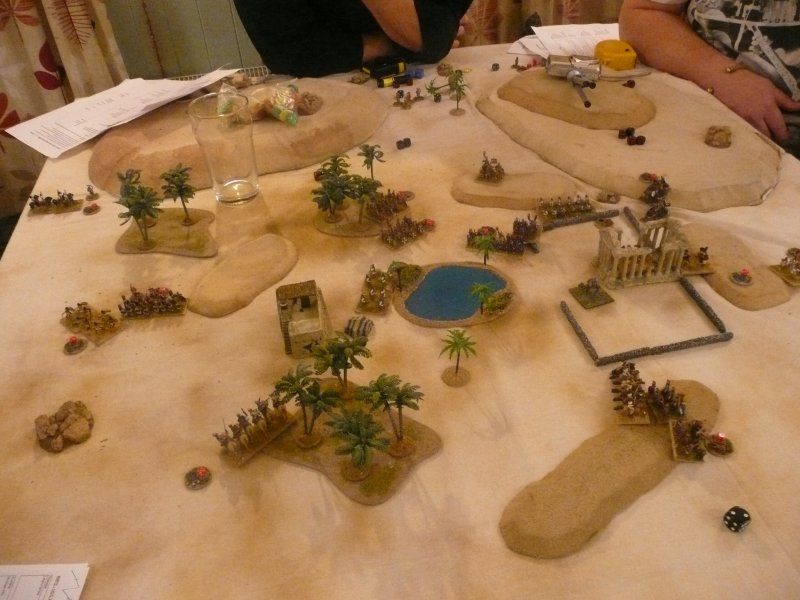
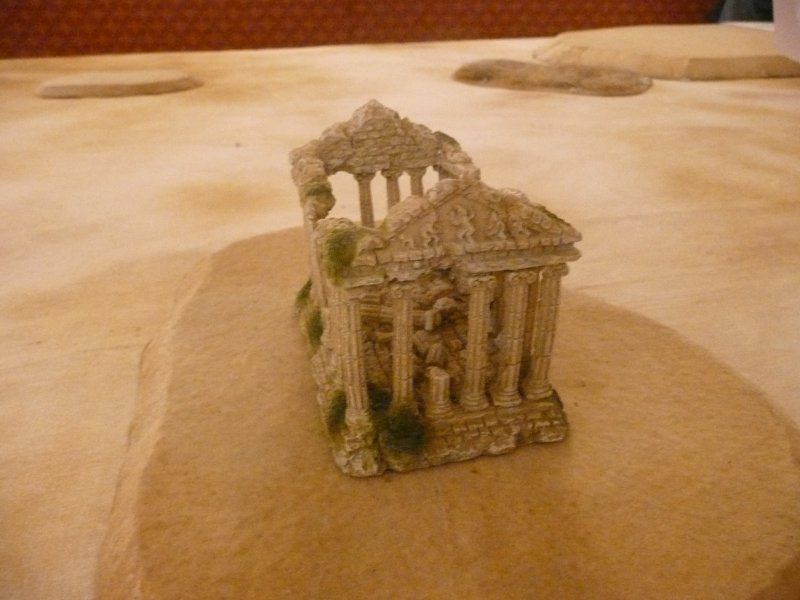
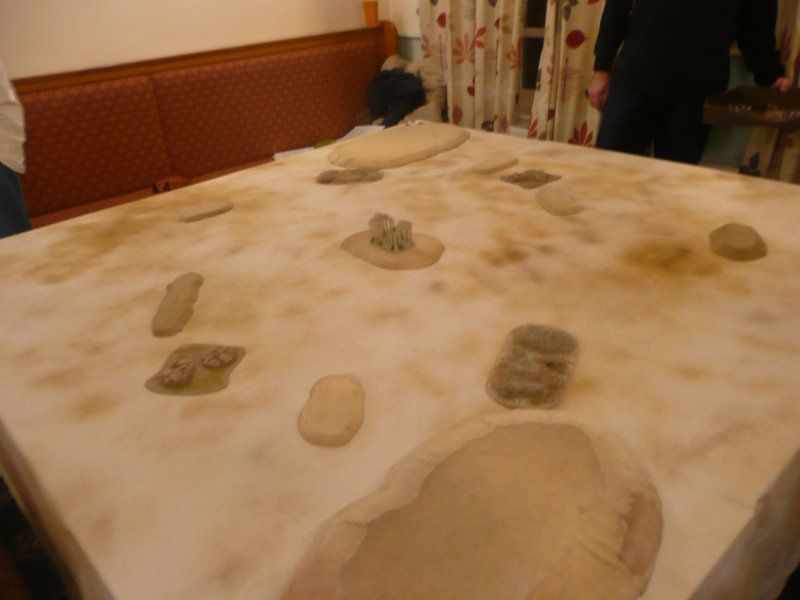
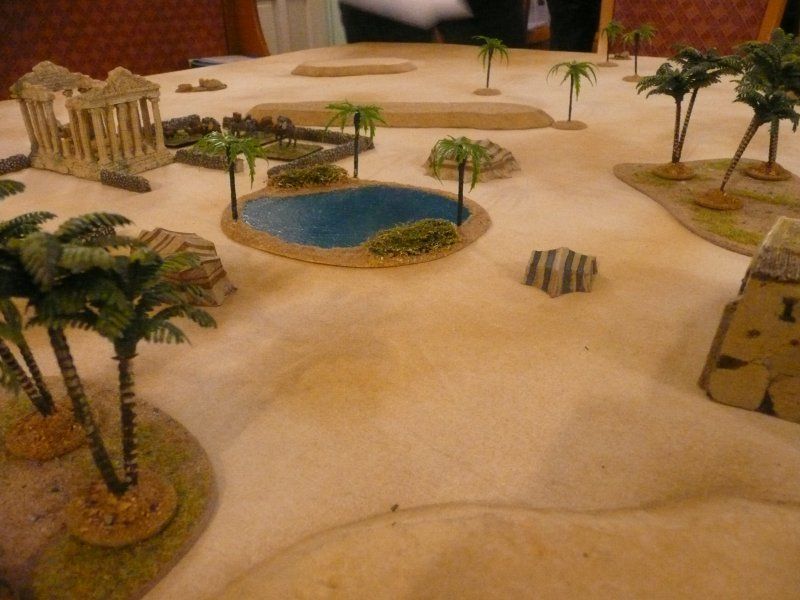
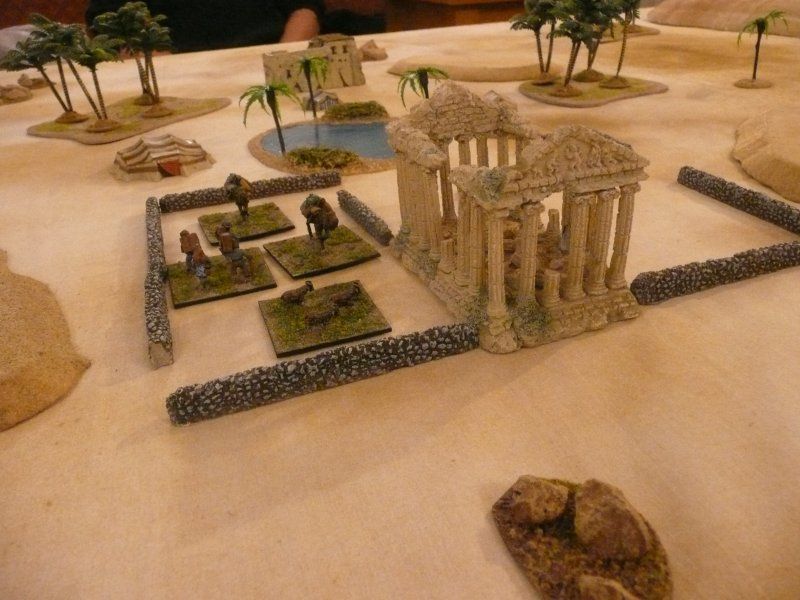
The oasis is surrounded by low sand dunes that block line of sight. The booty and slaves are held in a temple compound. and a building, a few tents and clumps of palm trees are scattered around the oasis. The temple and the building can each hold one unit that always fights as skirmishers. The Temple compound is placed 30" inches from the southern edge so that it will take the booty/slaves 6 turns to exit the table moving at 6" per turn

Roman Objective
Retake the booty, rescue the slaves and destroy the Blemmye raiding force

Roman Forces
1 Commander+1 12" Command Radius, +2 if attached to unit
2 Leaders+1 if attached to unit
6 x Century LegionariesInfantry, Elite, Spears / Javelins - treat as Pila
1 x Egyptian AuxiliaInfantry, Foot Bows
2 x Egyptian AuxiliaSkirmish Foot, Foot Bows
1 x Equites Ala SecundaCavalry,Spears / Javelins
1 x Ala GermanorumCavalry,Spears
may add +1 to a UCC roll once in the game
1 x Auxilia SagitariiSkirmish Horse, Horse Bows

Roman Deployment
The Romans have surprised the Blemmye at dawn and caught them napping.
Upto 3 units of any type plus a Leader can enter anywhere on the East table edge 15” from the South East corner point. They may enter on Turn 3 or any subsequent turn.
All other troops must march on table anywhere along the northern table edge.
Blemmye Objective
Get the booty off the southern edge of the board

Blemmye Forces
1 Commander+1 8" Command Radius, +2 if attached to unit
2 x Leaders+1 if attached to unit
1 x Retainer CavalryCavalry, Spears / Javelins
3 x Light HorseSkirmish Horse, Javelins
1 x Camel troopMelee weapons
On contact enemy cavalry become Shaken on roll of 1,2 or 3
1 x Guard WarbandMelee weapons
Can ignore 1 Shaken result once per game
3 x WarriorsWarband, Melee Weapons
3 x Light footSkirmish Foot, Foot Bows
2 x Light footSkirmish Foot, Javelins

Blemmye Deployment
The Blemmye have been surprised at dawn and caught napping in their camp
Secretly deploy units within the oasis area.
Pack Mules/Camel Baggage/Slaves must be in the Temple compound area.
1 unit of any type may be placed in each building/tent
1 skirmish Foot Unit may be placed in the Temple

Blemmye Activation
All Blemmye forces are asleep at the start of the game - they are activated by rolling the Turn Number or less on a D6 ie on turn 1 a 1 is required, on turn 2 then a 1 or 2 is required. If a unit is caught asleep then they are immediately destroyed 
The dice roll has the following modifiers:
-2 if Heavy Unit
-1 if Skirmish Unit
- leader bonus if attached

The Game
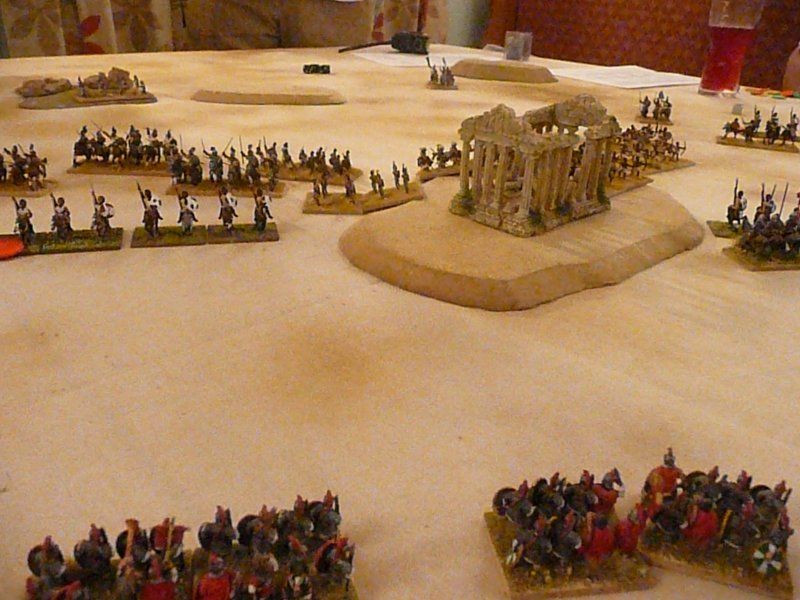
Steve and Shaun were the Romans and Paul and I took the Blemmye. The Romans kept 3 cavalry units off table for the flank march.
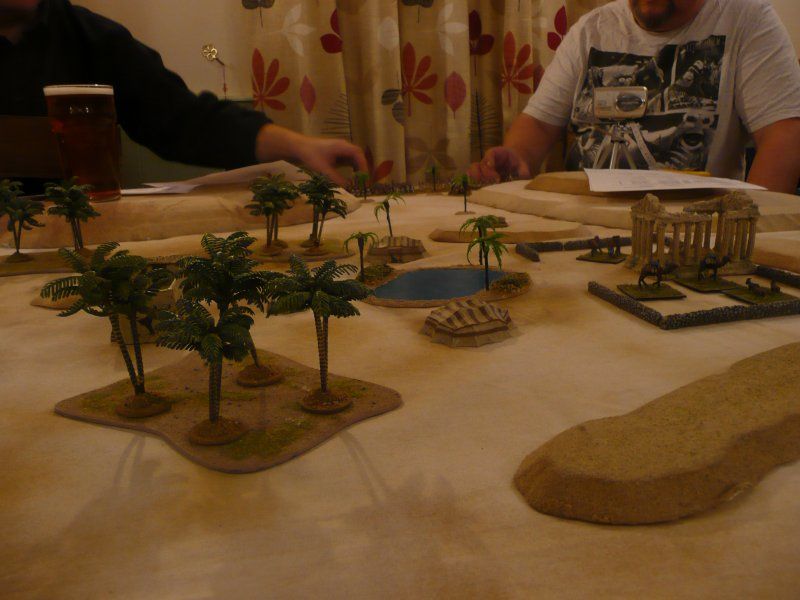
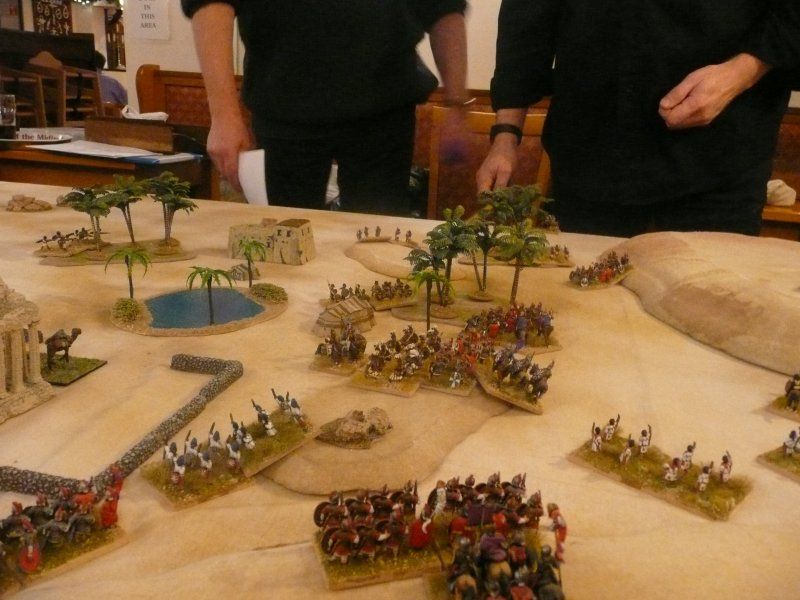
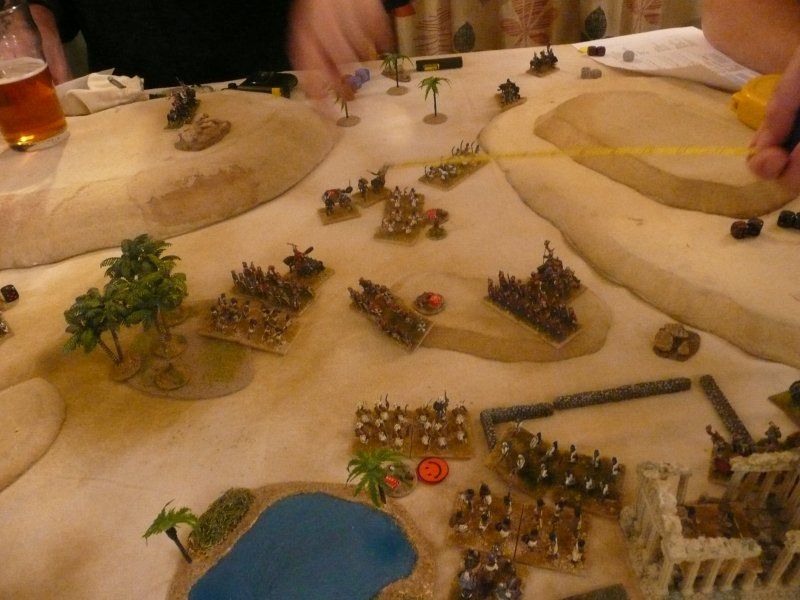
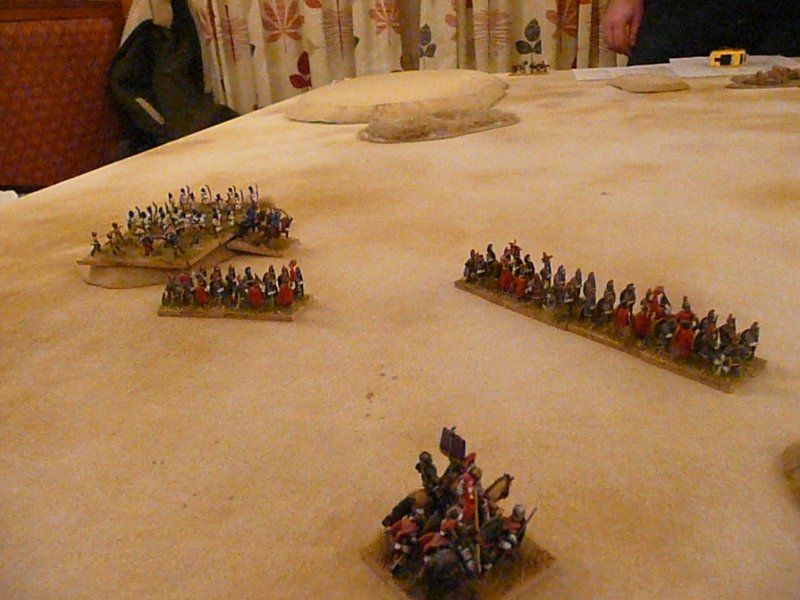
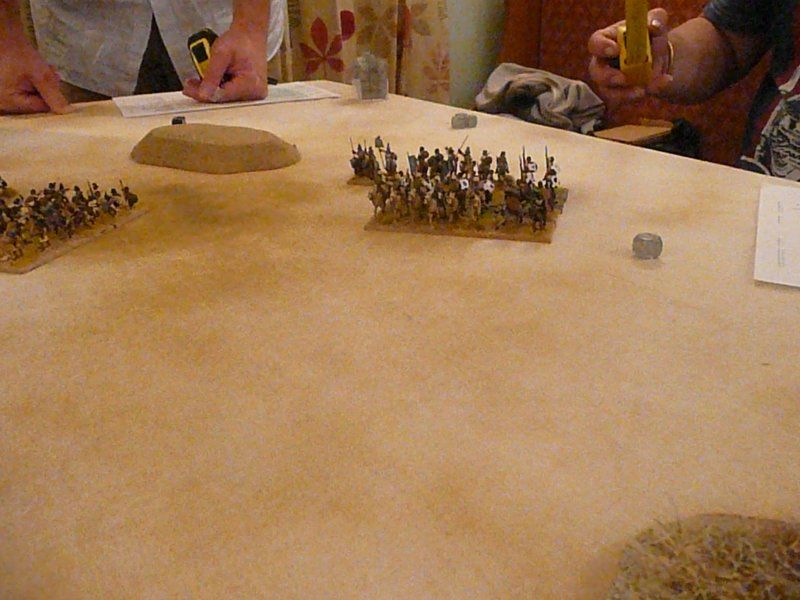
The Blemmye arranged the warband as the frontline with foot skirmishers on the flanks and cavalry at the rear of the oasis in the hope that everyone would wake up very quickly
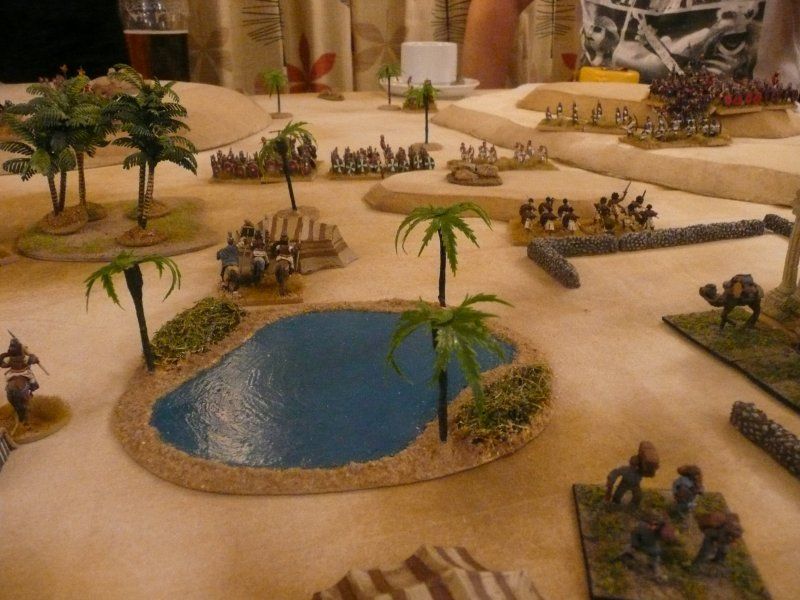
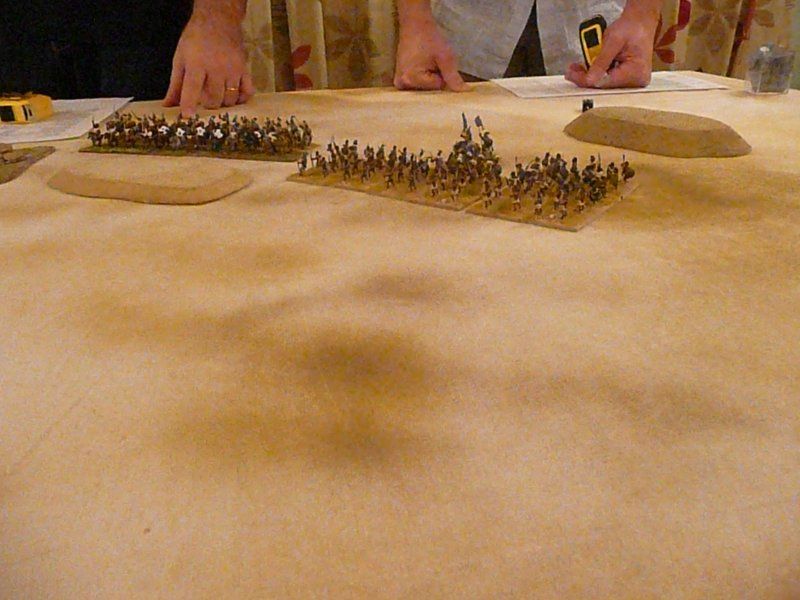
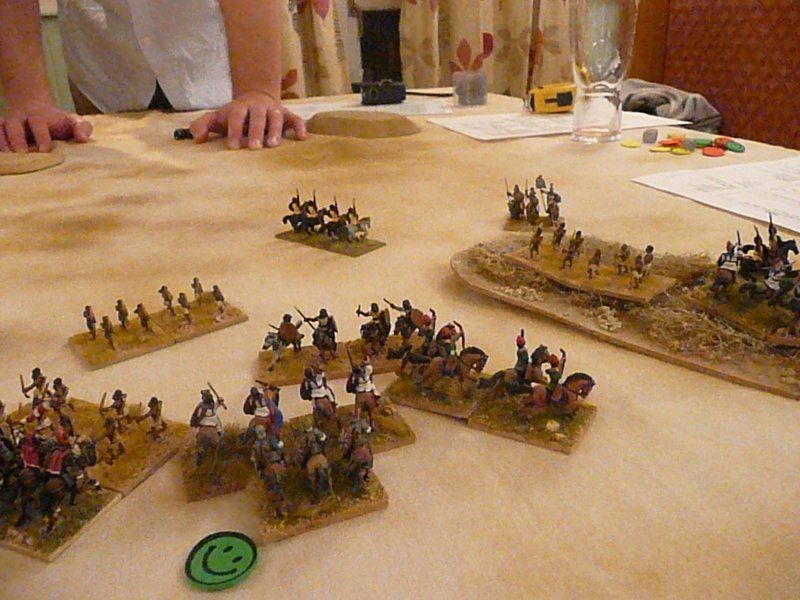
The Romans arrived on the northern edge at the crack of dawn. Our activation rolls only woke up two of the Light horse units and the Slaves
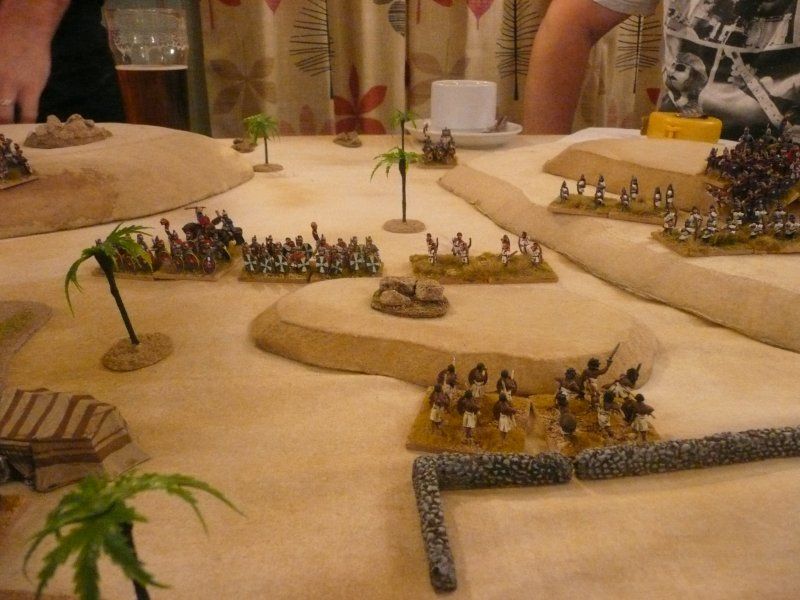
Due to their elite rating the Roman Legionaries moved swiftly towards the camp spotting a sleeping warband which failed to activate
With the exception of this warband and the the booty, the rest of the camp woke swiftly and started organizing itself to face the Romans
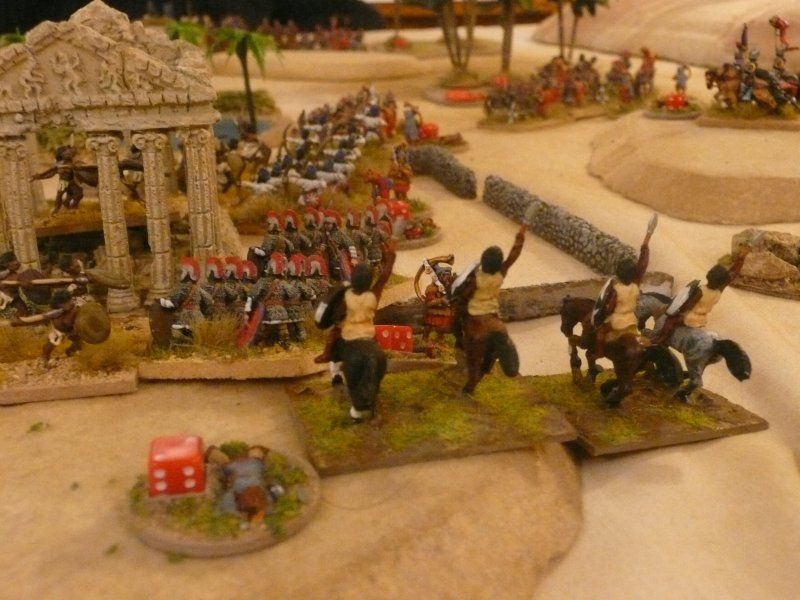
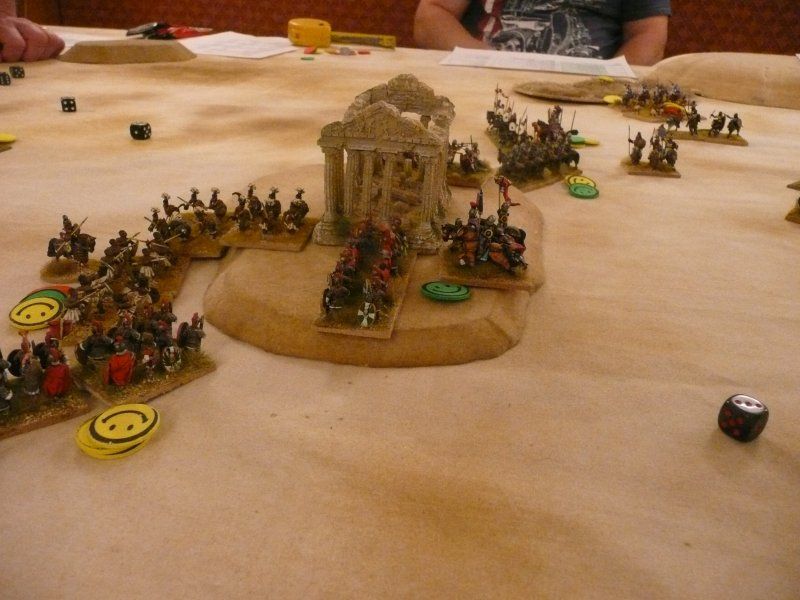
The Romans sent a Auxilia unit in to give the warband a rude awakening. This warband fled leaving only the Guard Warband to take on the might of Rome
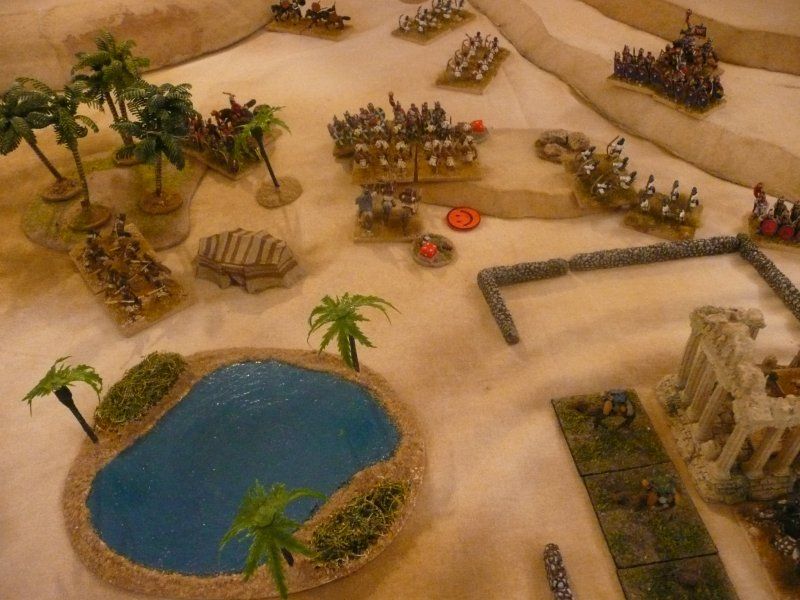
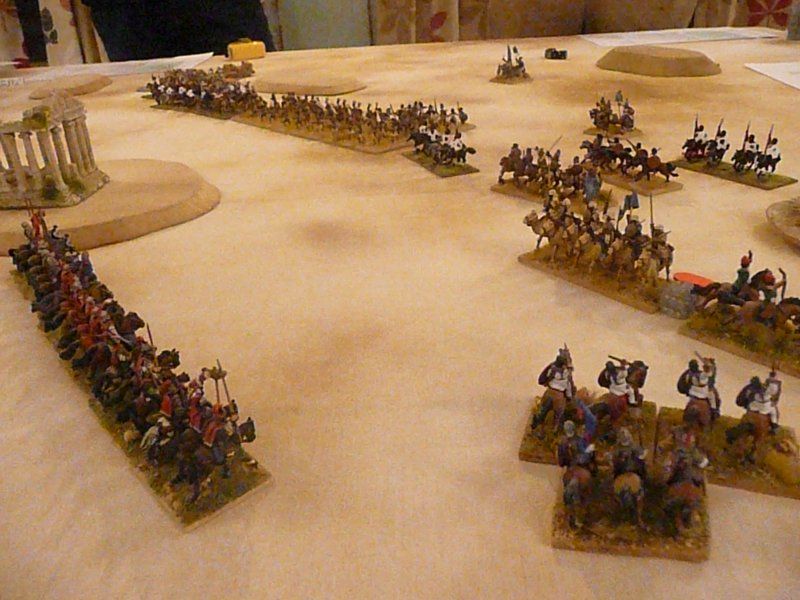
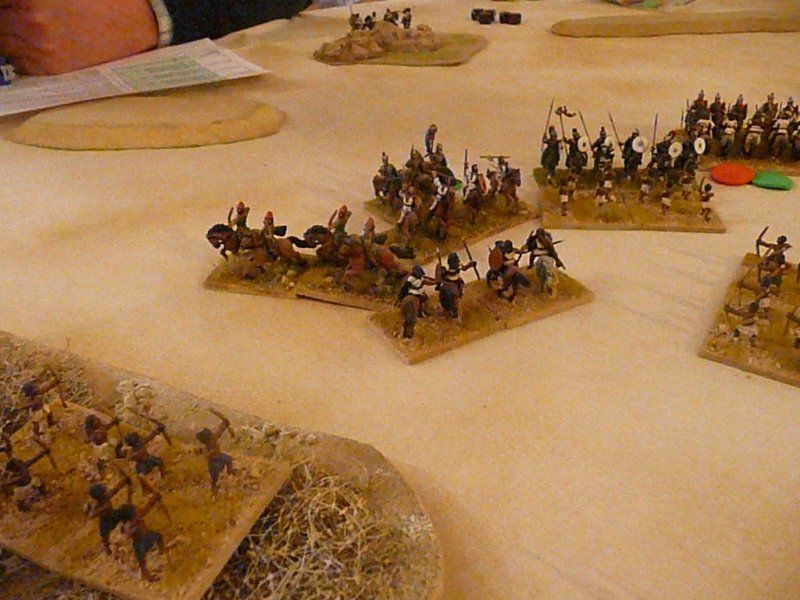
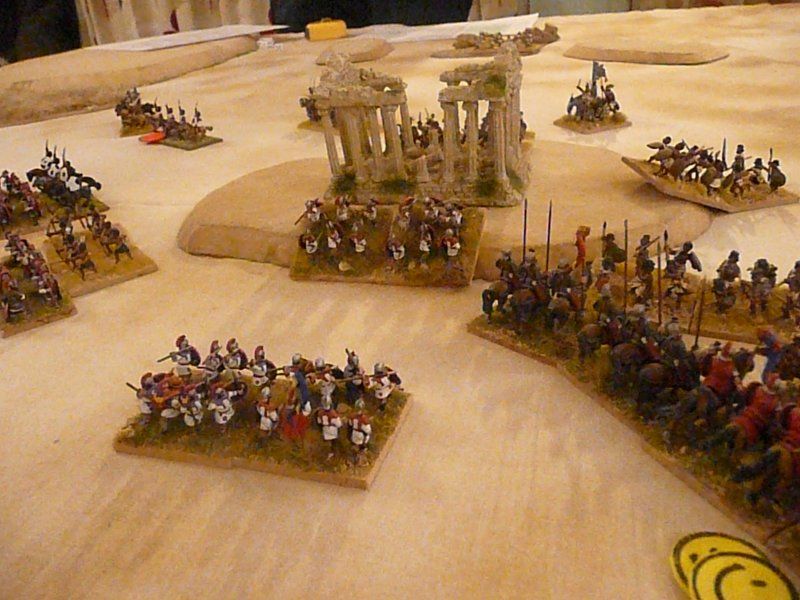
Although Blemmye light troops had got onto the wings and the rear of the Roman force, the latter were unstoppable and stormed the camp
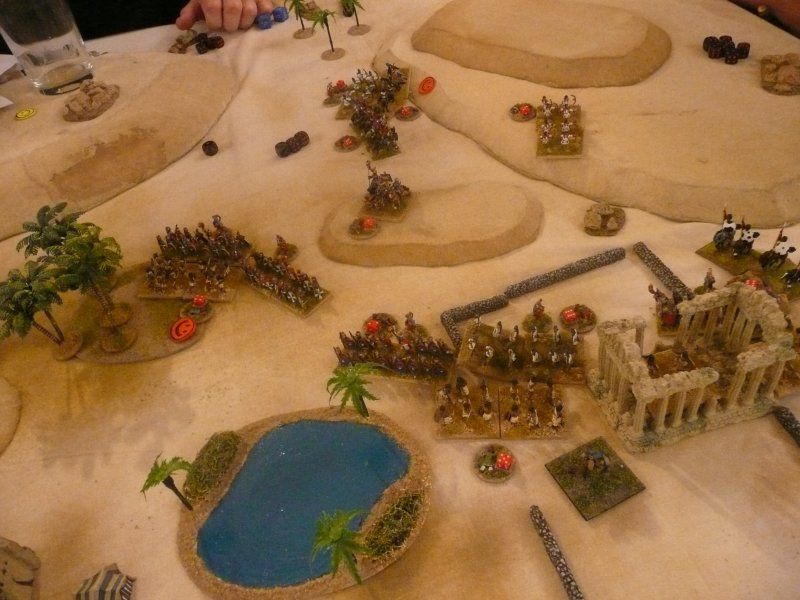
However the remaining Blemmye warbands advanced to join the Guards and managed to hold the line
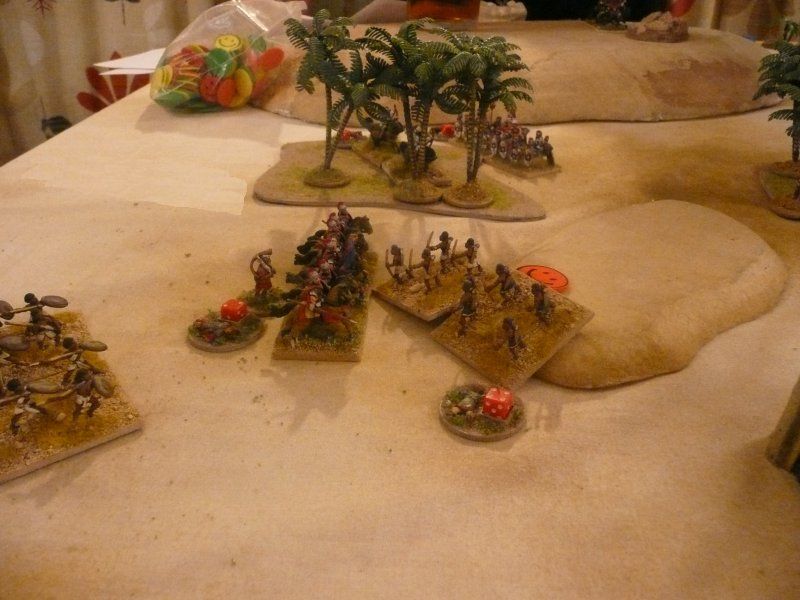
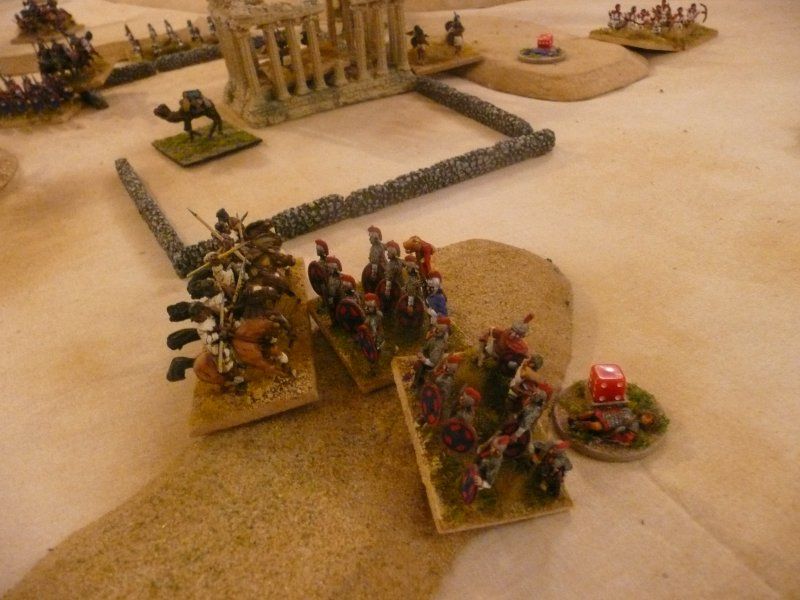
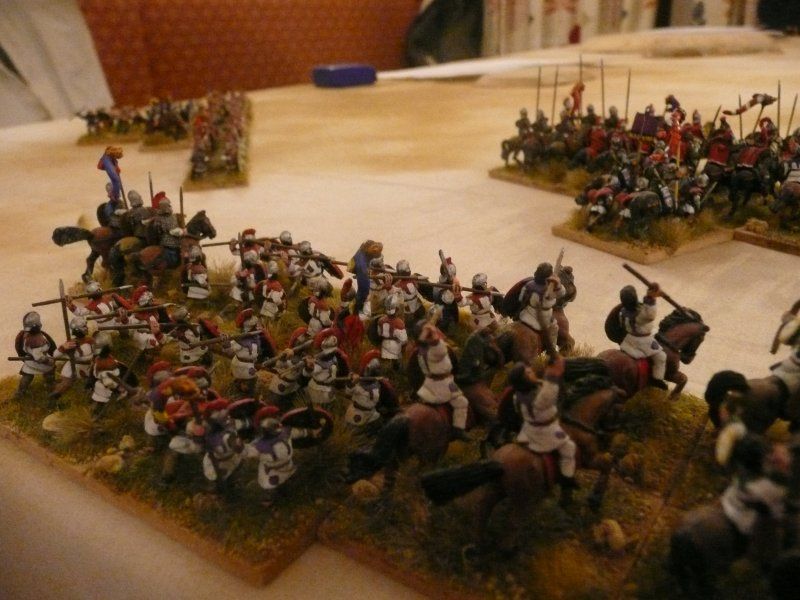
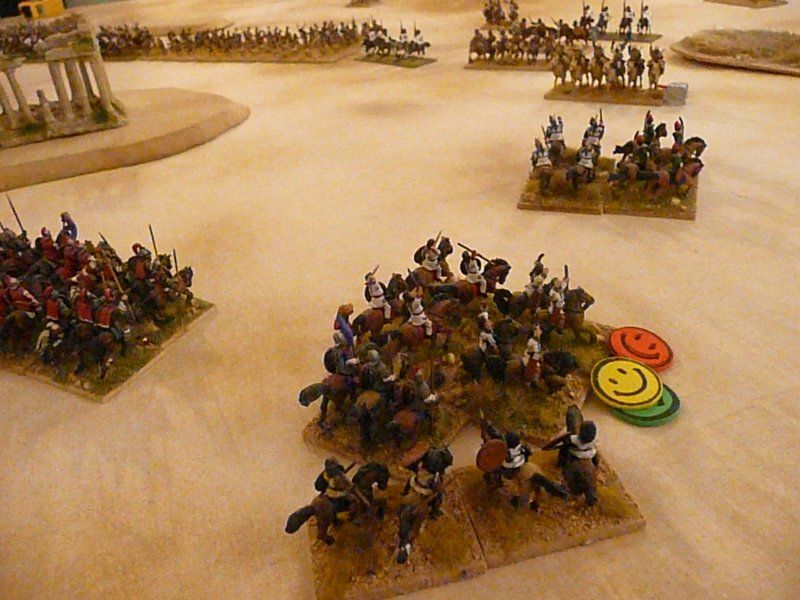
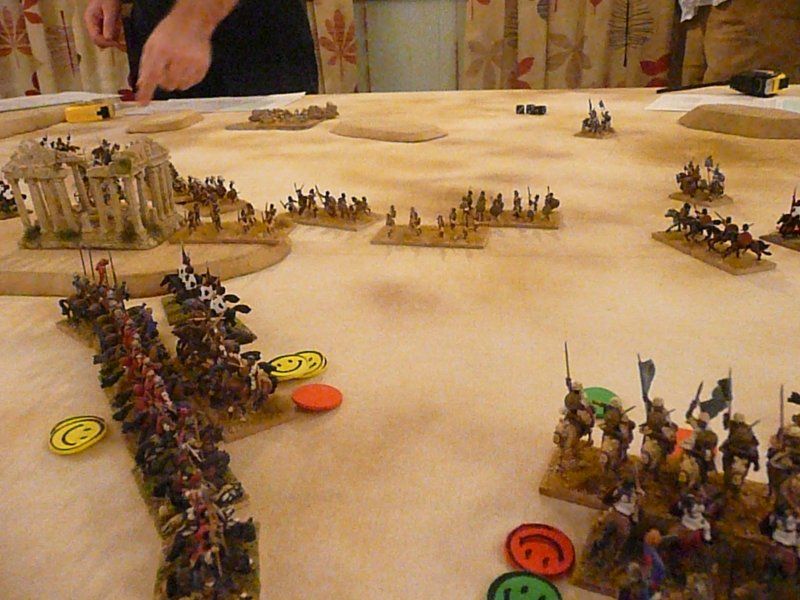
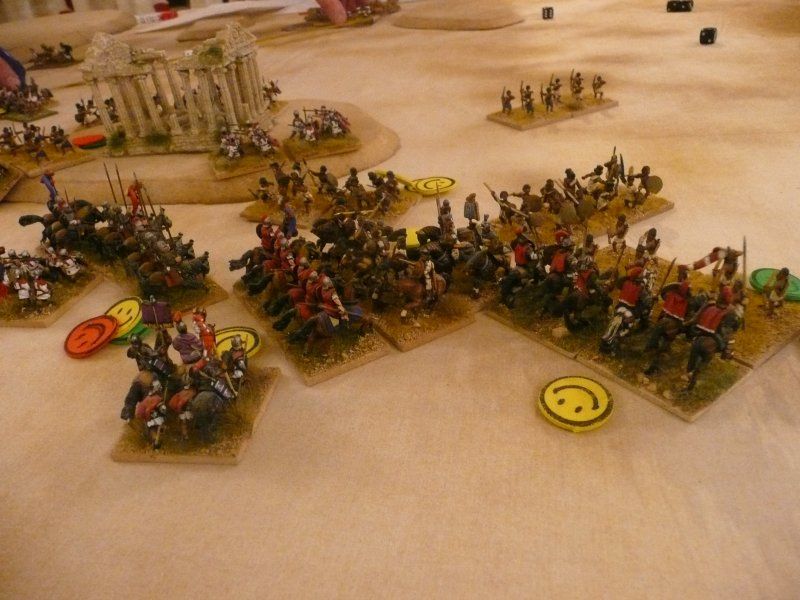
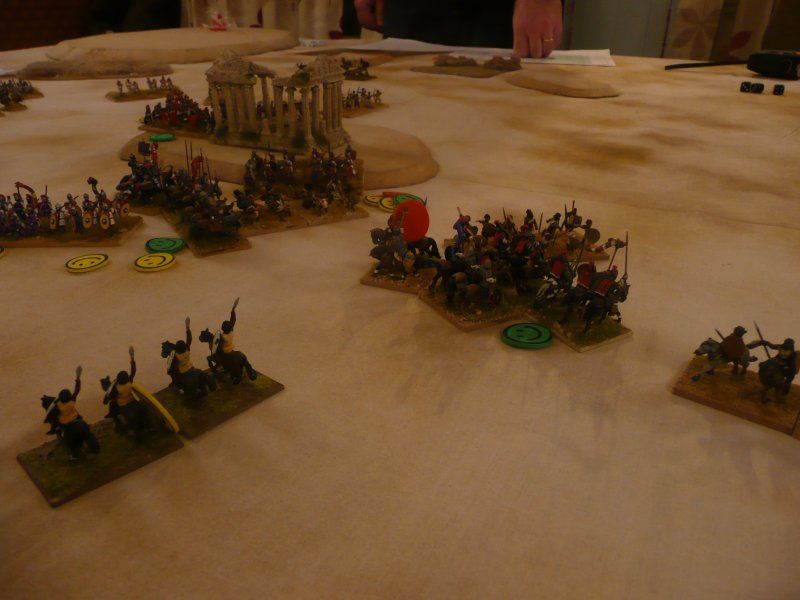
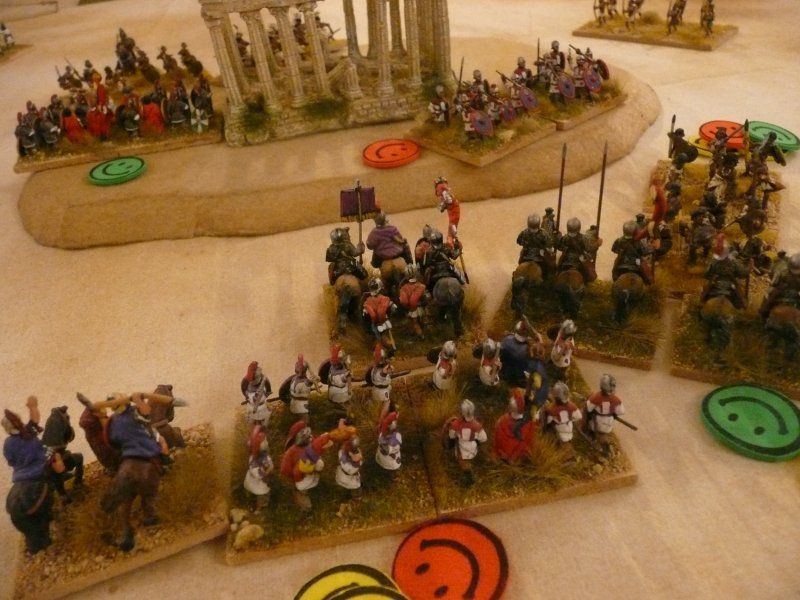
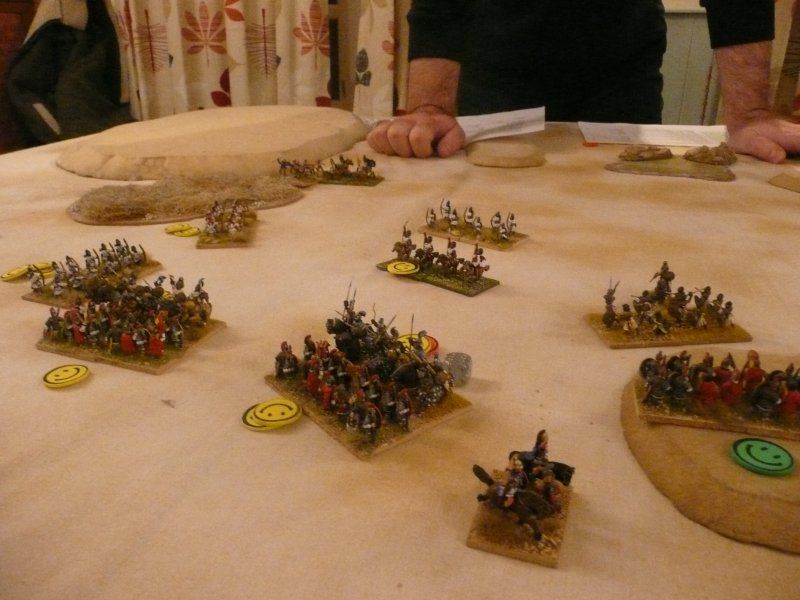
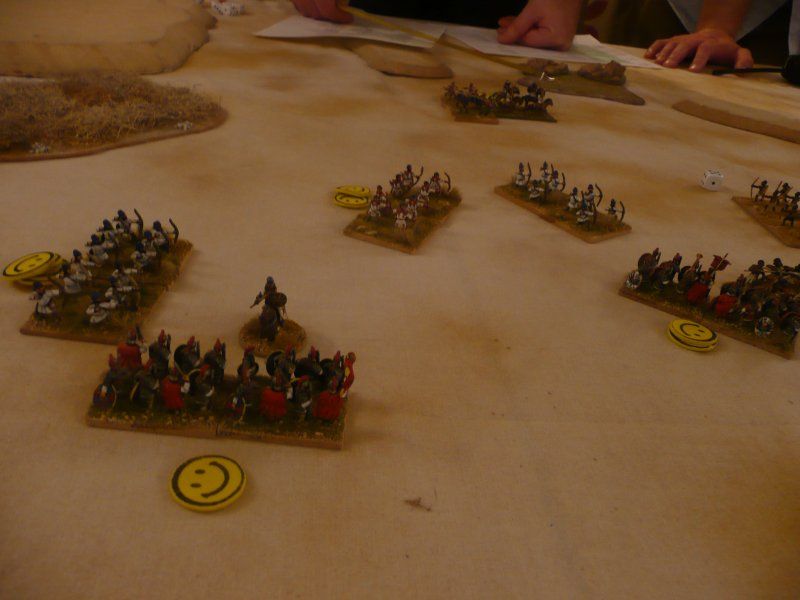
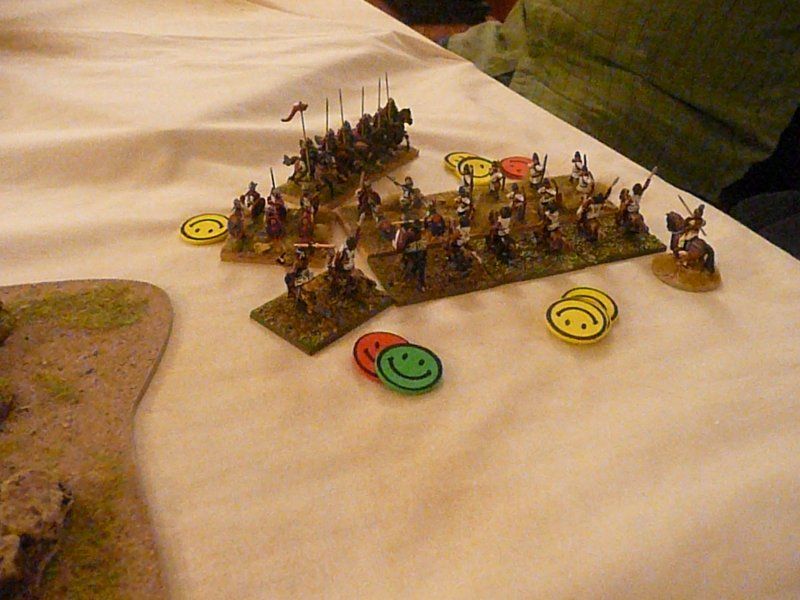
The Romans decided to bring their cavalry flanking force on into the back of the skirmishers on the Blemmye left flank. Regular readers will note that smiley faces are now only used for the Blemmye. The Romans have proper casualty markers and use Cornicines to indicate Shaken units
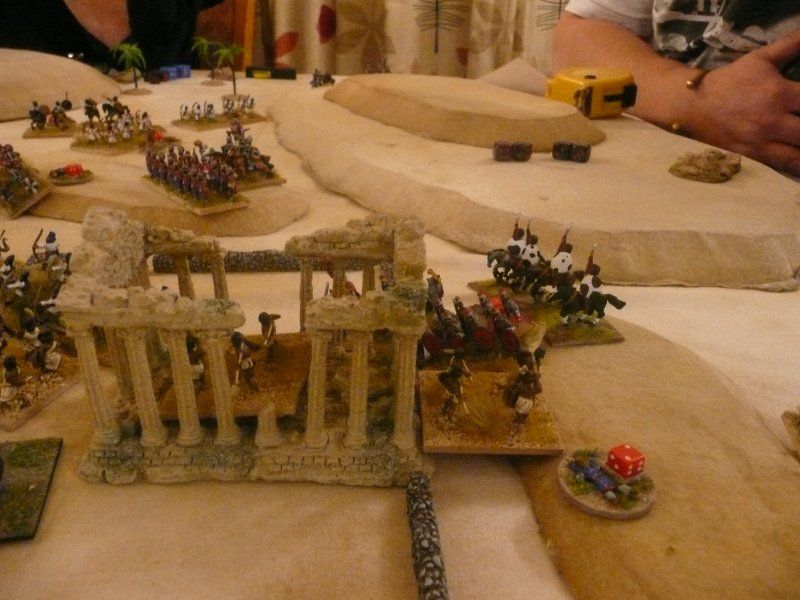
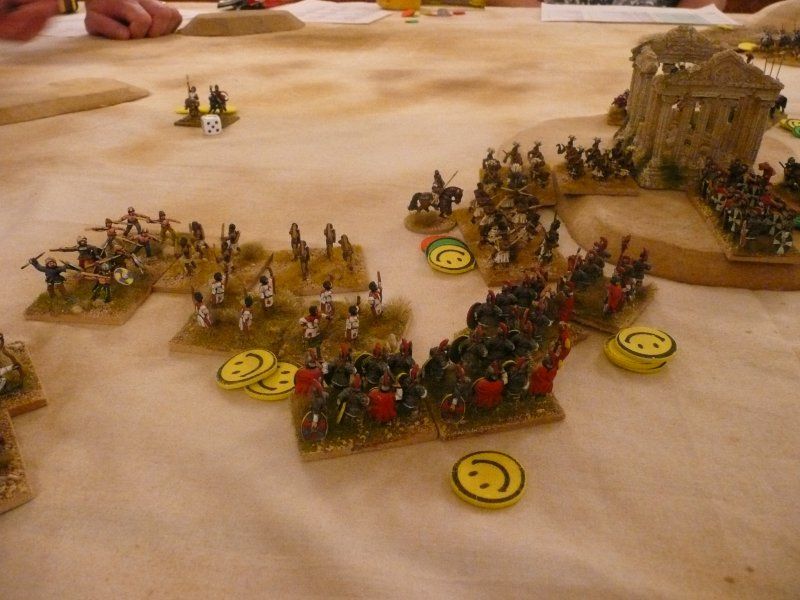
Whilst the Blemmye left flank and centre grimly held on, it was a different story on their right flank where a Legionary unit attempted to storm the temple. This was held by a javelin skirmish unit aided by light horse that charged the Shaken Legionaries. Rule - skirmishers can only charge shaken units or other skirmishers
In the centre the Blemmye warbands looked like they might hold up the Legionaries but as the Roman rear was cleared of Blemmye Light Horse the pressure started to mount
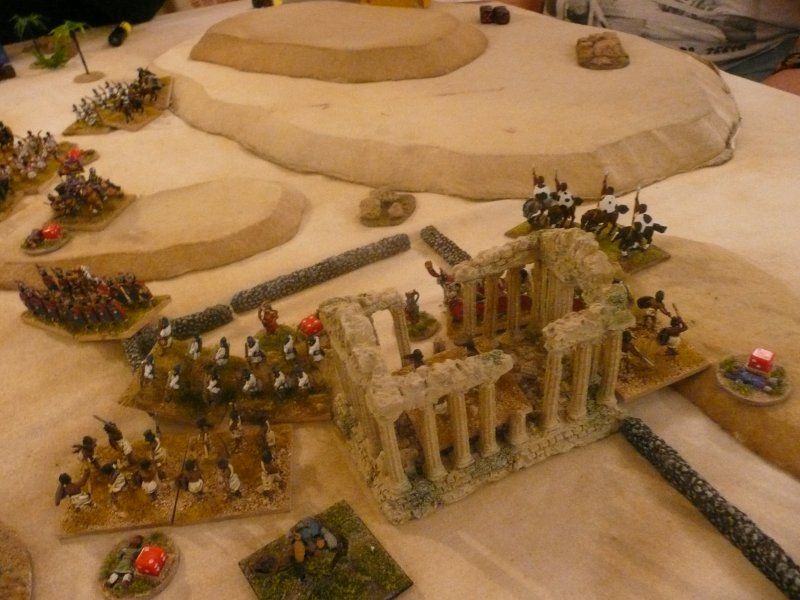
Eventually the remaining booty got organised and started to leave the compound covered by the warbands and skirmishers
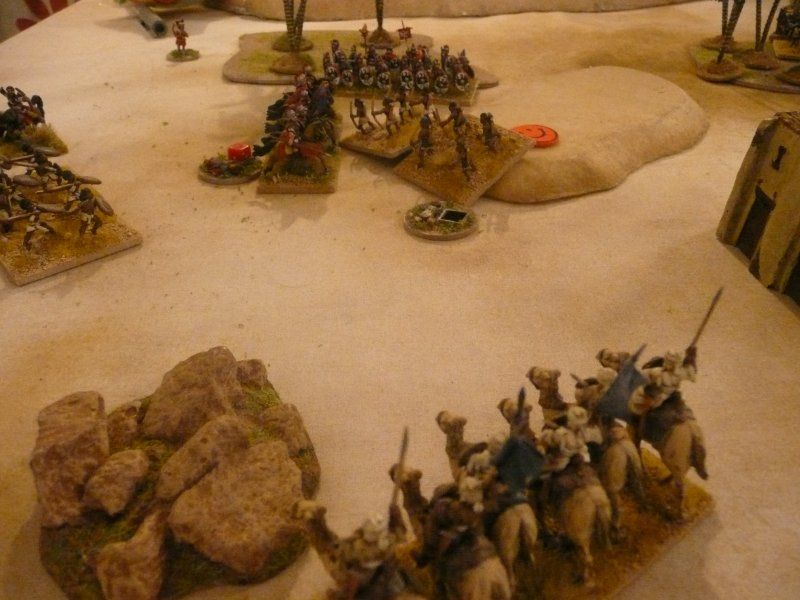
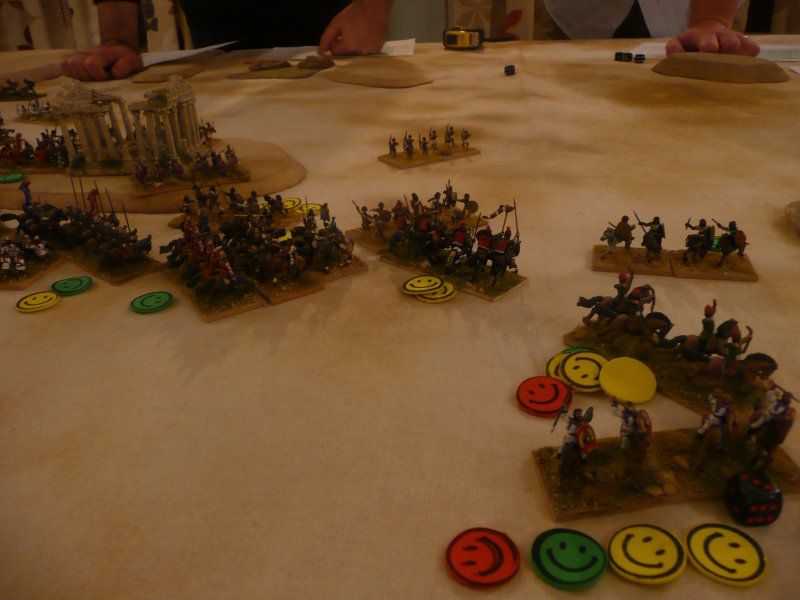
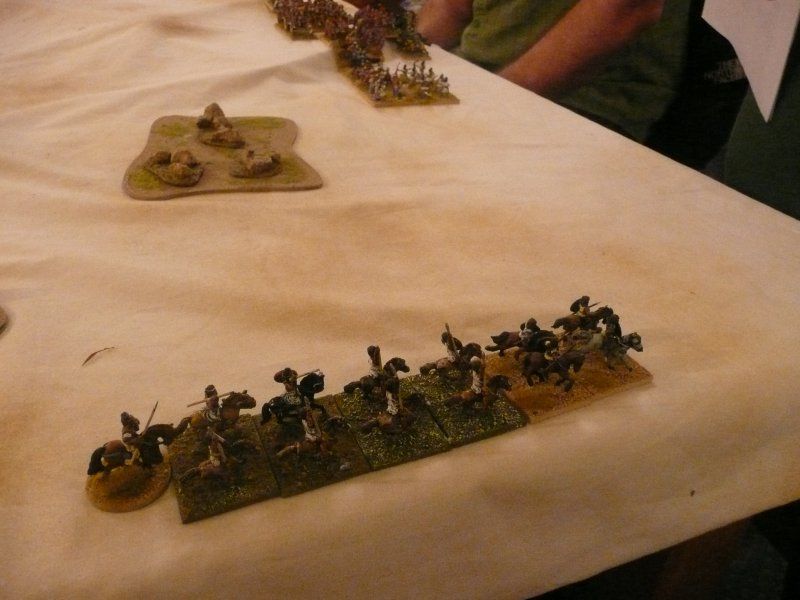
From the far south the Blemmye camelry went into action on the left wing against the Roman Cavalry and Legionaries in a vain attempt to save the skirmishers
Gradually though the Legionaries wore down the warbands one by one leaving a huge hole the Blemmye centre
At the temple the fight raged on until the Legionaries were rescued by Roman cavalry attacking the Light horse in the flank. The Light Horse fled the field but not before seeing the Legionaries worn down by kills and destroyed.
As the slaves and booty headed south the Roman pursuit was bravely thwarted by the Blemmye Retainer cavalry.
With the slaves and booty gone the Romans were masters of the oasis. Although they had beaten the Blemmye force they had only recaptured 1 of the 3 items of booty and the slaves were nowhere to be seen.

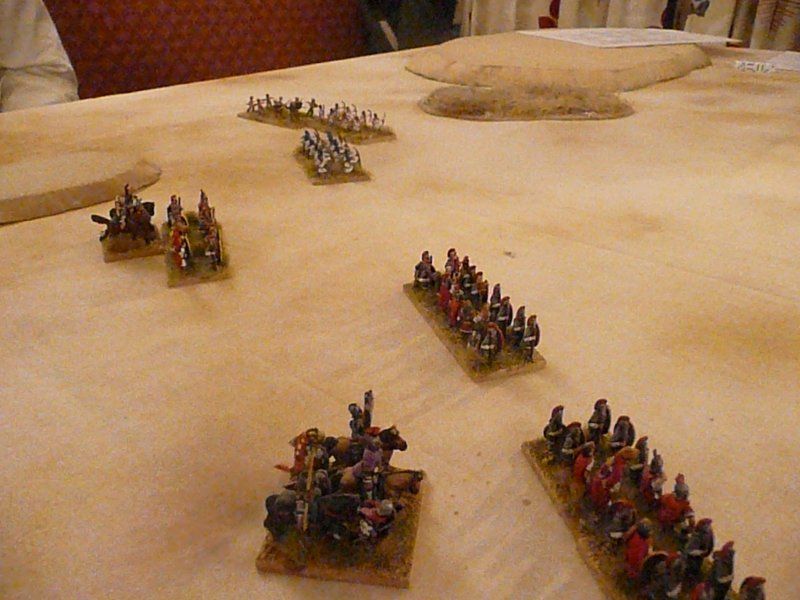
I must apologize for the Roman end of the table in the above photo - it is an utter tip

The Epilogue
After the battle a Roman officer discovered a necklace in one of the tents. Only one such necklace exists in Upper Egypt and belongs to Chlamydia, eldest daughter of Flurus, Roman Governor of the Province. She must have been one of the slaves that got taken south - dan! dan! daaan! - looks like the set-up for the next game

This game was based on the San Lorenzo scenario from Tim Tilson's Colonial Campaigns book Maximilian in Mexico. It worked extremely well and certainly gave the Blemmye players an edge-of-the-seat game. It's a mark of a good scenario when it can be played across different periods

Once gain the rules came through with little or no Rule Debating or Recrimination phases

Well done to Rodge for another enjoyable evening

More pictures can be found at photobucket

Thursday, 28 November 2013

The Temple of Kalabsha - Romans vs Blemmye using BFE2

This is the second scenario in our Romans vs Blemmye "campaign" using our variant of the 19th Century colonial ruleset Battles For Empire 2. (BFE2).

The game is set in Upper Egypt circa 400AD. The figures are 15mm and based for Armati. Each figure represents about 5 men so a Roman Legionary unit represents a Century

The Scenario
After the Romans failed to poison the oasis at Nikhab, they desperately needed to retain their hold on Upper Egypt in the face of  more Blemmye raids. At Kalabsha, near Aswan, stands one of the largest temples in Upper Egypt. Both it and the temple at Philae on the Nile form the twin pillars of Blemmye religion. Therefore units from Aswan, Abydos and Cusas were ordered to meet at Kalbasha and defile the temple. Word of this got out to the Blemmye clans who came together to defend their holy site.
The Terrain
The Temple sits in a large shallow valley running north-west to south-east surrounds by dunes and a few areas of rocky ground large enough to hide a unit.

Roman Objective
Secure the Temple by defeating the Blemmye and by having 1 unengaged legionary unit in contact with the Temple by the end of the game.
Roman Forces
1 Commander+1 12" Command Radius, +2 if attached to unit
2 Leaders+1 if attached to unit
Force 1: Aswan Detachment
1 x Century LegionariesInfantry, Elite, Spears / Javelins - treat as Pila
2 x Centuries LegionariesInfantry, Spears / Javelins - treat as Pila
1 x Egyptian AuxiliaInfantry, Foot Bows
1 x Egyptian AuxiliaSkirmish Foot, Javelins
1 x Egyptian AuxiliaSkirmish Foot, Foot Bows
Force 2: Garrison Troops from the Fortress of Abydos
1 x Century LegionariesInfantry, Spears / Javelins - treat as Pila
2 x Egyptian AuxiliaInfantry, Javelins
1 x Auxilia Light HorseSkirmish Horse, Javelins
1 x Auxilia SagitariiSkirmish Horse, Horse Bows
1 x Limitanei ArchersSkirmish Foot,Brittle,Bows
Force 3: Cavalry Detachment from Cusas
1 x Equites Ala PrimaCavalry, Elite,Spears / Bows
Well armoured, -1 to enemy fire at effective range
1 x Equites Ala SecundaCavalry,Spears / Javelins
1 x Ala GermanorumCavalry,Spears
may add +1 to a UCC roll once in the game
1 x Auxilia Light HorseSkirmish Horse, Javelins
1 x Auxilia SagitariiSkirmish Horse, Horse Bows
Roman Deployment
One of the three forces can be deployed in the northwest corner on Turn 1. From Turn 2 roll separately for each remaining force. On a 4,5 or 6 the force arrives on the table edge up to 24" from the northwest corner. 
1 Skirmish unit is allowed to be placed in ambush in any rocky area.
Blemmye Objective
Secure the Temple by defeating the Romans and by having 1 unengaged warband in contact with the Temple by the end of the game.

Blemmye Forces
1 Commander+1 8" Command Radius, +2 if attached to unit
2 x Leaders+1 if attached to unit
Agwezat Clan: "The Horse Lords"
1 x Armoured Noble CavalryArmoured Cavalry, Spears / Horse Bows
-1 to any enemy ranged weapon fire at effective range
2 x Retainer CavalryCavalry, Spears / Javelins
4 x Light HorseSkirmish Horse, Javelins
Yeha Clan: "The Desert Lords"
1 x Camel troopMelee weapons
On contact enemy cavalry become Shaken on roll of 1,2 or 3
1 x Retainer CavalryCavalry, Spears / Javelins
1 x Young WarriorsWarband, Brittle, Melee Weapons
3 x Light HorseSkirmish Horse, Javelins
1 x Light footSkirmish Foot, Foot Bows
Sereyah Clan: "The Warrior Lords"
1 x Guard WarbandMelee weapons
Can ignore 1 Shaken result once per game
3 x WarriorsWarband, Melee Weapons
1 x Light footSkirmish Foot, Foot Bows
2 x Light footSkirmish Foot, Javelins

Blemmye Deployment
One of the three Clans can be deployed in the southeast corner on Turn 1. From Turn 2 roll separately for each remaining clan. On a 4,5 or 6 the clan arrives on the table edge up to 24" from the southeast corner. 
1 Skirmish unit is allowed to be placed in ambush in any rocky area.

The Game
Steve and myself took charge of the Romans and Dave, Shaun and Chris played the Blemmye.

The Romans deployed the Abydos Garrison Troops on Turn 1 and hid the Limitanei Archers in rocky ground south of the temple.

The Blemmye deployed the Warrior Lords as their initial force and placed a Light Horse unit in rough ground north of the temple

Turn 2 saw all the remaining forces arrive on the table. The Romans deploying the Cavalry Detachment on the right flank and the Legionaries on the left. The Blemmye sent the Horse Lords against the Roman Cavalry and the Desert Lords towards the Legionaries.
As the Romans advanced the Blemmye Light Horse ambushed a unit of Sagitarii in the rear kicking off a savage cavalry battle on the Roman right flank
This part of the battle continued for most of the game with the Blemmye camels, cavalry and light horse wildly charging into the Roman forces
The Blemmye started feeding light foot and warbands into the cavalry battle
The flexibility of the Light horse on both sides led to several flank and rear attacks
The Roman right flank started to look very shaky when the Clibanarii recoiled from a warband
The Roman Light Horse suffered badly and started to disintegrate before the Blemmye onslaught
However the Roman Equites and the Germans rallied and the tide began to turn
In  the centre Roman Auxilia units advanced to take the temple
However the Blemmye warbands had the same idea
The threat of the Roman right flank collapsing forced the Auxila back causing them to become Shaken
However the right flank recovery allowed the Auxila to reform to protect the rear from Blemmye Light Horse
On the Roman left flank the Legionaries advanced in a very loose formation
Facing them was a mixed bag of Blemmye troops - cavalry,skirmishers and warband
The Blemmye charged the Legionaries without a moments hesitation
All along the left flank the Roman units became engaged
However the Legionaires and Auxilia held their ground wearing down the Blemmye attacks
It was only a matter of time before Roman steel overcame Blemmye courage
And the left flank closed in for the kill
As the Blemmye turned and fled the field the Romans marched into the Temple

The Blemmye lost 14 of their 21 units and the Romans 6 out of 17.

This was essentially a stand-up fight in which the Legionaries did very well. The remainder of the Roman forces left a lot to be desired and came pretty close to being overrun in the centre and on the right flank.

If the Blemmye had avoided the Legionaries or engaged them only with missile weapons then the outcome could have been very different.

Again the rules worked very well although we still need to iron-out the skirmisher-specific rules

Thanks to Rodge for a most enjoyable game

A few more photos can be found on at photobucket
Saturday, 23 November 2013

Nikhab Oasis - Romans vs Blemmye using BFE2

Rodge put on an excellent ancients game using our variant of the 19th Century colonial ruleset Battles For Empire 2. (BFE2). The game is set in Upper Egypt circa 400AD involving a reinforced Roman Cohort of 1000 men vs 1500 Blemmye raiders.

The figures are 15mm and based for Armati. The beauty of BFE 2 is that it works with any basing system. Each figure represents about 5 men so a Roman Legionary unit represents a Century.

The Scenario
The Blemmye raids into Upper Egypt have become a real problem. Thousands of slaves have been taken and the stability and reputation of Roman rule is under threat. The Blemmye are using a series of oasis as supply points.

The Terrain
The Oasis of  Nikhab lies at the southern end of the board. Sand dunes, which block LOS but do not impede movement, surround the table edges. A few areas of rough ground slow down non-skirmish troops. 

Roman Objective
Poison the oasis at Nikhab. To do this have a Legion infantry unit or an Egyptian Auxilia infantry unit, not skirmishers, with the Pack Mule attached to it in base contact with the Oasis for a whole turn and not in Melee.

Roman Forces
1 Commander+1 12" Command Radius, +2 if attached to unit
1 Leader+1 if attached to unit
1 Pack Mule
1 x Century LegionariesInfantry, Elite, Spears / Javelins - treat as Pila
3 x Centuries LegionariesInfantry, Spears / Javelins - treat as Pila
1 x Equites AlaeCavalry, Spears / Javelins
1 x Estate BucellariiCavalry, Spears / Horse Bows
2 x Egyptian AuxiliaInfantry, Javelins
1 x Egyptian AuxiliaInfantry, Foot Bows
2 x Egyptian AuxiliaSkirmish Foot, Javelins
1 x Egyptian AuxiliaSkirmish Foot, Foot Bows
1 x Auxilia SagitariiSkirmish Horse, Horse Bows
1 x Auxilia Light HorseSkirmish Horse, Javelins

Roman Deployment
The force marches onto the table from the centre of the northern edge

Blemmye Objective
Destroy the Roman force before they reach the oasis. Beating the Romans will enhance your reputation and further weaken their hold on Upper Egypt

Blemmye Forces
1 Commander+1 8" Command Radius, +2 if attached to unit
2 x Leaders+1 if attached to unit
1 x Armoured Noble CavalryArmoured Cavalry, Spears / Horse Bows
-1 to ranged weapons
3 x Retainer CavalryCavalry, Spears / Javelins
1 x Camel troopMelee weapons
On contact enemy cavalry become Shaken on roll of 1,2 or 3
4 x Light HorseSkirmish Horse, Javelins
1 x Guard WarbandMelee weapons
Can ignore 1 Shaken result once per game
1 x WarbandMelee weapons
1 x Archer troopFoot Bows
2 x Light footSkirmish Foot, Javelins
2 x Light footSkirmish Foot, Foot Bows

Blemmye Deployment
5 units can start on the table in the southern 1/3 of the table
1 of these units can deploy in terrain in ambush anywhere on the table
The remainder arrive randomly from the south, the east or the west

The Game
Paul and Graham took charge of the Romans and Shaun and myself played the Blemmye.
The Blemmye deployed the Guard Warband and the Archer troop in front of the oasis, a light Bow unit was deploy on dunes to the east and the west and the Camel troop was hidden in ambush in rough going on the Roman right flank
The game started with the Romans deployed en masse on the northern table table. The Blemmye had 3 Light Horse units arrive on the eastern edge which were sent forward to harass the Roman left flank
As the Romans advanced they dispatched units to take on the Blemmye light horse and to engage the Blemmye skirmishers
This advance triggered the Camel ambush against a Roman light foot unit which held owing to the rough terrain
On the Roman left flank the Blemmye horse charged in against skirmishers. Bad dice gave the advantage to the Roman skirmishers - no doubt bolstered by the arrival of the Bucellarii

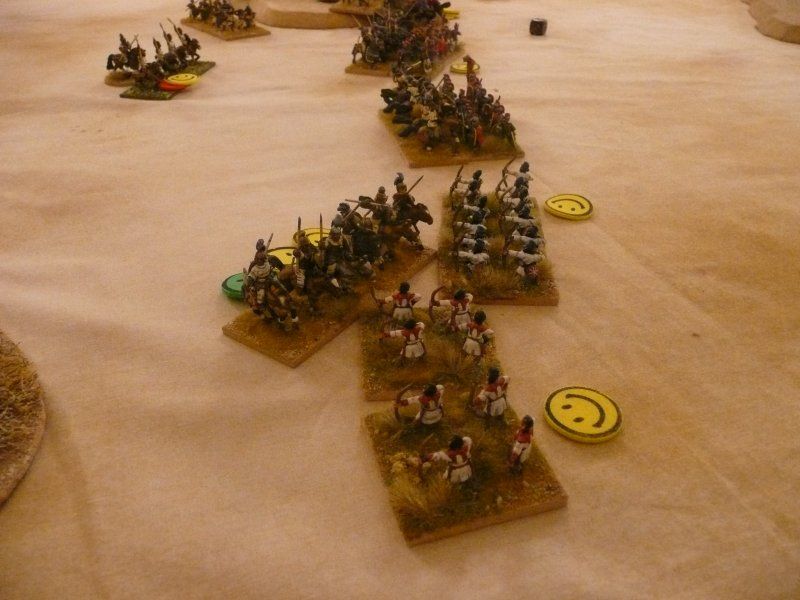
I haven't painted any casualty markers yet so we use Smiley Faces - red is Shaken, Yellow is 1 kill and Green is 4 kills - it makes for a happy game
As the Cohort advanced to the oasis the Blemmye Heavy cavalry arrived on the southern edge and deployed to meet the threat. The pack mule bio-weapon is in the centre of the cohort
Having seen off the skirmishers the ambushing Camels were charged by the Equites Alae. The smell of the camels causing the Alae to become shaken

Although having being reinforced by the cavalry, the Blemmye line looked woefully inadequate to face the Roman juggernaut. Even skillful maneuvering  left huge holes in the line.
Left to their own devices the Equites Alae and the Camels fought out their own little war
As the Blemmye cavalry appeared before them the Romans formed their own battleline
Having seen off the Blemmye Light horse the Roman left flank raced forward to support the centre only to be attacked by skirmish foot and horse
In the centre the Blemmye Guard warband and Noble cavalry rolled fanatic charges and hurled themselves forward into the Roman cohort
To support the centre the Blemmye cavalry launched attacks along their left flank against auxilia and skirmishers
As the battle lines engaged the Pack Mule and escort hung back waiting for a gap to appear
Suddenly the centre Century advances past it's engaged comrades to take on the lone warband protecting the oasis. The Roman commander sensing that this is the moment pushes the century protecting the pack mule forward. A Roman Victory is at hand!
How cruel are the Fates - a Blemmye cavalry unit lurking out on the left flank dives into the rear of the Roman centre and rides  down the Roman second in command and the pack mule. Unable to poison the oasis the Romans concede the game.

A cracking game that once again came down to the wire.

The Blemmye commanders spent a lot of the game worriedly looking at the overwhelming number of Romans heading towards them and even when the cavalry arrived it barely evened the numbers.

The Noble cavalry and Guard warband  going fanatic stopped the Roman line in it's tracks. However the push forward by the Roman commander would have been a game winner if they hadn't ignored the lurking Blemmye cavalry.

BFE2 makes for a very refreshing alternative to the standard Ancients game of line them up and charge. We intend to do more of these scenario based ancients games

More photos are at my photobucket site