Saturday 10 November 2012

Chunyuhan - an RJW battle using Square Bashing


This is a fictitious battle set in the Russo-Japanse War fought using RFCM's Square Bashing 2012. There is a page on the Peter Pig website explaining the rules - here's the link

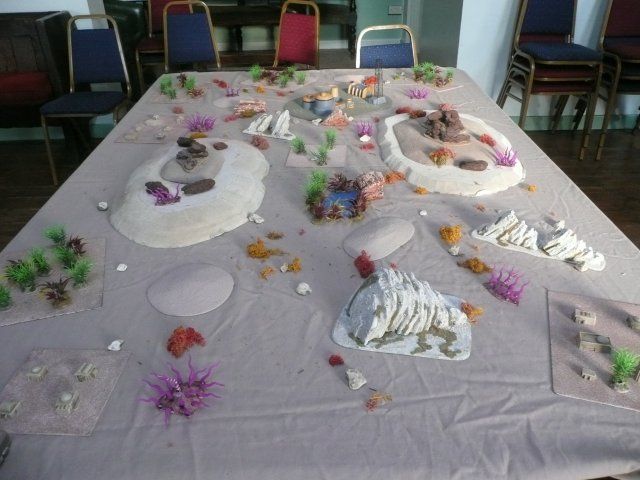
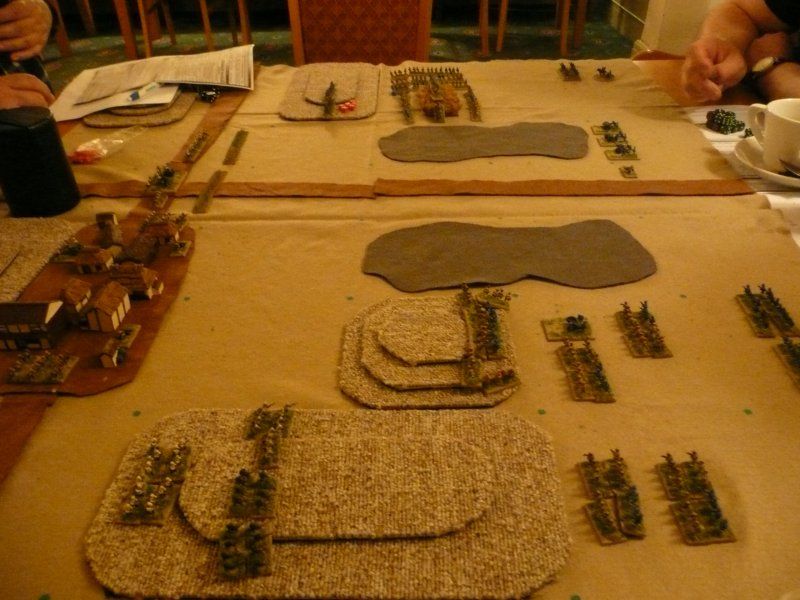
Square Bashing (SB) is played on a 4 foot wide by 3 foot deep area covered by a 6 inch square grid. Terrain pieces are 6 x 12 inches and cover 2 squares. Objectives are 6 inches square
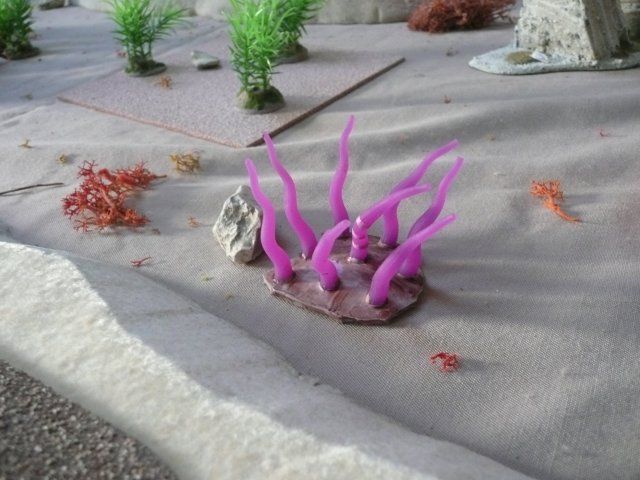
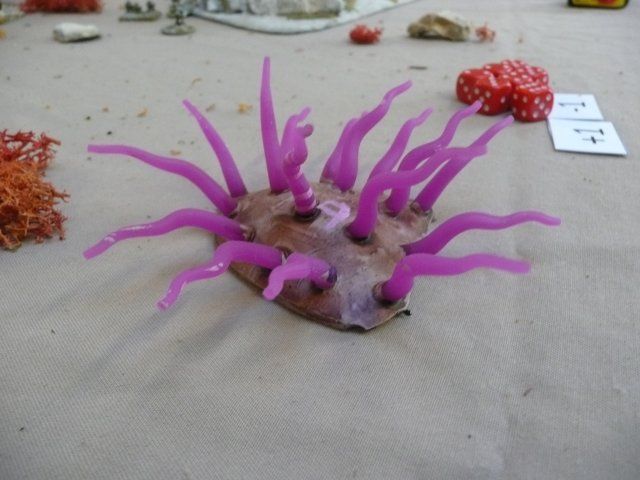
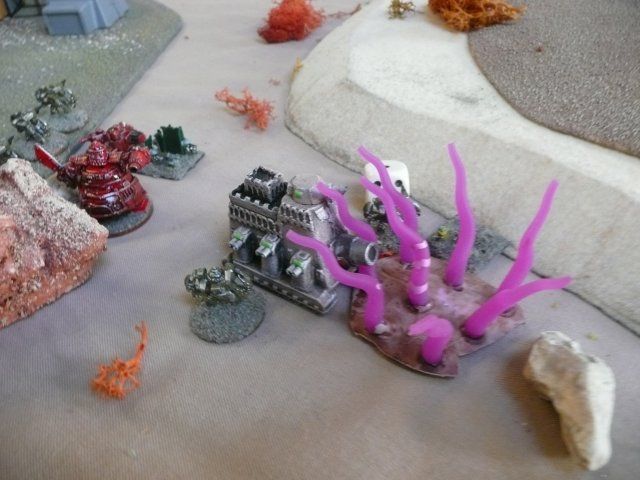
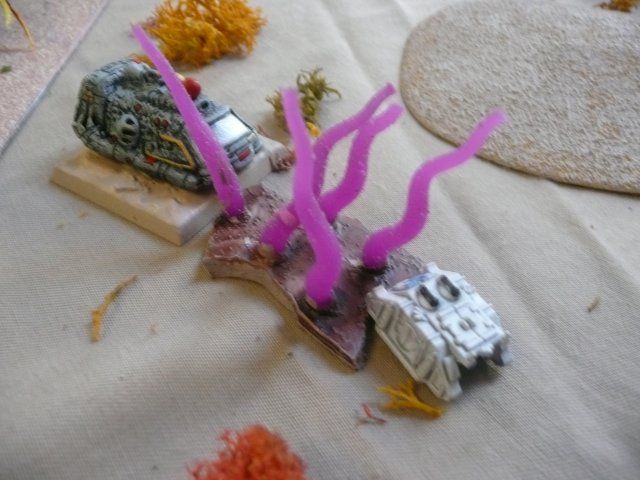
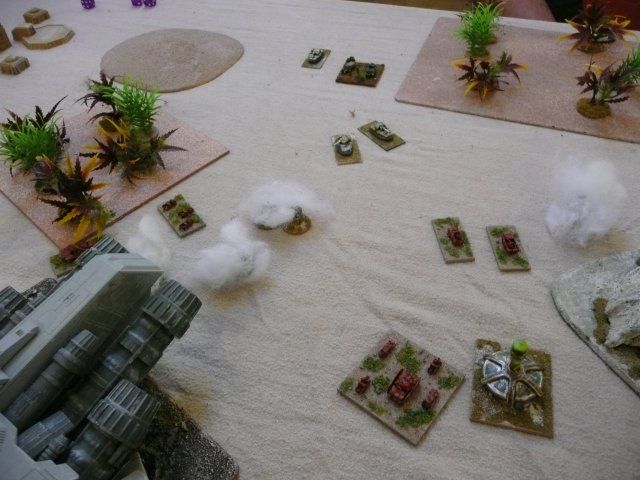
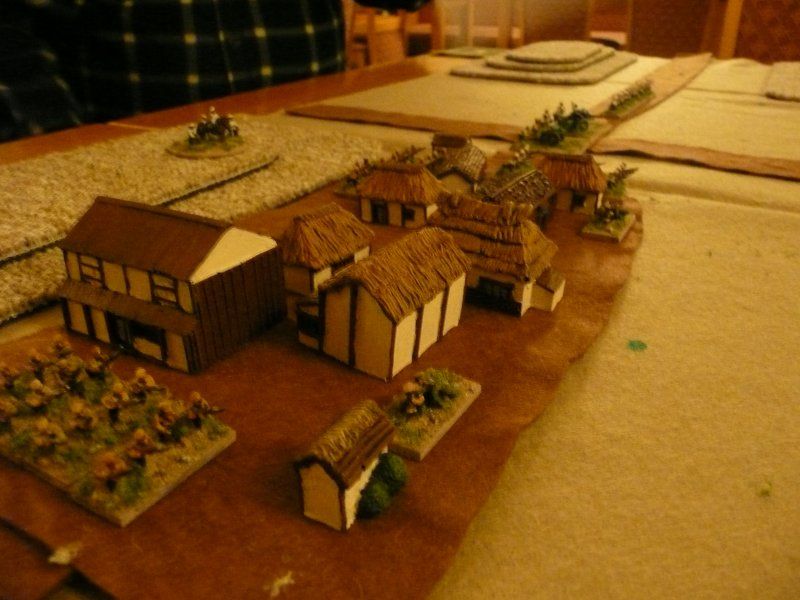
In SB both sides chose 4 pieces of terrain from gentle hills, rough hills, rough ground and buildings. All terrain is then deployed by the defender with the attacker having a chance to move pieces. Two roads are placed - one along the defenders'  base line and the other across the table. The crossroads square becomes 1 of the 4 game objectives. There are 3 other objectives deployed by the defender - the grassy knoll (a small rough hill), a temple and a kaoliang field (woods)

We did the SB Quick Game which cuts out most of the pre-game activity and goes straight to the battle. The Quick Game excludes Assets but I wanted to try them out so added in Barrages and Hasty Defences

Amongst the new rules in SB is one that allows you to choose how High Command (the general) works. It can benefit either movement, fighting, morale or assets - the twist is that the chosen benefit can not be changed.

The quick game pits a standard army of 620 points attacking a 450 point army

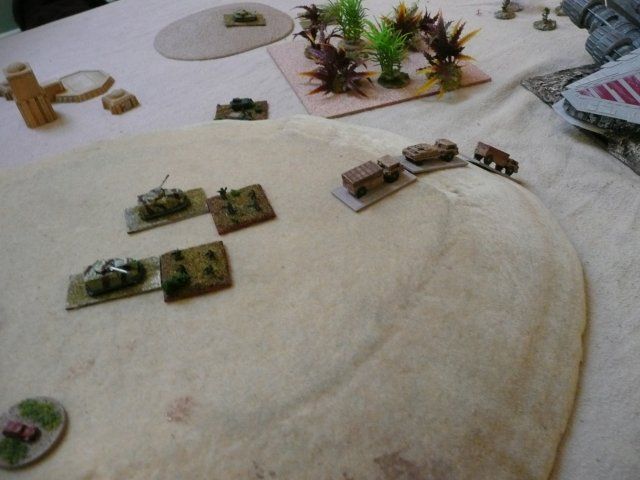
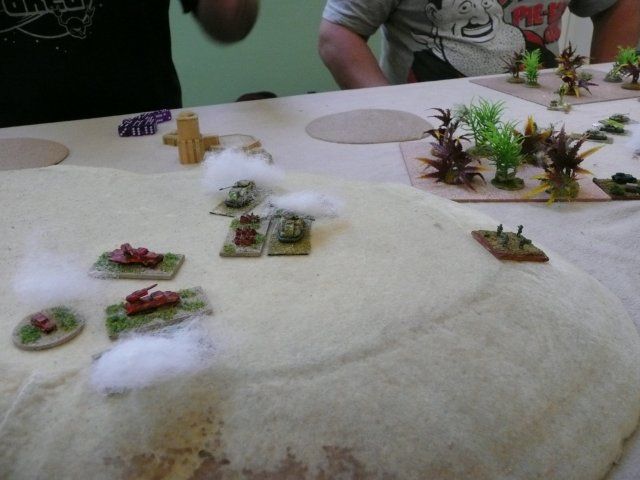
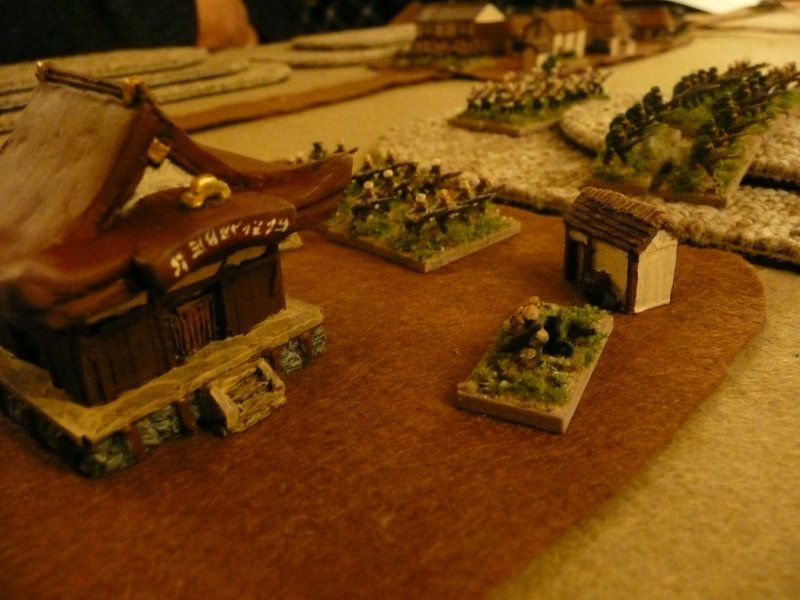
The Japanese commanded by Rodge and Steve were the attackers with
  • 1 High Command - fighting benefit
  • 12 Regular Infantry Battalions
  • 3 Reservist Battalions
  • 3 Field guns
  • 1 Light gun
  • 1 HMG
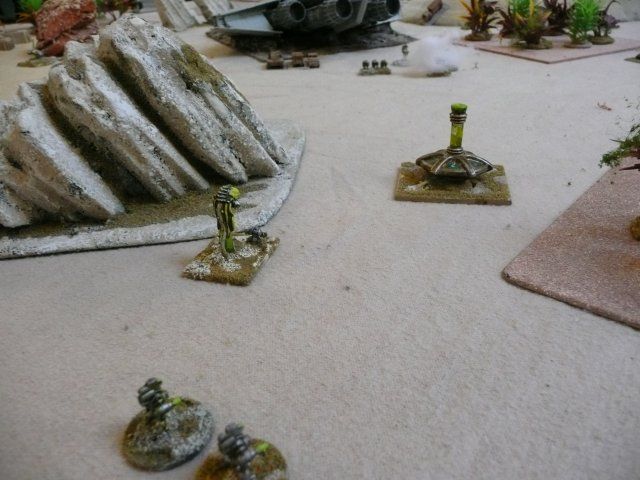
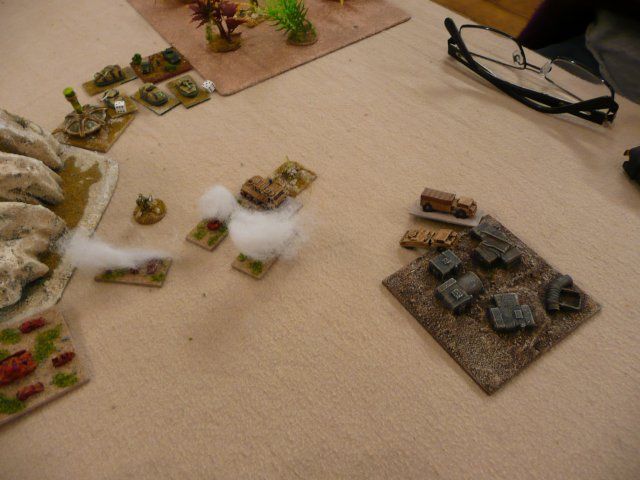
The Russians commanded by Alan P and Mike defended with
  • 1 High Command - morale benefit
  • 6 Regular Infantry Battalions
  • 5 Reservist Infantry Battalions
  • 3 Field guns
  • 3 HMG
  • 2 Hasty Defences
The Japanese deployed - massing 6 Regular battalions on the right flank with the artillery in the centre and the remaining 9 battalions spread between the centre and the left. The Russians then deployed with the majority of their troops holding the right and centre and just a couple of battalions of reservists holding the left.
The Russian right and centre - the buildings are from Mura Miniatures 6mm Japanese range - very nice they are too and they work well with 10mm figures.
The Japanese started by capturing the grassy knoll on their left and moving the right flank up in front of the kaoliang field. In response the Russians occupied the field with 2 reserve battalions.

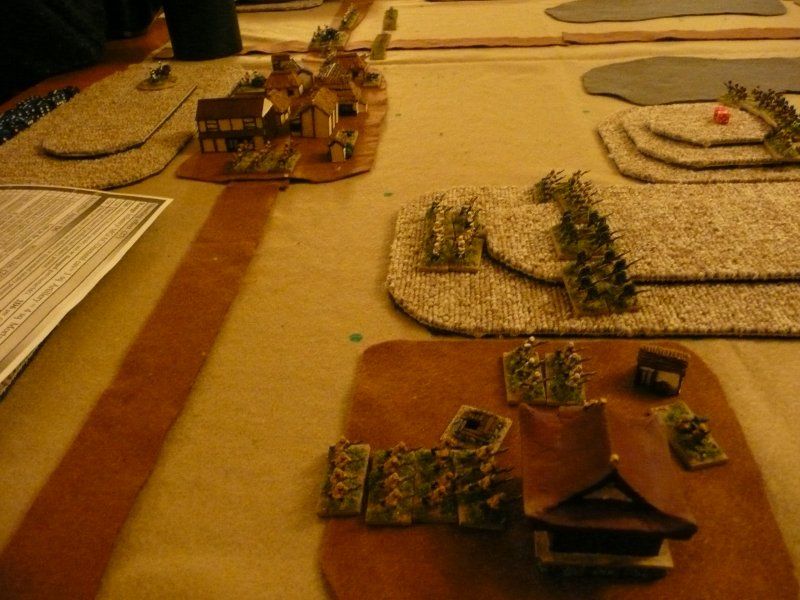
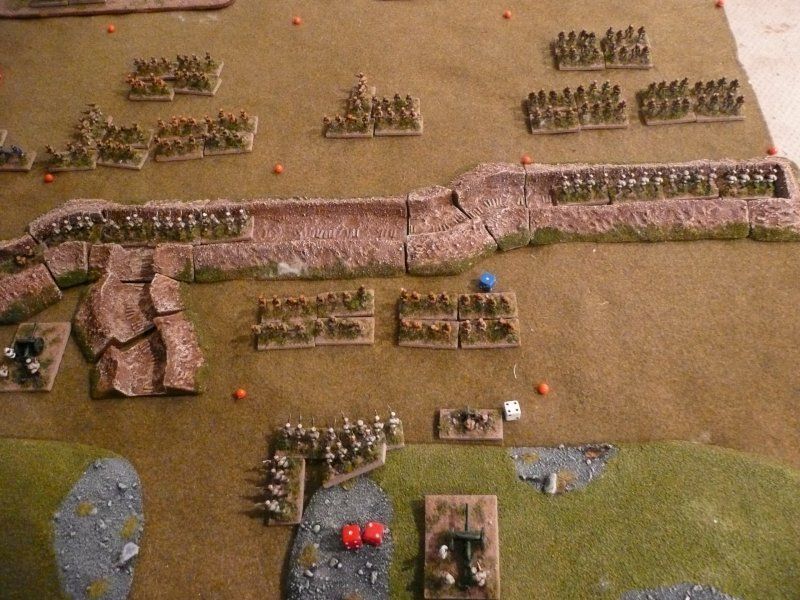
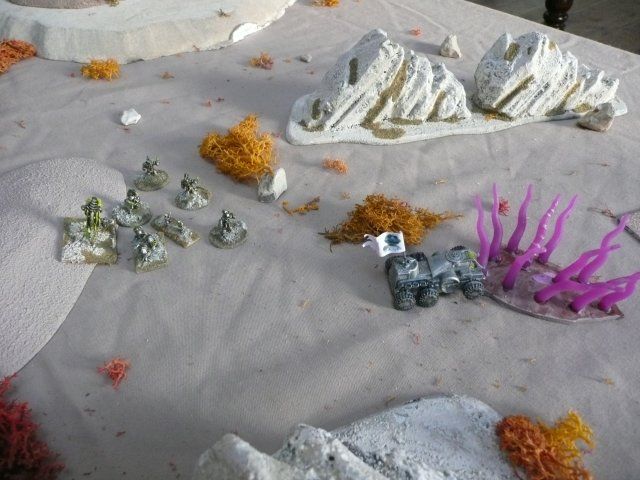
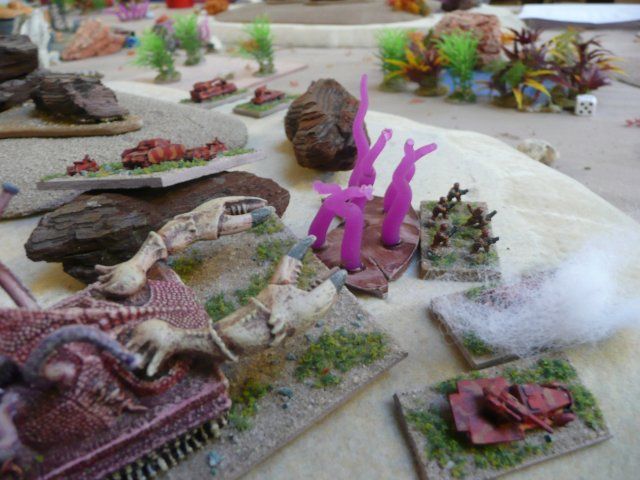
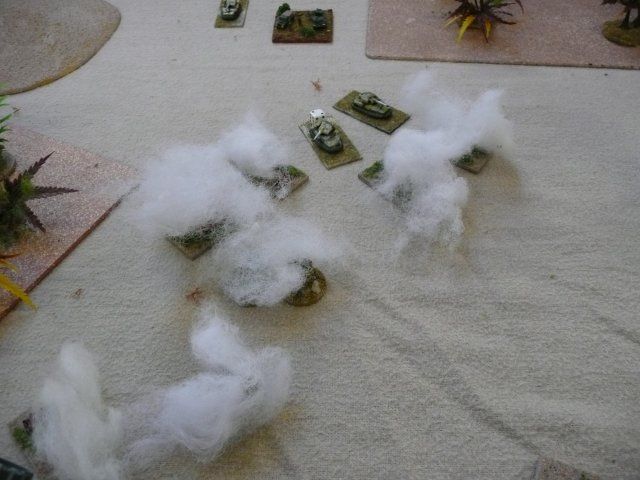
The Japanese then assaulted the 2 Russian Reservist battalions from the flank as well as from the front. Being assaulted in the flank as in most rules is not good and the Russians were pushed back losing 50% of their troops.
The photos show the aftermath of the Japanese assault on the kaoliang field. The left-hand one shows the 2 Russian battalions reduced to half-strength with 6 casualty markers - 4 of which are going to be used against them in their morale phase and as they are reservist an extra morale dice will be added against them.

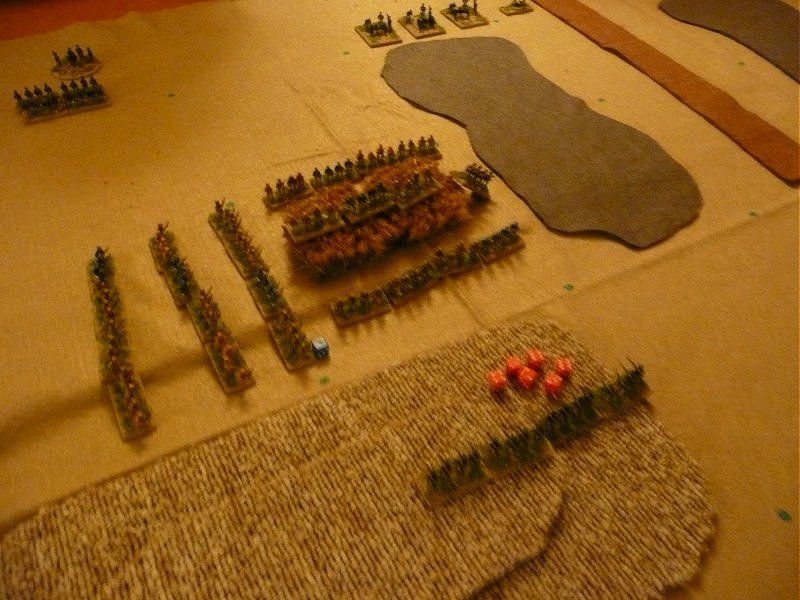
The Russian reservists failed their morale test and were forced to retire from the hill. Along the centre and right troops were being  pulled from the line to bolster the collapsed left.

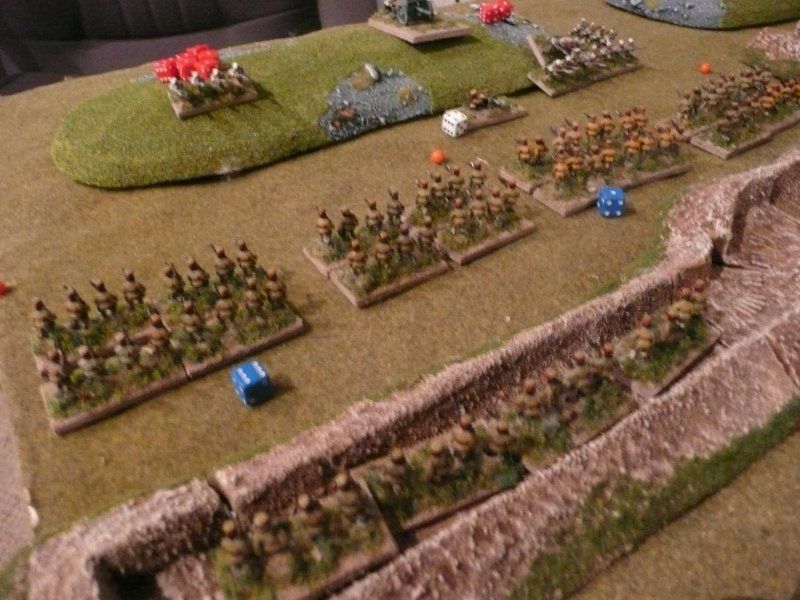
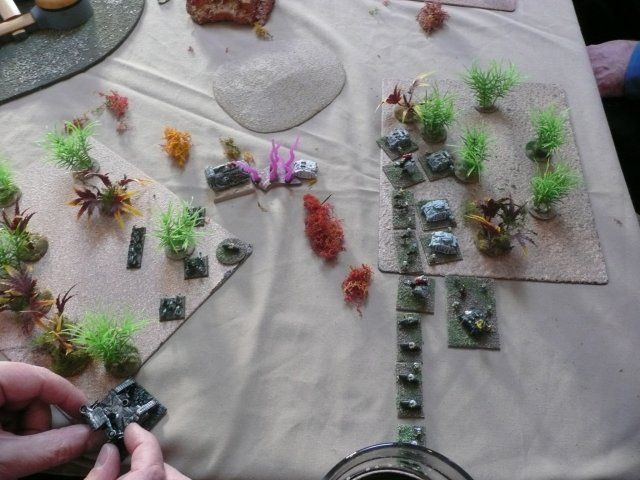
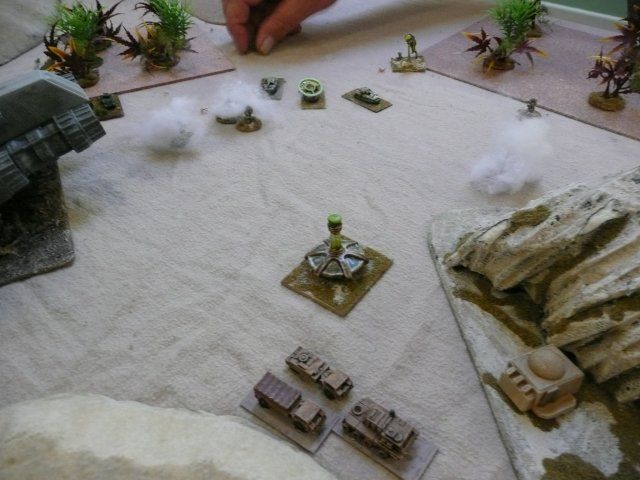
On Turn 3 the Japanese continued hammering the Russian left flank
The two reservist battalions disintegrated and the battalion holding the far left of the line received 4 casualties  losing 2 bases and having to retire. The Japanese stood poised to breakthrough to the  table edge or roll up the Russian line.

Sadly for the Russians the rest of their line was coming under mounting pressure.


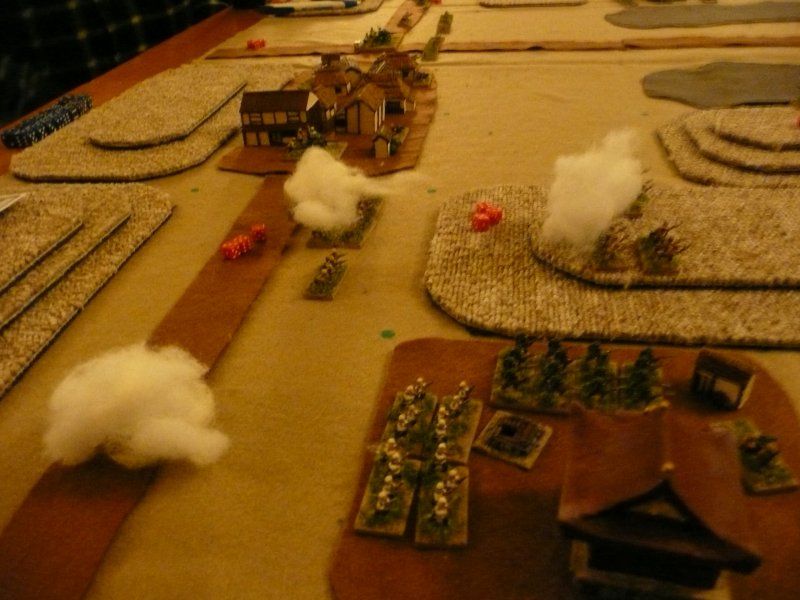
Although the quick game does not include Assets we decided to use Point Barrage and Hasty Defences, The Point Barrage is off-table artillery that targets 3 squares in an L shape causing a D6 of hits to the square. Hasty Defence allows temporary cover in the form of the assaulter losing 2 dice and increasing saving rolls.

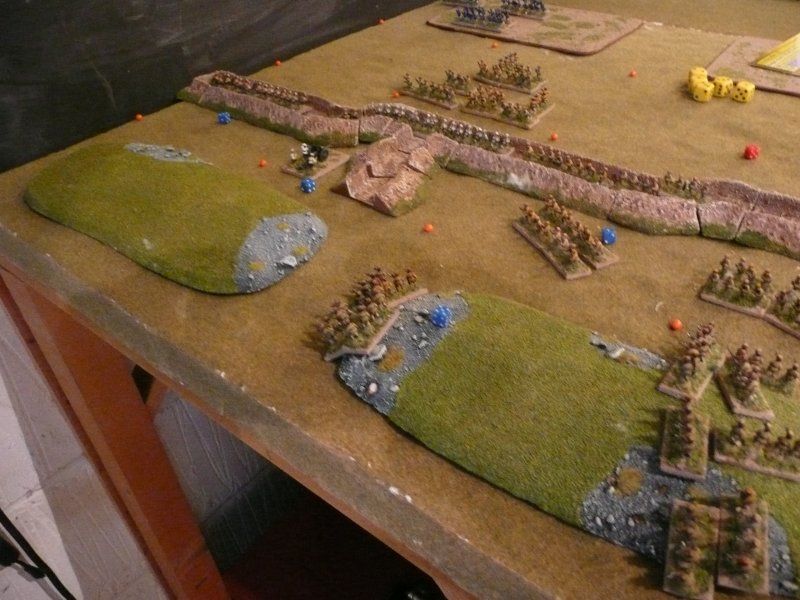
Armies are allocated a number of dice per asset - the Japanese Barrage is 12 dice, the Russian barrage is lower with 8. An army is allowed to roll for 1 asset each turn using up as many of their dice as they want.  To get the asset requires rolling a 6. The Japanese had rolled 4 dice each turn  from their Barrage allowance but only succeeded in rolling a 6 with the last of their 4 dice on Turn 3.

They dropped the barrage on the Russian right flank and then rolled for overshoot which resulted in the temple avoiding getting shelled.. The Russians on the hill and on the road behind weren't so lucky and took hits. The Japanese then assaulted the hill and the village forcing the Russians back again.

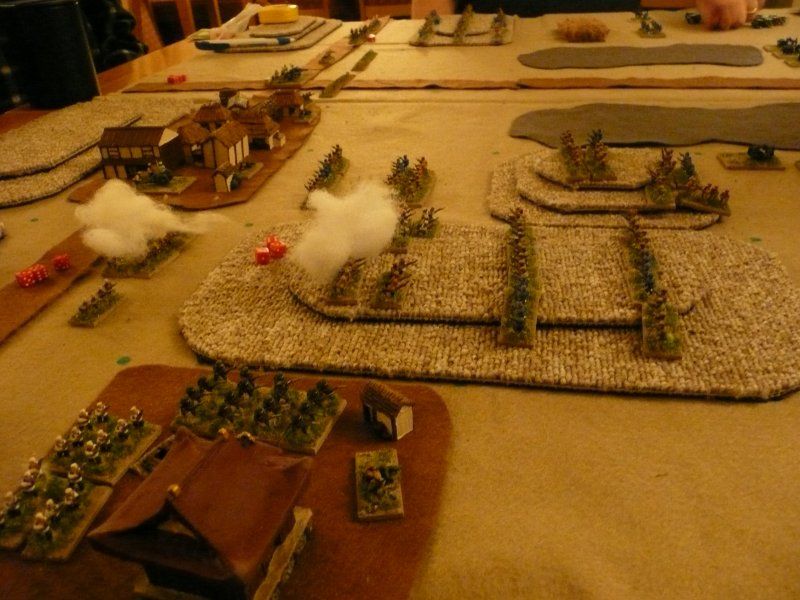
At this point the Russians conceded the game.

Tallying up the points gave the Japanese an unsurprising  Definite Victory. The points for holding an Objective can be quite variable - for the attacker it is 4D6 - the Row number, which counts the Defender's base row as 1 across to 6 for the attcker's base row.. Therefore the kaoliang field in row 4 was 4D6 - 4 so could be worth anywhere between 0 and 20 points to the attackers.

In the post-match analysis the defenders felt that it was too easy for the attackers to assault with little in the way of  defensive fire to halt them and that getting 3 dice to the defender's 2 dice in an assault was a big advantage

My view is that it was easy to attack and if the defender was in the open then it was probably easy to win. However if the defender was in good position with defences and supporting troops then it would be a different matter.

The defender has certainly not got an easy job in SB. From the placement of terrain and objectives through having units disappear via the depletion rolls to holding the line and making sure the flanks aren't turned will keep the defender busy.

From a game aspect it is fast and reasonably simple.  I don't feel that having a grid detracts from the game.  The High Command and Asset mechanisms work well. One area that players had issue with was Line of Sight but we might have been playing that wrong.

From the Russo-Japanese War aspect I am pleased with it. In my opinion it handles a divisional assault reasonably well. My only gripe is how to represent the Japanese use of  HMGs in attacks as they only have a range of 1 for firing and only count 1 in assault or for support

If the guys at Slimbridge are up for it then I am looking to run a campaign at the club

There is a lot more to SB 2012 than the original game - I'm keen to play more.

Thursday 8 November 2012

10mm RJW Solo game using Square Bashing 2012

RFCM and Peter Pig recently brought out a new version of their early 20th century rules - Square Bashing. As with the previous version the game is fought using a grid of squares with each square being 6 inches. The standard game is played on a 4 foot wide by 3 foot deep table giving a grid of 8 by 6 squares.

Peter Pig have a page explaining the rules on their site - here's the link

They have also produced a book of army lists covering not only WW1 and the Russian but also the Mexican  Revolution, the Boxer Rebellion, the Spanish American War, the Chaco War and the Russo-Japanese War.

Therefore I thought I would give Square Bashing (SB) a try out with my standard RJW solo scenario. The scenario misses out a lot of the rules such as assets and commander and only uses Moving, Assaults, Shooting and Morale

The scenario has had to be amended for SB because units are battalions rather than companies.

Firstly the depth of the table was increased from 2 feet  to 2.5 feet to give a playing area of 4 squares wide by 5 squares deep. This was to stop the attackers going straight into combat and to give the defenders somewhere to retreat to. I have tried to keep the same terrain of hills with a trench line and rough ground to slow the attackers down.

Secondly the forces were increased.- the Japanese now have 12 Battalions of Infantry attacking 4 battalions of Russian infantry backed up by 2 HMGs and 2 Field guns. In SB troops can be professional, average or reservist - all troops in the game are average. Each battalion has 4 bases


The battlefield from behind the Russian lines. - the orange pins mark the grid - I'm working on some more aesthetically pleasing markers.

The Russians have deployed  their artillery in the middle squares with a battalion of infantry in each trench square - the HMGs are in the 2 middle trench squares. In the distance the Japanese can be seen coming out of the Kaolin fields


A view from the Russian trenches

The Japanese army seen from an observation balloon

In SB infantry units move 2 squares but have to roll 4+ on a D6 to leave difficult terrain such as rough ground, hills and trenches

The initial Japanese advance saw most units get through the rough ground except on the Right wing where the 1st battalion passed through but the 2nd and 3rd failed to exit

It costs a square of movement to assault which is the main form of combat in SB. Therefore the Japanese were unable to assault on the first turn.


Shooting is carried out in the opponent's turn provided the unit has not been assaulted. Infantry and HMGs have a range of 1 square and artillery has a range of 4 squares with 6's being required for a hit. Hits can be saved but if they are not saved then the target suffers a 1/2 base loss per hit and the square gets a casualty marker which can generate a morale test. The Japanese unit in the middle square has take a hit and lost half a base.

On the next turn the Japanese assaulted. This costs a square of movement and if the assaulter is in bad terrain then an exit role is required. When using trenches the rules state that rough ground should be placed in front of them no doubt to represent barbed wire and no-mans land. However for this game I've only used the trenches.

Banzi! - the Japanese breakthrough - red dice are casualties, white dice are damaged HMGs or artillery and blue dice are "winning the fight" bonus dice.

Each assaulting unit gets 3 dice and each defending infantry unit gets 2 dice - which seems a bit weird but I'm sure there is a reason. Defending HMG get 5 dice. Extra dice are awarded for supporting troops in adjacent squares or if attacking from a flank square. When attacking trenches then the attackers loses 3 dice. Hits are caused on 5s and 6s but saving rolls are allowed.

The attacker wins if they inflict more hits otherwise the defender wins. The loser takes 3 more hits. If the defender loses then they have to retire back a square.


In the game the Russian left flank inflicted heavy casualties on the Japanese but right flank broke under the assault and the day was lost.

As this was a new set of rules for me I played this scenario 12 times to get a hang of it. In only 2 of the games did the Japanese break through and when they did they rolled up the Russian line. In the other 10 games  the assault failed and the Japanese retired back to the kaoliang fields. From my reading of the RJW that is about par for the course - 6 assaults to clear a trench line.

I used to play the original SB and thought they were ok. Although I have yet to play a full game with objectives and assets  I think the new version of Square Bashing is excellent - well done RFCM.

It's a toss up between Square Bashing and Future War Commander as to which set works best for the RJW - maybe I'll use both. I'm running an SB game at the club next week so it will be interesting to see how it works with other players

The figures were all from Pendraken and the trenches were from Dreamholme.


Sunday 30 September 2012

A Review of 1/144 Battle of Mukden (IJA Heavy Artillery)

I'm currently painting armies for the Russo-Japanese War of 1904-1905. The figures are mainly from Pendraken's 10mm RJW range with help from their Russo-Turkish War, WW1 and Russian Civil War ranges.

The artillery in the RJW range is limited to the Putilov 76mm m02 and the Krupp 75mm m95 although the WW1 range has a few usable guns. I should warn you that I am pretty clueless about artillery pieces so if you spot any mistakes please let me know

I was browsing Hobby Link Japans website and saw a box of guns by Fairy Kikaku entitled 1/144 Battle of Mukden (IJA Heavy Artillery). This contains kits for 4 pieces of artillery - 120mm Cannon, Krupp Howitzer, Krupp 105mm Cannon, and 107mm M77.
I ordered a box from HLJ even though they were out of stock. HLJ takes your order but doesn't bill you until they have the item which took about a month. At that point they sent me a paypal invoice for ¥1904, which I found amusing, plus ¥580 postage to the UK which worked out at just under £20. The parcel arrived in under 2 weeks.

Each gun kit comes in a separate bag. The 105mm Cannon contained 1 kit whilst the other 3 bags each had 2 kits - so 7 guns in total.

All the pieces are resin and each gun also has 2 recoil wedges. There was a fair bit of flash in some places especially between the wheel spokes.

I'm happy mixing 1/144th with 10mm - as you will see from the pictures the guns and figures go together reasonably well

First we have the 120mm Cannon.- there were two of these in the box - the barrel, the wheels and the wheel pins all had flash. A nice model that would look good defending Port Arthur


Next is the 150mm Kruppe Howitzer - again there were two models. This is a tiny model with probably as much flash has there is gun. I had trouble fitting the barrel but that was probably more my fault. I could not find any pictures of this piece on the net so I'm not sure if it is what it is. This gun would work well for both the Russians and Japanese


The third piece is the Kruppe 105mm Cannon - there was only one of these in the box. I haven't assembled it yet. Have I mentioned the flash?


Finally there is the 107mm M77 - there are two of these beauties and I couldn't careless about the flash. This is a lovely model  that is just cries out to have half a dozen of them on the table bombarding the Russian trenches.  I am tempted to ask HLJ if they will split a box so I can have another 2 or 4


They do need washing in warm soapy water. Being resin they are very light models. When I came to spray varnish them the spray blew them off the board and into the grass. A frantic search ensued as I hoped I would find them before my son's football did

So we have 4 interesting artillery pieces that I don't think are available elsewhere in 10mm. Apart from the flash and my inability to glue small things together I had no problem with them. I would say that they were well worth the money especially the 107mm. The fact that they can be used by both sides is very useful.

I would recommend HLJ as a good trader - they do loads of other interesting models - check them out

Sunday 9 September 2012

Frondulans at HOTT Berkeley 2012


I've played HOTT for several years but I'm not a big fan of fantasy or warfare with pointy-sticks in general. I think the closest I've come to a fantasy army was a Pirate Arr-arrmy.

My HOTT armies include 1920s Chinese Warlords,a 1890's British Expedition to Mars, Airfix Robogear Sci-Fi army with poseable figures and real shooting guns and, my favourite, a French in North Africa army.

I had taken the French army to HOTT Berkeley for the last couple of years where it did quite well so I fancied a change but couldn't be bothered to paint anything

I've always had a hankering to do a HOTT army containing just hordes. Various ideas had wandered through my mind but nothing stuck. I had recently done some Future War Commander games using an alien race that was just tentacles. I still had several of these balls and thought why not use them

So here it is - based upon those loveable sentient plants found on Frondula VI - the Frondulans


After two days of playing with 21 hordes and a sneaker I have most definitely had a hankering to do a HOTT army containing just hordes totally eradicated from my psyche.

I played 7 games and lost all 7 coming second from last. However it wasn't the fact that I lost the games that got hordes out of my system, it was the realisation that for me an army with 21 hordes doesn't suit my style of play

I hope my opponents - Chris, Tony, Steve  Amy,  James, Jamie and Colin - enjoyed carving their way through the Frondulans.

I probably won't use them as a HOTT army again but the will definitely be making an appearance in a Future War Commander game - watch this space.

Thanks to Steve for putting on another HOTT - I will be using the memento as my stronghold next year.

Tuesday 10 July 2012

Frondula VI: Show and Kill - The Game

There were six of us for the game. Each with a 1000 points 6mm FWC army
  • Graham: X31 / Tau 
  • Mark: Terminators 
  • Mike: Hunter-Scavengers / Orks 
  • Shaun: Andrayadans 
  • Steve: Space Marines 
  • Me: Hunter-Scavengers / Orks

The table was the usual 6x4 desert style
There were 8 Frondulan colonies spread around the table waiting to see the precious things.
Shaun's Andrayadans and my Hunter-Scavengers landed close to each other. My precious things were being transported by a de-activated Ogrethullu .
Graham's Tau appeared at the Research Centre whilst Steve's Marines appeared in a firing squad formation very very close to Mark's soon-to-be-terminated Terminators. They even managed to present to the same Frondulan.
My transport getting ready to present - those claws were useful for carrying the Enemy Killed bonus cards. Meanwhile Graham boldly pushed his Tau forward leaving his transport to get captured by Mike's Orks

There was a lot of transport being captured mainly because it was easier to capture other people's transport rather than move your own - a flaw in the scenario.

Steve captured Mark's, Mike captured Graham's and Shaun's and Shaun captured mine.

A double presentation by Mark and Steve whilst Mike captures Shaun's transport with his bikers

It was quite a bloody game with Mark being destroyed twice and Shaun once

Here is Mark's description of the game

 The Terminator Assault Wave lasted all of 2 moves - in Steve's 1st turn - & 1 initiative assault move in mine (but at least we presented precious things to the Frondulans). I think the idea of using a Breakpoint:2 army despite it being 'well-'ard' Cyborgs needs a bit more thinking & practice ...

 The Progenitors arrived right into the midst of a gun-fight between Grahams Species X31 & Mikes Orks - did a bit of OK shooting (Smart-Missiles at Steve's Marines ... smoking ... as well as lobbing a few shells at both the Orks & Tau ... probably not the best plan ... shoot at all 3 of your neighbours at once) but then got well & truely mauled by Graham & finally tuffed up by Steve's marines ... but again we managed to 'present' to the Frondulans ... gaining points ... and we all know what points make now don't we boys & girls? 

Unfortunately the next army choice didn't manage to make it onto the planet (as we'd run out of time) ... but it might have been my BP:10 Orange Orks or another BP:3 army - my Kra'Vak fast armour attack squadron ... but we'll never know.


I managed to own a hill until Shaun attacked me. Mind you I had shot up loads of his kit.. My cunning plan was to drop infantry off at each Frondulan colony but as I only got to one it wasn't that cunning


We each managed 4 turns which isn't bad considering there were 6 of us with a 1000 points each - that's 24 turns.

The final score was Mark, Mike & Steve with 2 presentation points, Shaun and myself with 1 and Graham with 0.

With hindsight I would change the scenario so that transports  move at 30 and instead of being captured they flee 30cm in a random direction when overrun.

Frondula VI: Show and Kill - The Scenario

This is a Sci-Fi scenario - we used Future War Commander with 6mm figures

Frondula VI is an Earth-type world with an extremely sentient plant life-form that dominates the planet. This plant, known as the Frondulans, manifests itself as colonies of tentacles or fronds. It has been impossible to ascertain whether each colony is a separate entity or whether it is a single world-wide organism.

Due to it’s immense economic importance, see http://en.wikipedia.org/wiki/Frondula, almost every other sentient life-form in the galaxy desires access to the planet. However in order to establish a base on Frondula it is necessary to placate the all-pervading Frondulans.

 These tentacle-like plants love nothing better than extreme violence and precious things. Therefore once a year any life-forms intending to maintain a base on the planet must engage in combat and display their precious things to the Frondulans. 

Failure to amuse them results in the Frondulans denying access to the life-form and in some cases to all life-forms as was the case in 2524 when the plant got so annoyed with the MacGregor clan for presenting Bugmans beer yet again that it put on a growth spurt that enveloped the entire planet to a height of some 2 miles and then slowly pulled the arms, legs and other appendages off anything that had not been crushed or strangled by the irate vegetable.

Unsurprisingly it is that time of year when extreme violence must be committed and precious things be presented.

Forces will be transported to the planet’s surface using random orbital deployment ie roll a dice to see where you are located on the table

In order to present precious things to the Frondulans transport unit must start the initiative phase in contact with a Frondulan colony. A player can never present more than once to a colony.

The force with the most presentation points wins.  If a force is destroyed then it keeps it’s presentation points but discards all other presentation bonuses and is brought back in via random orbital deployment.

Colonies block line of sight and fire and are impassible to all – even grav units

How to Present

Presentation involves rolling 2 dice and consulting the table

Double 1Remember 2524?
Roll 1 dice and lose that many units
All other players lose 1 unit
5 or lessYuck – wrong shade of pink.
Lose 1 unit
6-8Didn’t we see a bigger one of those last year?
Gain 1 Presentation Point
9-10mmmm Nice
Roll 1 dice and add that to any CV rolls this turn
Gain 1 Presentation Point
11 plusAb Fab! You can’t get that in Harvey Nics
Roll 1 dice and add that to any CV rolls this turn
Gain 1 dice to re-roll once per turn
Gain 1 Presentation Point
Double 6Precious – we wants it!
Roll 1 dice and add that to any CV rolls this turn
Gain 3 dice to re-roll once per turn CO’s
CV goes up 1 for remainder of game

Dice Modifiers
+1 Every enemy unit destroyed by your force
-1 Every turn without presentation (ignore 1st three)

These must be used when presenting after which they are discarded

Forces

1000 point army
- no aircraft, tunneller units or massive units
- no off-board artillery or orbital strikes
- no minimums - however maximums still apply

You will require 1 transport at no cost to carry "The Precious Things"

This has the stats

Troops Arm Move Attacks Assault Hits Save
Transport Armour 20F 0 0 200 S 2 T

Notes

1. Shield is passive so does not inflict hits
2. Cannot be targeted for recce
3. Can be overrun in which case it is immediately captured
4. Does not block line of sight or fire

Tuesday 12 June 2012

FWC - Pan Galactic Gargle Blaster Galore!

This  scenario is based very very loosely on the film Whisky Galore!

The automated deep space bulk carrier "Gordon Malcolm" with a cargo of several trillian decalitre of Presidential grade Pan Galactic Gargle Blaster was damaged in a geomagnetic storm and forced to land on the planet Todday in the New New New Hebrides system.
The carrier had come down in an arid region of Todday inhabited by clans of ne'er-do-wells that eke out an existence by robbing each other blind.

The objective was to loot as much Pan Galactic Gargle Blaster from the carrier and get it to one of the four shanty towns situated in each corner of the board. Note - make sure all towns are the same distance from the carrier otherwise it might giver one player a very big advantage.

Each player was allowed 1000 points - massive units, off-board artillery, orbital strikes and air strikes were banned. In addition each player had 3 trucks which could not be targeted but could be captured by being overrun by a unit. Trucks could move 20cm but only in the player's initiative phase.
Shaun had his Andrayadans - mainly target acquiring recce units and auto-linked walkers. Graham went with EuroFed - tough hover tanks and IFVs
I went with my latest force - Hunter Scavengers.

The battle was pretty chaotic with 3 sides. Shaun was helped by having his shanty town a whole move closer  to the carrier than anyone else. Graham's EuroFeds were lethal in a fire fight and my troops zoomed all over the place.
The highlight of the game for me was getting my scavies onto Graham's flank, giving them the order to fire and then rolling Double 1 which allowed me not only to fire on his flank but then have a free assault move which took out a fair chunk of his force.
However this was then followed up by me ending my turn too close to Graham's remaining tanks. He destroyed several of my bikes and death trucks with tank fire. On my turn as I was within initiative range of his tanks I had to assault. His tanks destroyed every unit that assaulted with defensive fire. I failed my break point roll so therefore I had to start again with a new force.
Whilst Graham and I were merrily destroying one another Shaun was merrily looting the carrier and getting the contents back to his shanty town.
Graham finally failed his break point roll only to return with a fresh force that destroyed everything in it's path. I managed to capture one of  Shaun's trucks but it was not enough as Shaun managed to get the other 2 back. Game to Shaun