Friday 10 May 2013

Muskets and Tomahawks at Exeter 2013

I took my my 15mm Muskets & Tomahawks participation game to Exeter for the Legionary 2013 show.

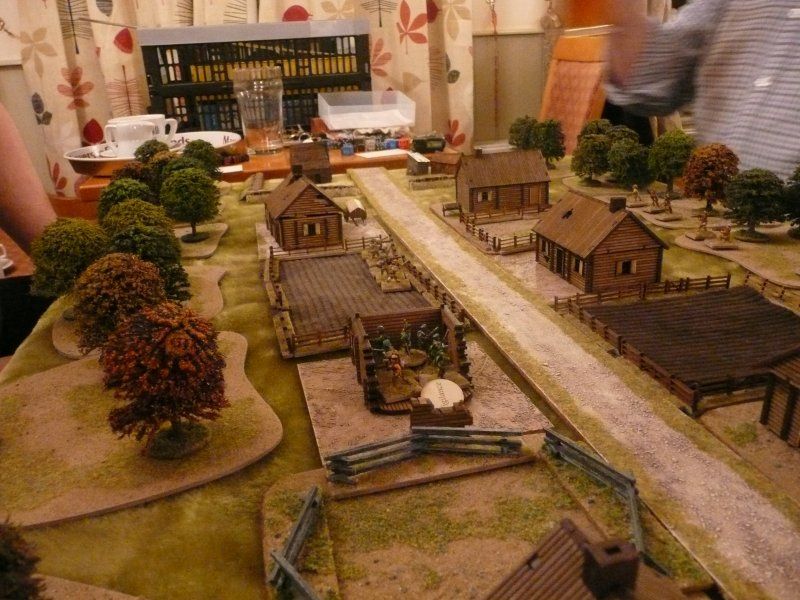
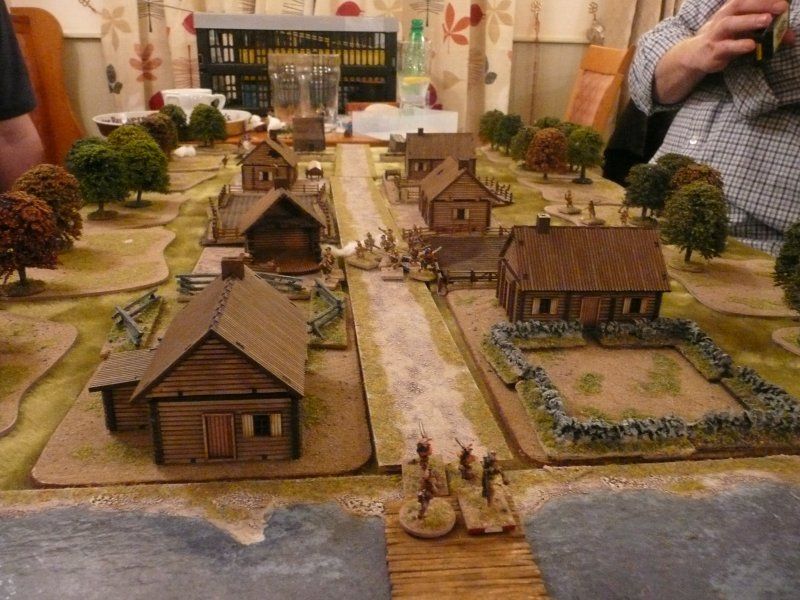
The scenario is an Indian raid on a British village.

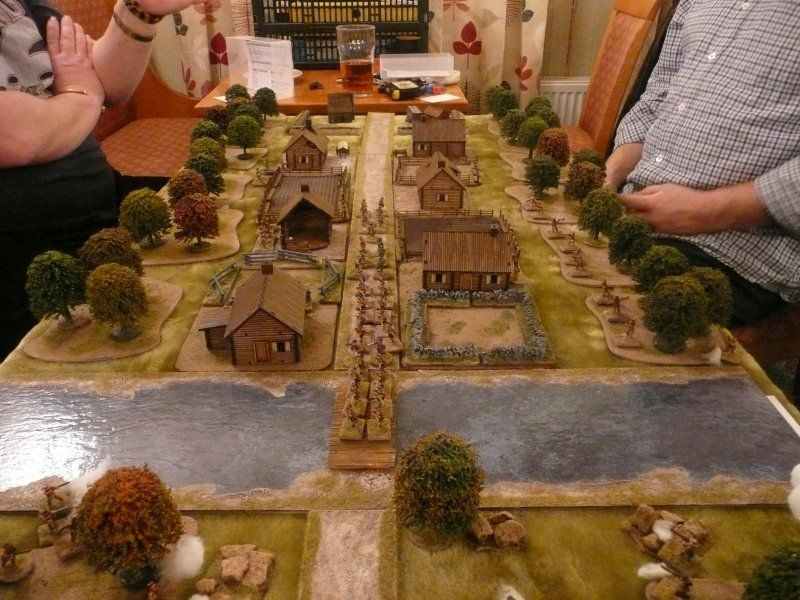
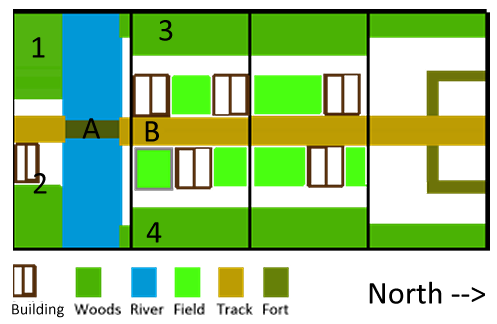
The British have 2 Irregular Officers, 2 units of 6 Militia and 2 units of 6 Rangers and their objective is Defence. This means that no enemy can be within 4" of the two buildings in the centre of the table at the end of the game.

The Indians have 2 Sachem, and 4 units of 6 Indians with their objective being Raid. This requires the two buildings in the centre of the table to be burnt down.

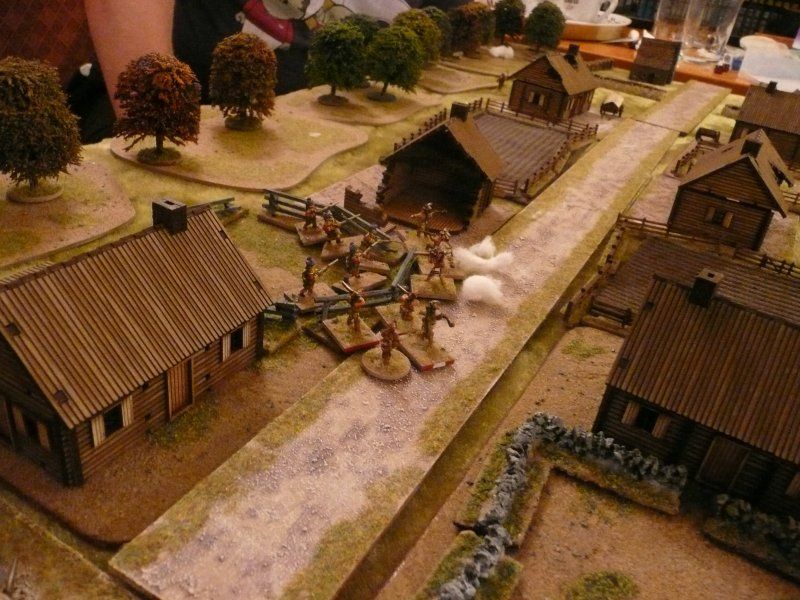
We played two games during the day - the honours going to the Indians with one being a total victory and the other a marginal one. It keeps the carpenters in New Plymouth fully employed.

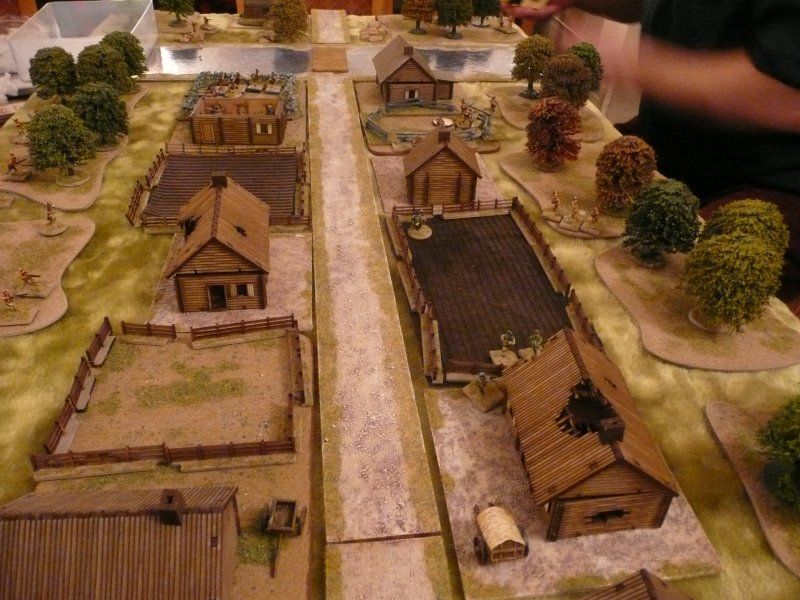
The photos are mix of the two games

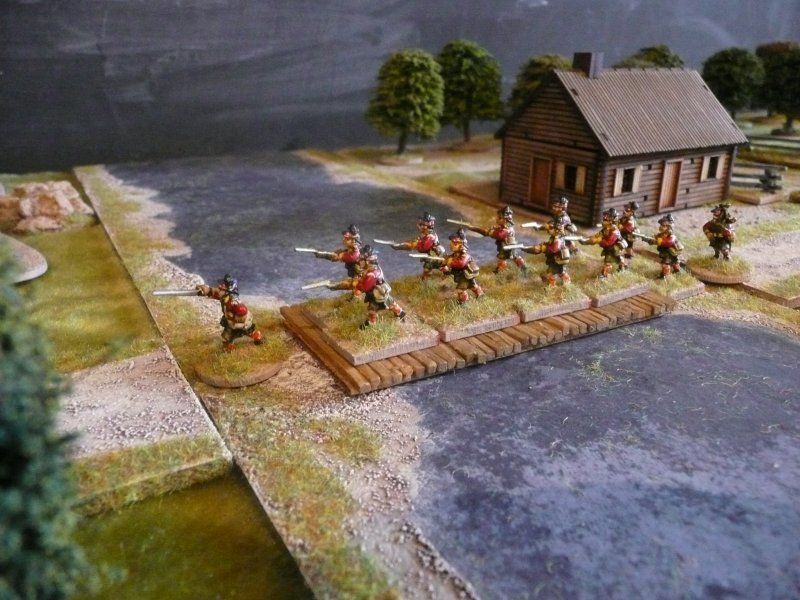
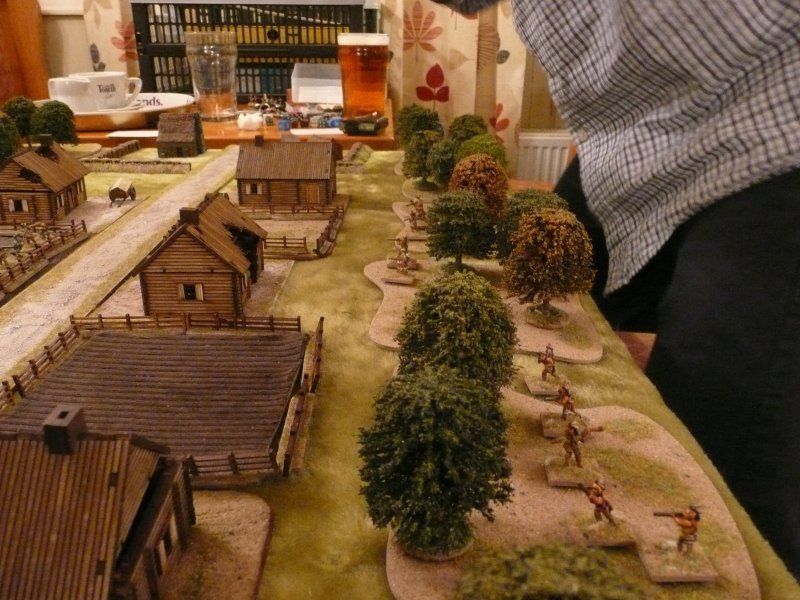
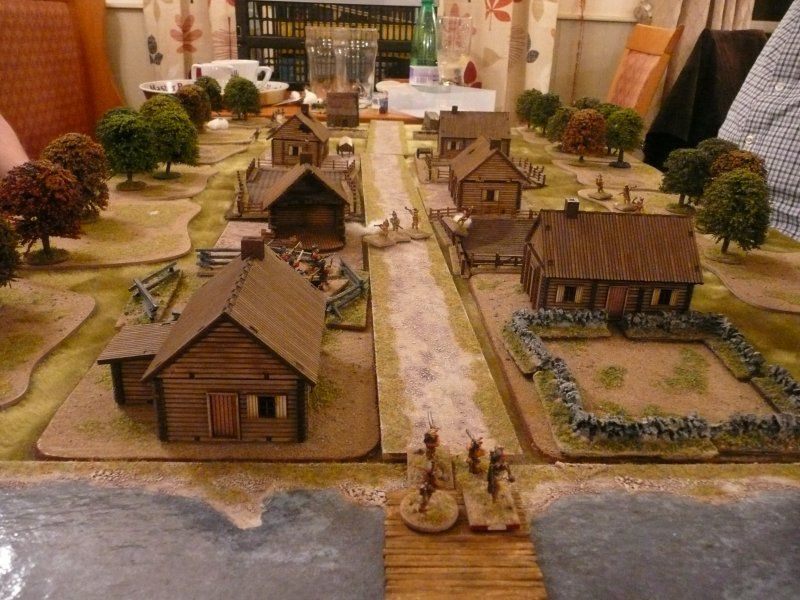
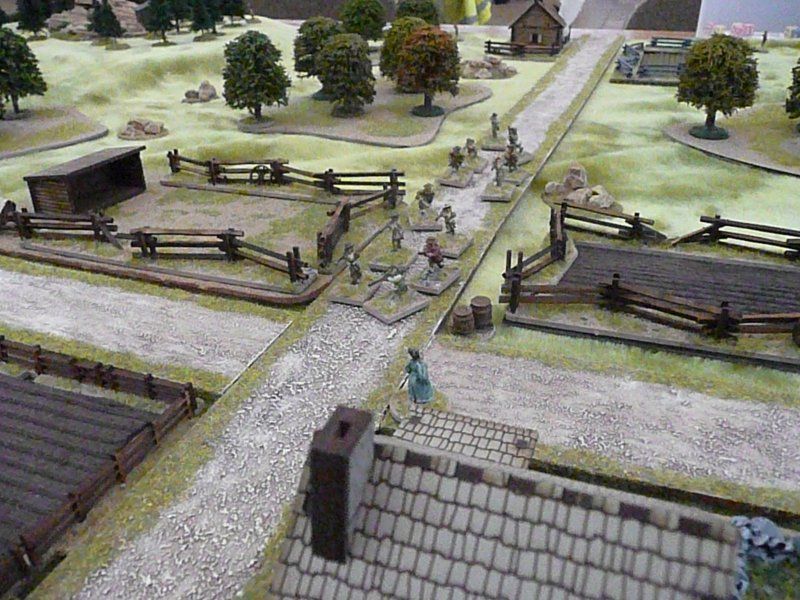
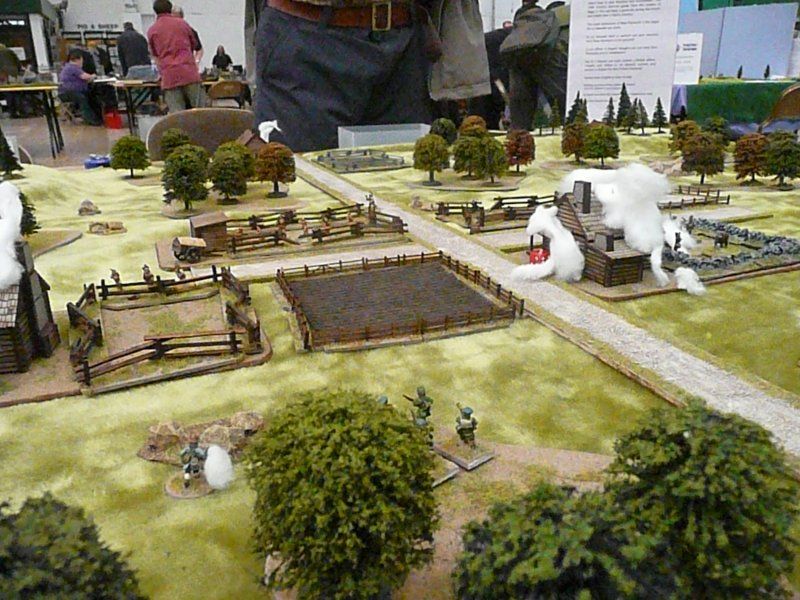
The Militia fall back to New Plymouth

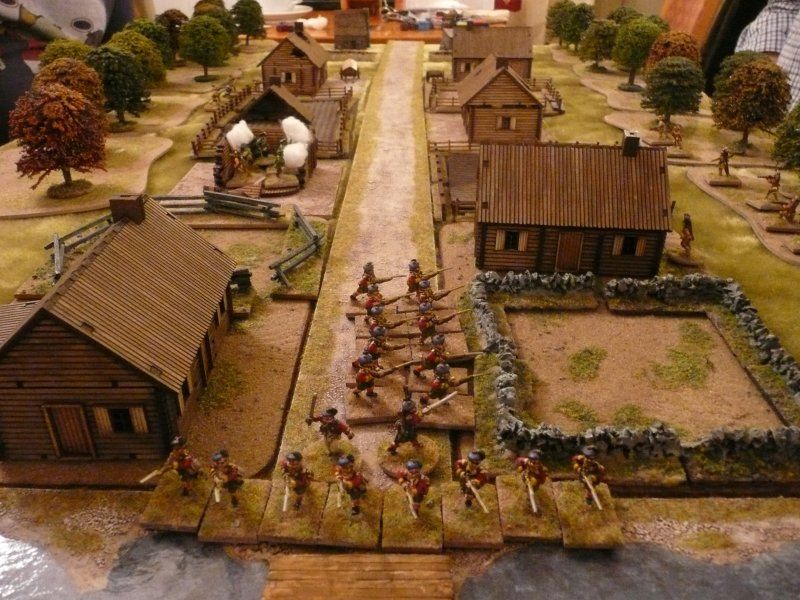
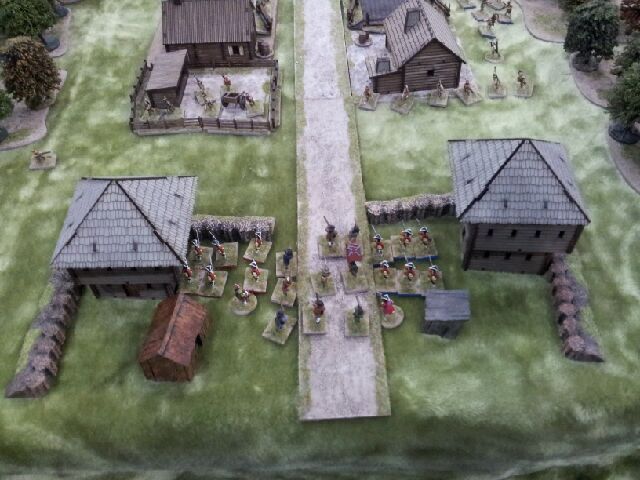
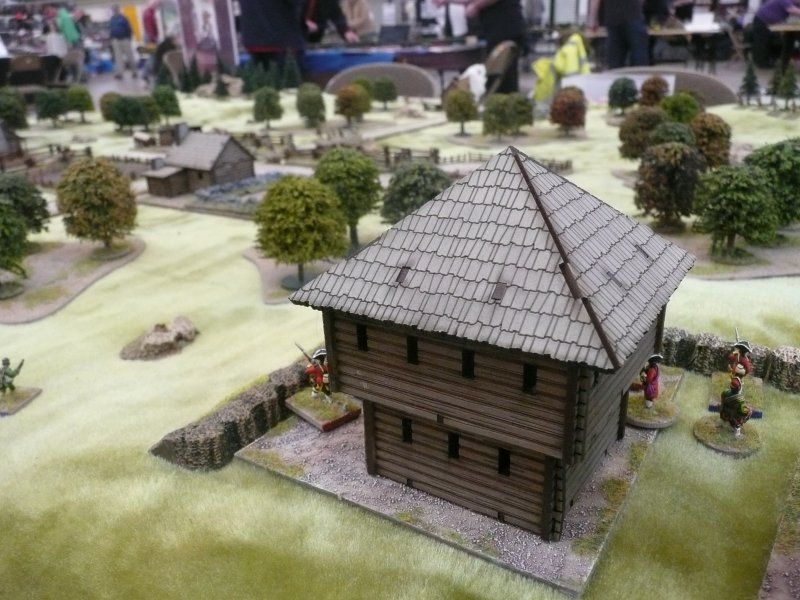
The fort at New Plymouth - the fort and it's garrison take no part in the game

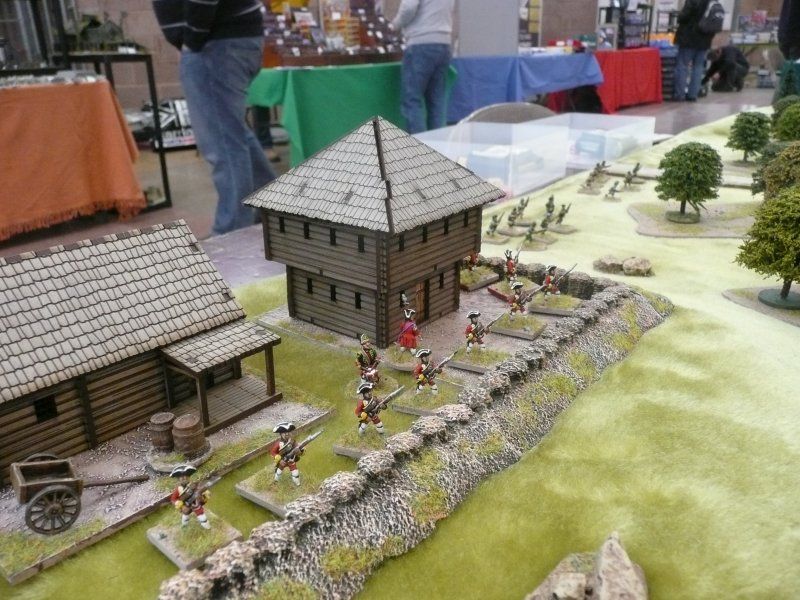
15mm Blockhouse by 4Ground - this is a pre-production model

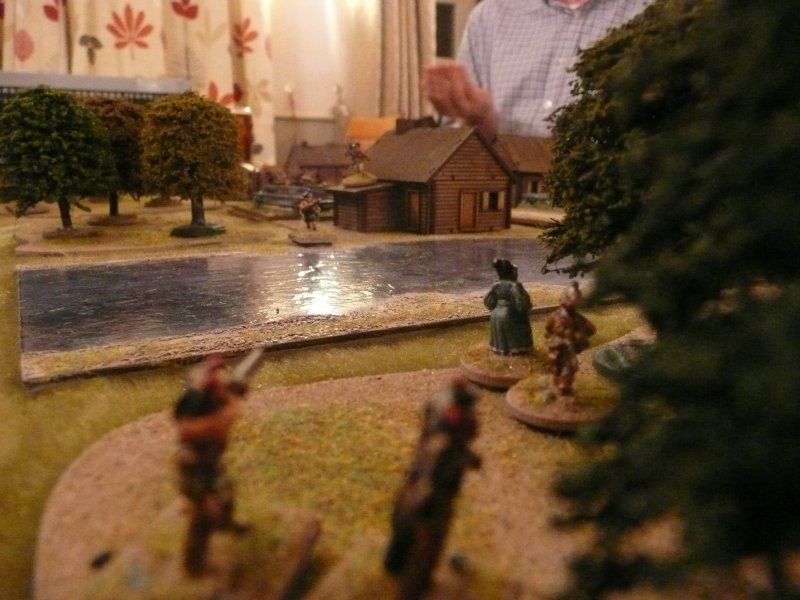
Mrs Miggins counts them all out and counts them all back

A close-up of the Russian house burning
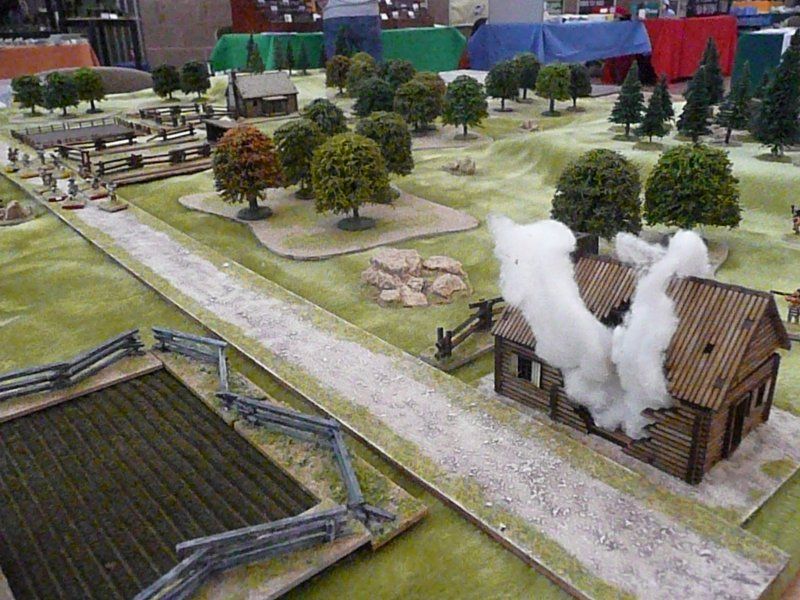
New Plymouth burns

Highlights of the day - I met Nick from the M&T Forum who pointed out some rules I had missed. Three people bought the M&T rules as a result of playing and hopefully a few people will think about using 15mm figures for not only M&T but also for skirmishing in general.

Amusing story of the day - an old chap walked up to the table and we started talking. I asked him if he played this period. He replied that he had AWI armies. I then enquired as to what rules he used. He looked at me and said "Well ours of course". I was about to ask he meant when someone approached him and said "Excuse me Mr Barker, can I talk to you about DBA".

Icing on the cake - winning the Phil Barker Best Participation Game award

The buildings are from 4Ground. The figures are from Peter Pig's AWI range with the exception of the British Regulars in the fort who are by Essex. The cloth is by Gaveno Cavailia. The flashing LED light in the burning Russian cabin is from The Glow Company

The are more photos at photobucket

Sunday 5 May 2013

Bloody Run 1763 - a Muskets & Tomahawks AAR

The Battle of Bloody Run was fought during Pontiac's Rebellion on July 31, 1763. In an attempt to break Pontiac's siege of Fort Detroit, about 250 British troops attempted to make a surprise attack on Pontiac's encampment. Instead they were ambushed and forced to retreat back to Fort Detroit.

For a full account see Haughty Conquerors: Amherst and the Great Indian Uprising of 1763 by William Nester - from page 134 onwards.

This AAR is based on that battle. My previous post outlines the scenario. To recap the British have been ambushed by Pontiac's troops and must get at least a third of their force back to Fort Detroit.

The buildings are made by 4Ground. The figures are from Peter Pig's 15mm AWI range with head swaps for some of the Rangers. The river is from Homebase via Eric the Shed

The keen-eyed will notice two things. Firstly that I have used Highlanders for the British regulars instead of the 55th Regiment of Foot. This is because Peter Pig does not make any British troops for the FIW and Pontiac Wars (yet)

Secondly the photos are a mash-up from several test games and from Salute. I forgot to take my camera to Salute so photos from there were taken using my mobile phone - duh.

Onto the battle...

The Highlanders crossing the bridge

The British column gets ambushed en route to the Huron Village

The Highlanders form Firing Lines to repel Pontiac's troops and to scout the Southern section

Mrs Miggins with her sweetheart - side plot number 11 for the Indians

Moments before Mrs Miggins gets shot by a Highlander - note the hand of fate in the background

Vigilant Rangers in a ruined cabin - some of the new counters from 4Ground

Indians advance through the woods

The British start retiring to Fort Detroit

A View from Fort Detriot - Major Rogers, in the ploughed field on the right, is about to die

Fort Detroit with pre-production blockhouses from 4Ground - I only got them at Salute

Indians advance across Parent's Creek - the original name for Bloody Run

The Highlanders' last stand - the fight on the road

The Highlanders retire to the corral

The last moments of the Highlanders as the Indians swarm over them

The Result

The British managed to scout the Southern and both central sections before being overrun.

However all 3 officers had been killed, both Regular units had been destroyed and only 6 Rangers reached Fort Detroit alive. As this was less that a third of their force the British did not achieve their objective.

On the other hand the Indians killed over two thirds of the British force and did achieve their objective albeit suffering just under 50% casualties.

The British Regulars suffered from the terrain - the fields and buildings forcing them to stay on the road. However the units can taken considerable punishment as their morale is good.

The Rangers deployed on the road instead of in the buildings which was a mistake and took casualties that made them ineffective.

The terrain suits the Indians and provided they don't get into a fire fight with a Regular firing line can have lots of fun harassing the British as they retreat.

Giving the British the Scouting objective forces them to hold their ground as they try and scout the Southern section. Otherwise they would just run back to the fort.

At Salute this game appeared on the 4Ground stand. I spent the day chatting and playing the game with some very nice people. I may have even converted a few to playing M&T in 15mm

There are more photos at photobucket - click here

Bloody Run 1763 - a Muskets & Tomahawks scenario

This is a scenario for Muskets and Tomahawks based on the Battle of Bloody Run.

The Battle of Bloody Run was fought during Pontiac's Rebellion on July 31, 1763. In an attempt to break Pontiac's siege of Fort Detroit, about 250 British troops attempted to make a surprise attack on Pontiac's encampment. Instead they were ambushed and forced to retreat back to Fort Detroit.

For a full account see Haughty Conquerors: Amherst and the Great Indian Uprising of 1763 by William Nester - from page 134 onwards.

The Forces

British force

2 Regular officers
2 units of 10 Regular infantry

1 Irregular officer
2 units of 5 Rangers
Indian force

2 Sachem
5 units of 6 Warriors

Standard Traits apply to all units

Extra Traits, Talents and Sub-plots for Officers and Events are optional but may skew the scenario.

Ignore the Objective Deployment in the rules and use the deployment given below

Terrain

I played this on a 2 x 4 table using 15mm figures but keeping the 28mm ranges and movement

The table is split into 4 equal sections, South, South Central, North Central and North

All of the fields have wooden fences with the exception of the field by the river which has stone walls - the one east of  "B"

The river can only be crossed at the bridge

The fort and the entire Northern Section is only accessible by the British

British Deployment

The 2 Regular units deploy in column at A & B heading south. Unit A must be on the bridge.

The 2 Ranger units can deploy in the buildings or fields anywhere in the South Central section

British Objective - Scouting Mission

The British have to scout each section of the table. A section is scouted if there is at least 1 model in the section at the end of a turn. Note that the South section has a thin strip of land on the northern bank of the river.

The British leave the table by entering the fort. If at least 1/3 of the British, 11 figures, leave the table after scouting  all sections then they have completed their victory conditions

Indian Deployment

Indians deploy a unit at location 1,2,3 & 4. All Indian units must start more than 6 inches from a British unit but can be in Linie of Sight .

The 5th unit is kept off table at the start. Every time an American Indian card is played then roll 1 dice. If the number rolled is less than or equal to the Turn number then the 5th unit can appear anywhere on the east or west edges of the 2 Central sections. Therefore the 5th unit gets 4 chances per turn of appearing.

The Indians are NOT allowed in the Northern section of the table - if an Indian unit enters the Northern section it is immediately removed from play due to overwhelming musket and artillery fire from the fort

Indian Objective - Engagement

The Indians have to kill 2/3 of the enemy, 22 British figures, in order to complete their victory conditions.

The Card Pack

The pack comprises

2 British Regular cards
4 British Irregular cards
1 British Forward Boys card

4 American Indian cards
1 American Forward Boys card

On the 1st turn remove one of the American Indian cards before shuffling. This card will be the first card played and represents the initial ambush by Pontiac's force. On subsequent turns all cards are included in the shuffle.

Notes

I have played this several times and honours have gone to both sides. It can be a very tight game and a lot depends on how the initial ambush goes. The points are unequal but this hasn't affected play.

I would be interested to hear your comments

I will post an AAR of one of the games next.