Saturday 10 November 2012

Chunyuhan - an RJW battle using Square Bashing


This is a fictitious battle set in the Russo-Japanse War fought using RFCM's Square Bashing 2012. There is a page on the Peter Pig website explaining the rules - here's the link

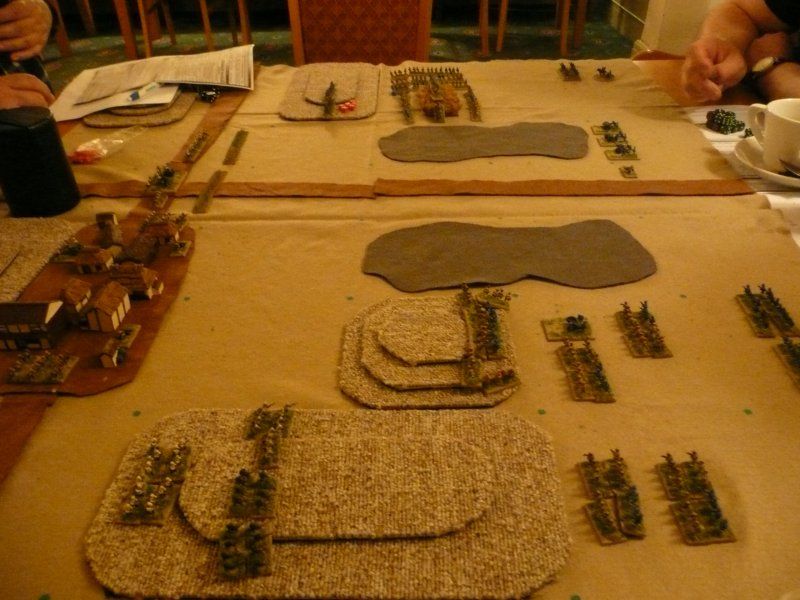
Square Bashing (SB) is played on a 4 foot wide by 3 foot deep area covered by a 6 inch square grid. Terrain pieces are 6 x 12 inches and cover 2 squares. Objectives are 6 inches square
In SB both sides chose 4 pieces of terrain from gentle hills, rough hills, rough ground and buildings. All terrain is then deployed by the defender with the attacker having a chance to move pieces. Two roads are placed - one along the defenders'  base line and the other across the table. The crossroads square becomes 1 of the 4 game objectives. There are 3 other objectives deployed by the defender - the grassy knoll (a small rough hill), a temple and a kaoliang field (woods)

We did the SB Quick Game which cuts out most of the pre-game activity and goes straight to the battle. The Quick Game excludes Assets but I wanted to try them out so added in Barrages and Hasty Defences

Amongst the new rules in SB is one that allows you to choose how High Command (the general) works. It can benefit either movement, fighting, morale or assets - the twist is that the chosen benefit can not be changed.

The quick game pits a standard army of 620 points attacking a 450 point army

The Japanese commanded by Rodge and Steve were the attackers with
  • 1 High Command - fighting benefit
  • 12 Regular Infantry Battalions
  • 3 Reservist Battalions
  • 3 Field guns
  • 1 Light gun
  • 1 HMG
The Russians commanded by Alan P and Mike defended with
  • 1 High Command - morale benefit
  • 6 Regular Infantry Battalions
  • 5 Reservist Infantry Battalions
  • 3 Field guns
  • 3 HMG
  • 2 Hasty Defences
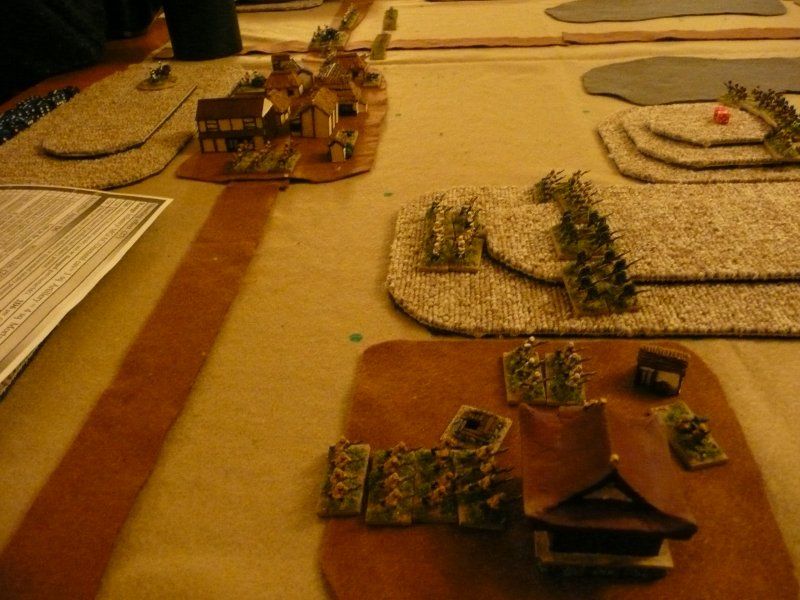
The Japanese deployed - massing 6 Regular battalions on the right flank with the artillery in the centre and the remaining 9 battalions spread between the centre and the left. The Russians then deployed with the majority of their troops holding the right and centre and just a couple of battalions of reservists holding the left.
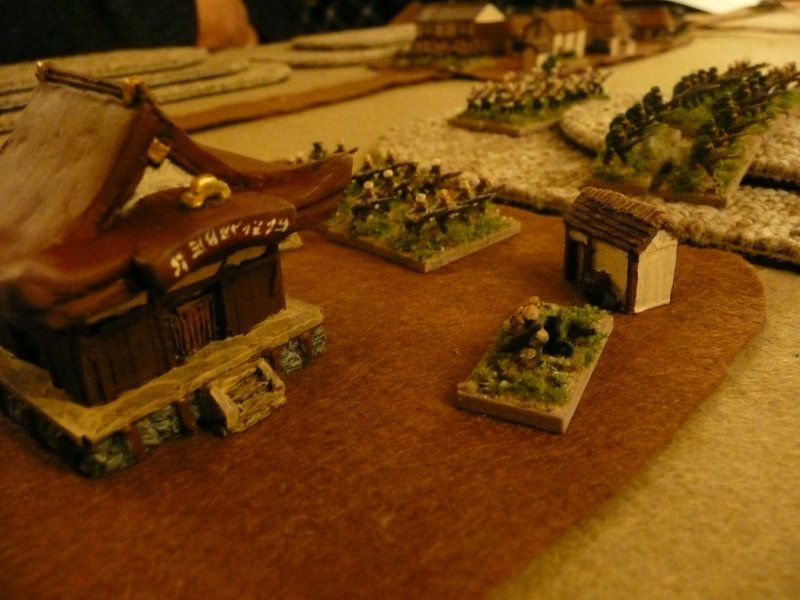
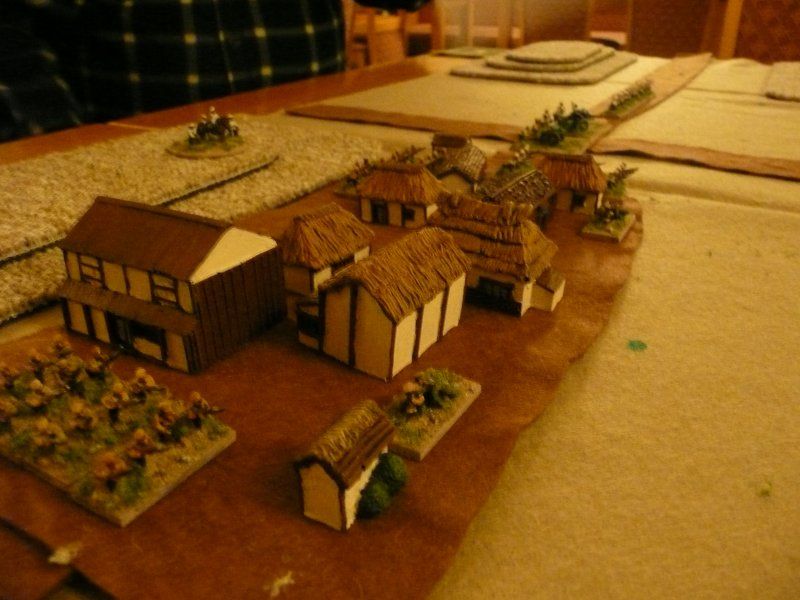
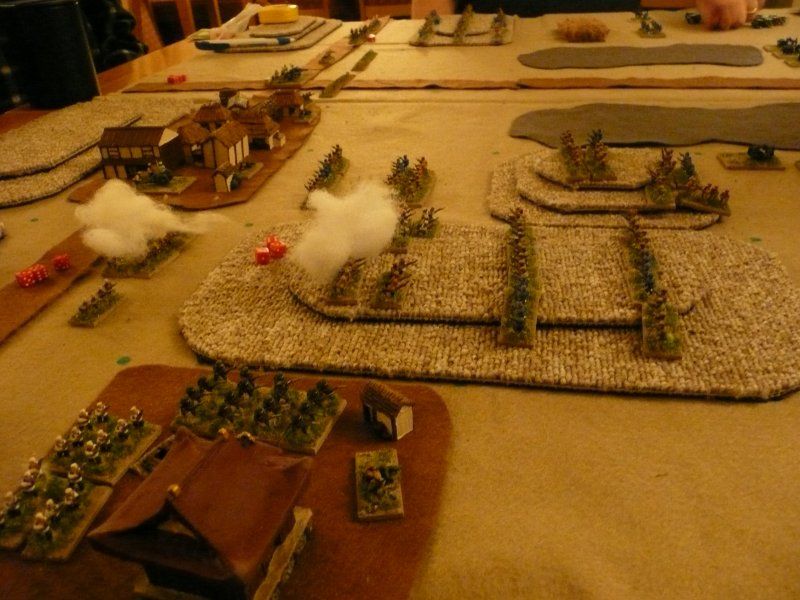
The Russian right and centre - the buildings are from Mura Miniatures 6mm Japanese range - very nice they are too and they work well with 10mm figures.
The Japanese started by capturing the grassy knoll on their left and moving the right flank up in front of the kaoliang field. In response the Russians occupied the field with 2 reserve battalions.

The Japanese then assaulted the 2 Russian Reservist battalions from the flank as well as from the front. Being assaulted in the flank as in most rules is not good and the Russians were pushed back losing 50% of their troops.
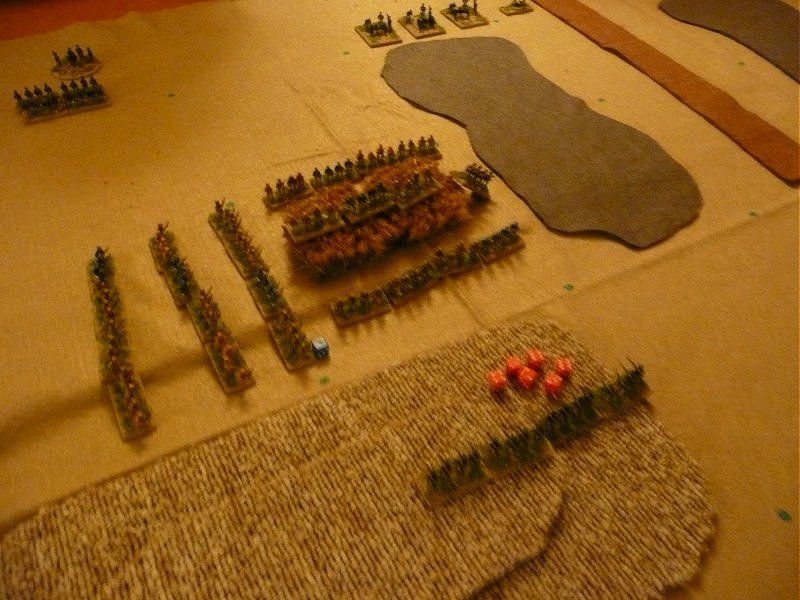
The photos show the aftermath of the Japanese assault on the kaoliang field. The left-hand one shows the 2 Russian battalions reduced to half-strength with 6 casualty markers - 4 of which are going to be used against them in their morale phase and as they are reservist an extra morale dice will be added against them.

The Russian reservists failed their morale test and were forced to retire from the hill. Along the centre and right troops were being  pulled from the line to bolster the collapsed left.

On Turn 3 the Japanese continued hammering the Russian left flank
The two reservist battalions disintegrated and the battalion holding the far left of the line received 4 casualties  losing 2 bases and having to retire. The Japanese stood poised to breakthrough to the  table edge or roll up the Russian line.

Sadly for the Russians the rest of their line was coming under mounting pressure.


Although the quick game does not include Assets we decided to use Point Barrage and Hasty Defences, The Point Barrage is off-table artillery that targets 3 squares in an L shape causing a D6 of hits to the square. Hasty Defence allows temporary cover in the form of the assaulter losing 2 dice and increasing saving rolls.

Armies are allocated a number of dice per asset - the Japanese Barrage is 12 dice, the Russian barrage is lower with 8. An army is allowed to roll for 1 asset each turn using up as many of their dice as they want.  To get the asset requires rolling a 6. The Japanese had rolled 4 dice each turn  from their Barrage allowance but only succeeded in rolling a 6 with the last of their 4 dice on Turn 3.
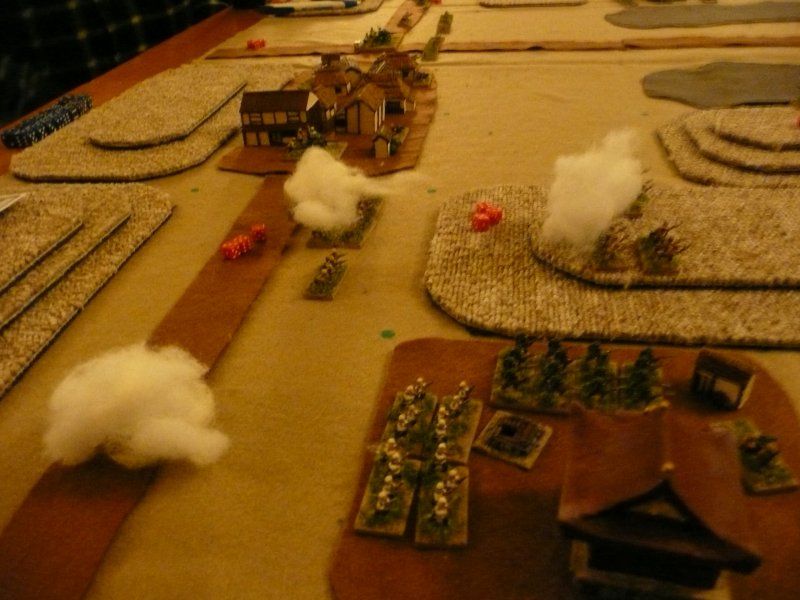
They dropped the barrage on the Russian right flank and then rolled for overshoot which resulted in the temple avoiding getting shelled.. The Russians on the hill and on the road behind weren't so lucky and took hits. The Japanese then assaulted the hill and the village forcing the Russians back again.

At this point the Russians conceded the game.

Tallying up the points gave the Japanese an unsurprising  Definite Victory. The points for holding an Objective can be quite variable - for the attacker it is 4D6 - the Row number, which counts the Defender's base row as 1 across to 6 for the attcker's base row.. Therefore the kaoliang field in row 4 was 4D6 - 4 so could be worth anywhere between 0 and 20 points to the attackers.

In the post-match analysis the defenders felt that it was too easy for the attackers to assault with little in the way of  defensive fire to halt them and that getting 3 dice to the defender's 2 dice in an assault was a big advantage

My view is that it was easy to attack and if the defender was in the open then it was probably easy to win. However if the defender was in good position with defences and supporting troops then it would be a different matter.

The defender has certainly not got an easy job in SB. From the placement of terrain and objectives through having units disappear via the depletion rolls to holding the line and making sure the flanks aren't turned will keep the defender busy.

From a game aspect it is fast and reasonably simple.  I don't feel that having a grid detracts from the game.  The High Command and Asset mechanisms work well. One area that players had issue with was Line of Sight but we might have been playing that wrong.

From the Russo-Japanese War aspect I am pleased with it. In my opinion it handles a divisional assault reasonably well. My only gripe is how to represent the Japanese use of  HMGs in attacks as they only have a range of 1 for firing and only count 1 in assault or for support

If the guys at Slimbridge are up for it then I am looking to run a campaign at the club

There is a lot more to SB 2012 than the original game - I'm keen to play more.

Thursday 8 November 2012

10mm RJW Solo game using Square Bashing 2012

RFCM and Peter Pig recently brought out a new version of their early 20th century rules - Square Bashing. As with the previous version the game is fought using a grid of squares with each square being 6 inches. The standard game is played on a 4 foot wide by 3 foot deep table giving a grid of 8 by 6 squares.

Peter Pig have a page explaining the rules on their site - here's the link

They have also produced a book of army lists covering not only WW1 and the Russian but also the Mexican  Revolution, the Boxer Rebellion, the Spanish American War, the Chaco War and the Russo-Japanese War.

Therefore I thought I would give Square Bashing (SB) a try out with my standard RJW solo scenario. The scenario misses out a lot of the rules such as assets and commander and only uses Moving, Assaults, Shooting and Morale

The scenario has had to be amended for SB because units are battalions rather than companies.

Firstly the depth of the table was increased from 2 feet  to 2.5 feet to give a playing area of 4 squares wide by 5 squares deep. This was to stop the attackers going straight into combat and to give the defenders somewhere to retreat to. I have tried to keep the same terrain of hills with a trench line and rough ground to slow the attackers down.

Secondly the forces were increased.- the Japanese now have 12 Battalions of Infantry attacking 4 battalions of Russian infantry backed up by 2 HMGs and 2 Field guns. In SB troops can be professional, average or reservist - all troops in the game are average. Each battalion has 4 bases


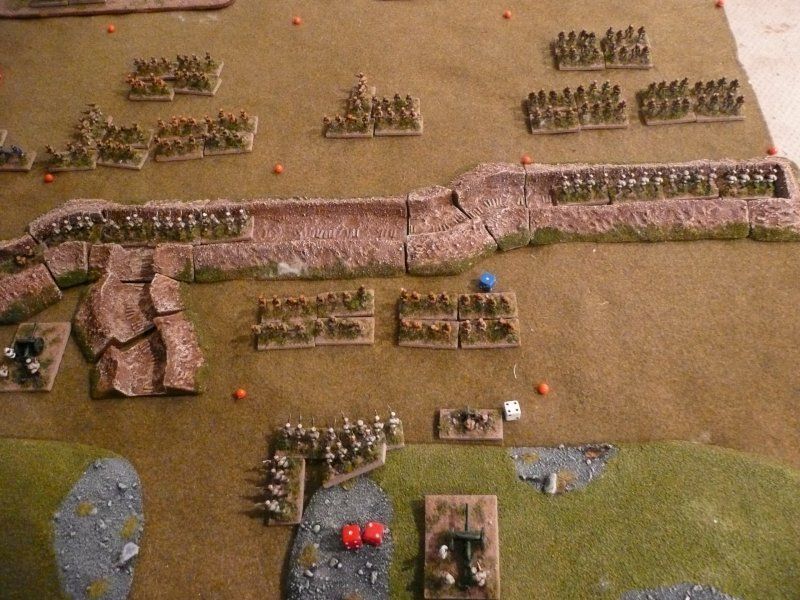
The battlefield from behind the Russian lines. - the orange pins mark the grid - I'm working on some more aesthetically pleasing markers.

The Russians have deployed  their artillery in the middle squares with a battalion of infantry in each trench square - the HMGs are in the 2 middle trench squares. In the distance the Japanese can be seen coming out of the Kaolin fields


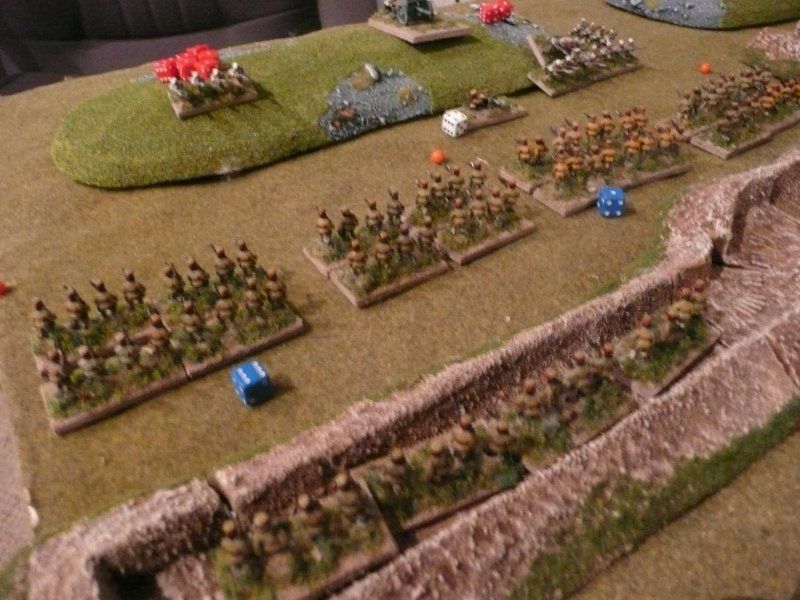
A view from the Russian trenches

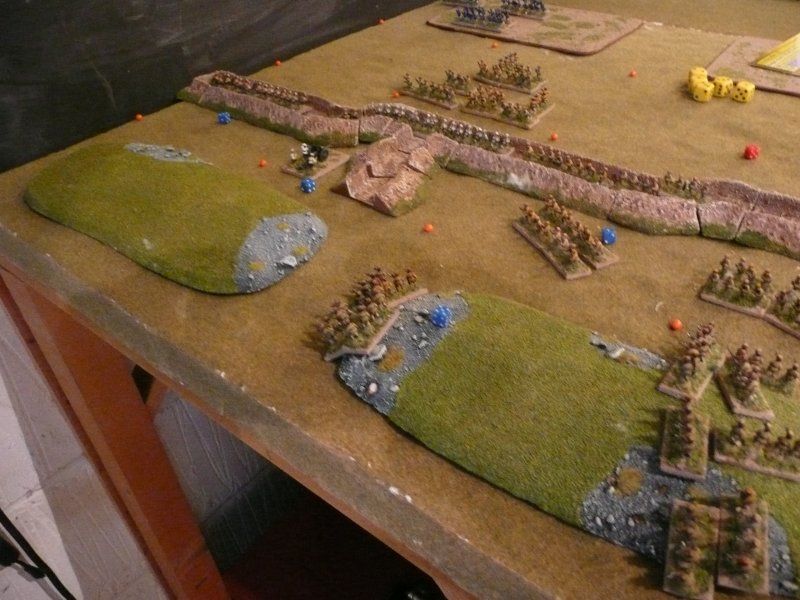
The Japanese army seen from an observation balloon

In SB infantry units move 2 squares but have to roll 4+ on a D6 to leave difficult terrain such as rough ground, hills and trenches

The initial Japanese advance saw most units get through the rough ground except on the Right wing where the 1st battalion passed through but the 2nd and 3rd failed to exit

It costs a square of movement to assault which is the main form of combat in SB. Therefore the Japanese were unable to assault on the first turn.


Shooting is carried out in the opponent's turn provided the unit has not been assaulted. Infantry and HMGs have a range of 1 square and artillery has a range of 4 squares with 6's being required for a hit. Hits can be saved but if they are not saved then the target suffers a 1/2 base loss per hit and the square gets a casualty marker which can generate a morale test. The Japanese unit in the middle square has take a hit and lost half a base.

On the next turn the Japanese assaulted. This costs a square of movement and if the assaulter is in bad terrain then an exit role is required. When using trenches the rules state that rough ground should be placed in front of them no doubt to represent barbed wire and no-mans land. However for this game I've only used the trenches.

Banzi! - the Japanese breakthrough - red dice are casualties, white dice are damaged HMGs or artillery and blue dice are "winning the fight" bonus dice.

Each assaulting unit gets 3 dice and each defending infantry unit gets 2 dice - which seems a bit weird but I'm sure there is a reason. Defending HMG get 5 dice. Extra dice are awarded for supporting troops in adjacent squares or if attacking from a flank square. When attacking trenches then the attackers loses 3 dice. Hits are caused on 5s and 6s but saving rolls are allowed.

The attacker wins if they inflict more hits otherwise the defender wins. The loser takes 3 more hits. If the defender loses then they have to retire back a square.


In the game the Russian left flank inflicted heavy casualties on the Japanese but right flank broke under the assault and the day was lost.

As this was a new set of rules for me I played this scenario 12 times to get a hang of it. In only 2 of the games did the Japanese break through and when they did they rolled up the Russian line. In the other 10 games  the assault failed and the Japanese retired back to the kaoliang fields. From my reading of the RJW that is about par for the course - 6 assaults to clear a trench line.

I used to play the original SB and thought they were ok. Although I have yet to play a full game with objectives and assets  I think the new version of Square Bashing is excellent - well done RFCM.

It's a toss up between Square Bashing and Future War Commander as to which set works best for the RJW - maybe I'll use both. I'm running an SB game at the club next week so it will be interesting to see how it works with other players

The figures were all from Pendraken and the trenches were from Dreamholme.